
Yanagiba Knife: Sashimi Slicing Guide

A yanagiba is not a chef's knife with a longer blade. It is a single bevel slicing tool built for one task: turning a fillet of raw fish into clean, glossy slices that hold their shape on the plate. The name translates loosely to "willow blade," and the shape explains the function. Long, narrow, and gently curved along the edge, the knife lets you draw the blade through a fillet in one motion rather than sawing back and forth.
This guide covers what the knife does, how its geometry differs from a double bevel knife, how to slice with it, and how to keep it in condition.
What a Yanagiba Is and Why It Exists
Sashimi is judged by the surface of each slice. A clean cut leaves the muscle fibers intact and the surface reflective. A ragged cut tears cells, releases moisture, and leaves the fish looking dull. Japanese knife makers developed the yanagiba to make the clean cut repeatable.
The blade is ground on one side only, with a concave hollow on the back face. That single bevel creates a very thin, very sharp edge that meets the fish at a low angle. Because the bevel is flat on one side, the blade steers slightly as it cuts, and the cook uses that drift to follow the natural line of a fillet. Where a Western slicer pushes food apart, a yanagiba shears through it.
Traditional yanagiba are made from carbon steel, often with a soft iron or stainless cladding. Modern versions also come in stainless and semi stainless alloys. Carbon holds a keen edge and takes a patina but needs drying after every use. Stainless trades a little peak sharpness for far less maintenance. Neither is better. They suit different kitchens.
The Geometry of a Single Bevel Blade
Look at a yanagiba from the front and the asymmetry is obvious. The right side, on a right handed knife, carries a wide bevel that runs from the spine to the edge. The left side is nearly flat, with a hollow grind that only touches the sharpening stone at the rim. This is called urasuki, and it matters for two reasons.
First, it reduces friction. Only the outer rim of the back face contacts the fish, so the blade glides. Second, it makes sharpening predictable. You lay the wide bevel flat on the stone and work it until the entire face meets the edge, then make a few light passes on the back to remove the burr.

Blade Length, Weight, and Your Cutting Board
Yanagiba are sold in a range of lengths, and the right one depends on the size of the fish you break down and the depth of your board. A shorter blade, around 210 mm to 240 mm, handles smaller fillets and gives you more control in a tight space. A longer blade, 270 mm to 330 mm, lets you complete a slice across a wide loin in a single pass.
Length is not a status symbol. A 330 mm blade on a narrow home cutting board is awkward and unsafe. If you mostly slice salmon and smaller loins, a 240 mm or 270 mm yanagiba covers nearly everything. If you break down whole tuna, a longer blade earns its keep.
Weight distribution matters too. A well made yanagiba feels slightly forward heavy, with the balance point just ahead of the handle. That weight assists a long, smooth pull.
How to Slice Sashimi, Step by Step
Good sashimi technique is mostly preparation and restraint. The knife does the work if you let it.
Start with a cold fillet. Slightly chilled fish holds its shape and cuts more cleanly than fish at room temperature. Pat the surface dry. Moisture causes the blade to drag and leaves a smeared cut.
Place the fillet on a clean board with the grain running left to right if you are right handed. Identify the line of the muscle. You want to cut across the grain, not along it. Look for the white connective tissue that runs through the fillet and angle your cuts to avoid dragging it.
Hold the knife with a light grip, index finger and thumb pinching the blade just ahead of the handle. The rest of your fingers wrap the handle, and your wrist stays relaxed.
Place the heel of the blade on the fish where you want the slice to start. Angle the edge at roughly 45 degrees, or shallower for thinner slices. Do not press down. Draw the knife toward you in one continuous motion, heel to tip.
The Pull Cut, Not the Push Cut
Most Western cooks learn to push a knife away from the body. A yanagiba works on the pull. The reason is geometry. The single bevel and the curved edge are designed so that drawing the blade backward through the fish produces a shearing cut with almost no downward force. Pushing the blade forward lifts the edge slightly and crushes the surface.
If the slice sticks to the blade, do not shake it off. That bruises the fish. Wipe the blade dry between cuts instead. A slight film of water is all it takes to make a slice cling.
Sharpening and Maintenance
A yanagiba rewards regular maintenance more than heavy sharpening. The wide bevel is easy to keep flat, and the edge is thin enough that a few passes on a finishing stone restore it quickly. Use a whetstone, not a pull through sharpener. A pull through tool will ruin the geometry of a single bevel knife.
For a full walkthrough of stones, angles, and rust prevention, see our knife care guide. The short version: sharpen the wide bevel flat on a medium stone when the edge feels slow, refine on a finer stone, then make a few light passes on the back face to remove the burr. Finish on a high grit stone or a leather strop.
Wipe the blade dry after every use. Carbon steel will rust if left wet, even for a few minutes. A light coat of camellia oil before storage is traditional and effective. Store the knife in a saya or on a magnetic strip where the edge cannot contact anything hard.
Rust, Storage, and Daily Habits
Treat a yanagiba as a precision tool, not a workhorse. Do not use it to break down fish, remove bones, or cut through heads. Those jobs belong to a heavier knife with a thicker blade. Using a yanagiba for butchery will chip the edge and cost you more sharpening time than you saved.
Cut on wood or soft plastic. Glass, ceramic, and stone boards are hard enough to roll or chip the edge on contact. Rinse and dry immediately after use. Do not leave the knife in the sink. Do not put it in the dishwasher. The heat and detergent will destroy the handle and the edge.
In humid climates, keep a cloth and a bottle of oil near your knife storage. A thirty second wipe after each session prevents pits.
Where a Yanagiba Stops and Other Knives Begin
No single knife does everything. A yanagiba is a specialist, so the rest of your board still needs general purpose tools. A gyuto, the Japanese equivalent of a chef's knife, handles vegetables, proteins, and most prep.
Two solid options are 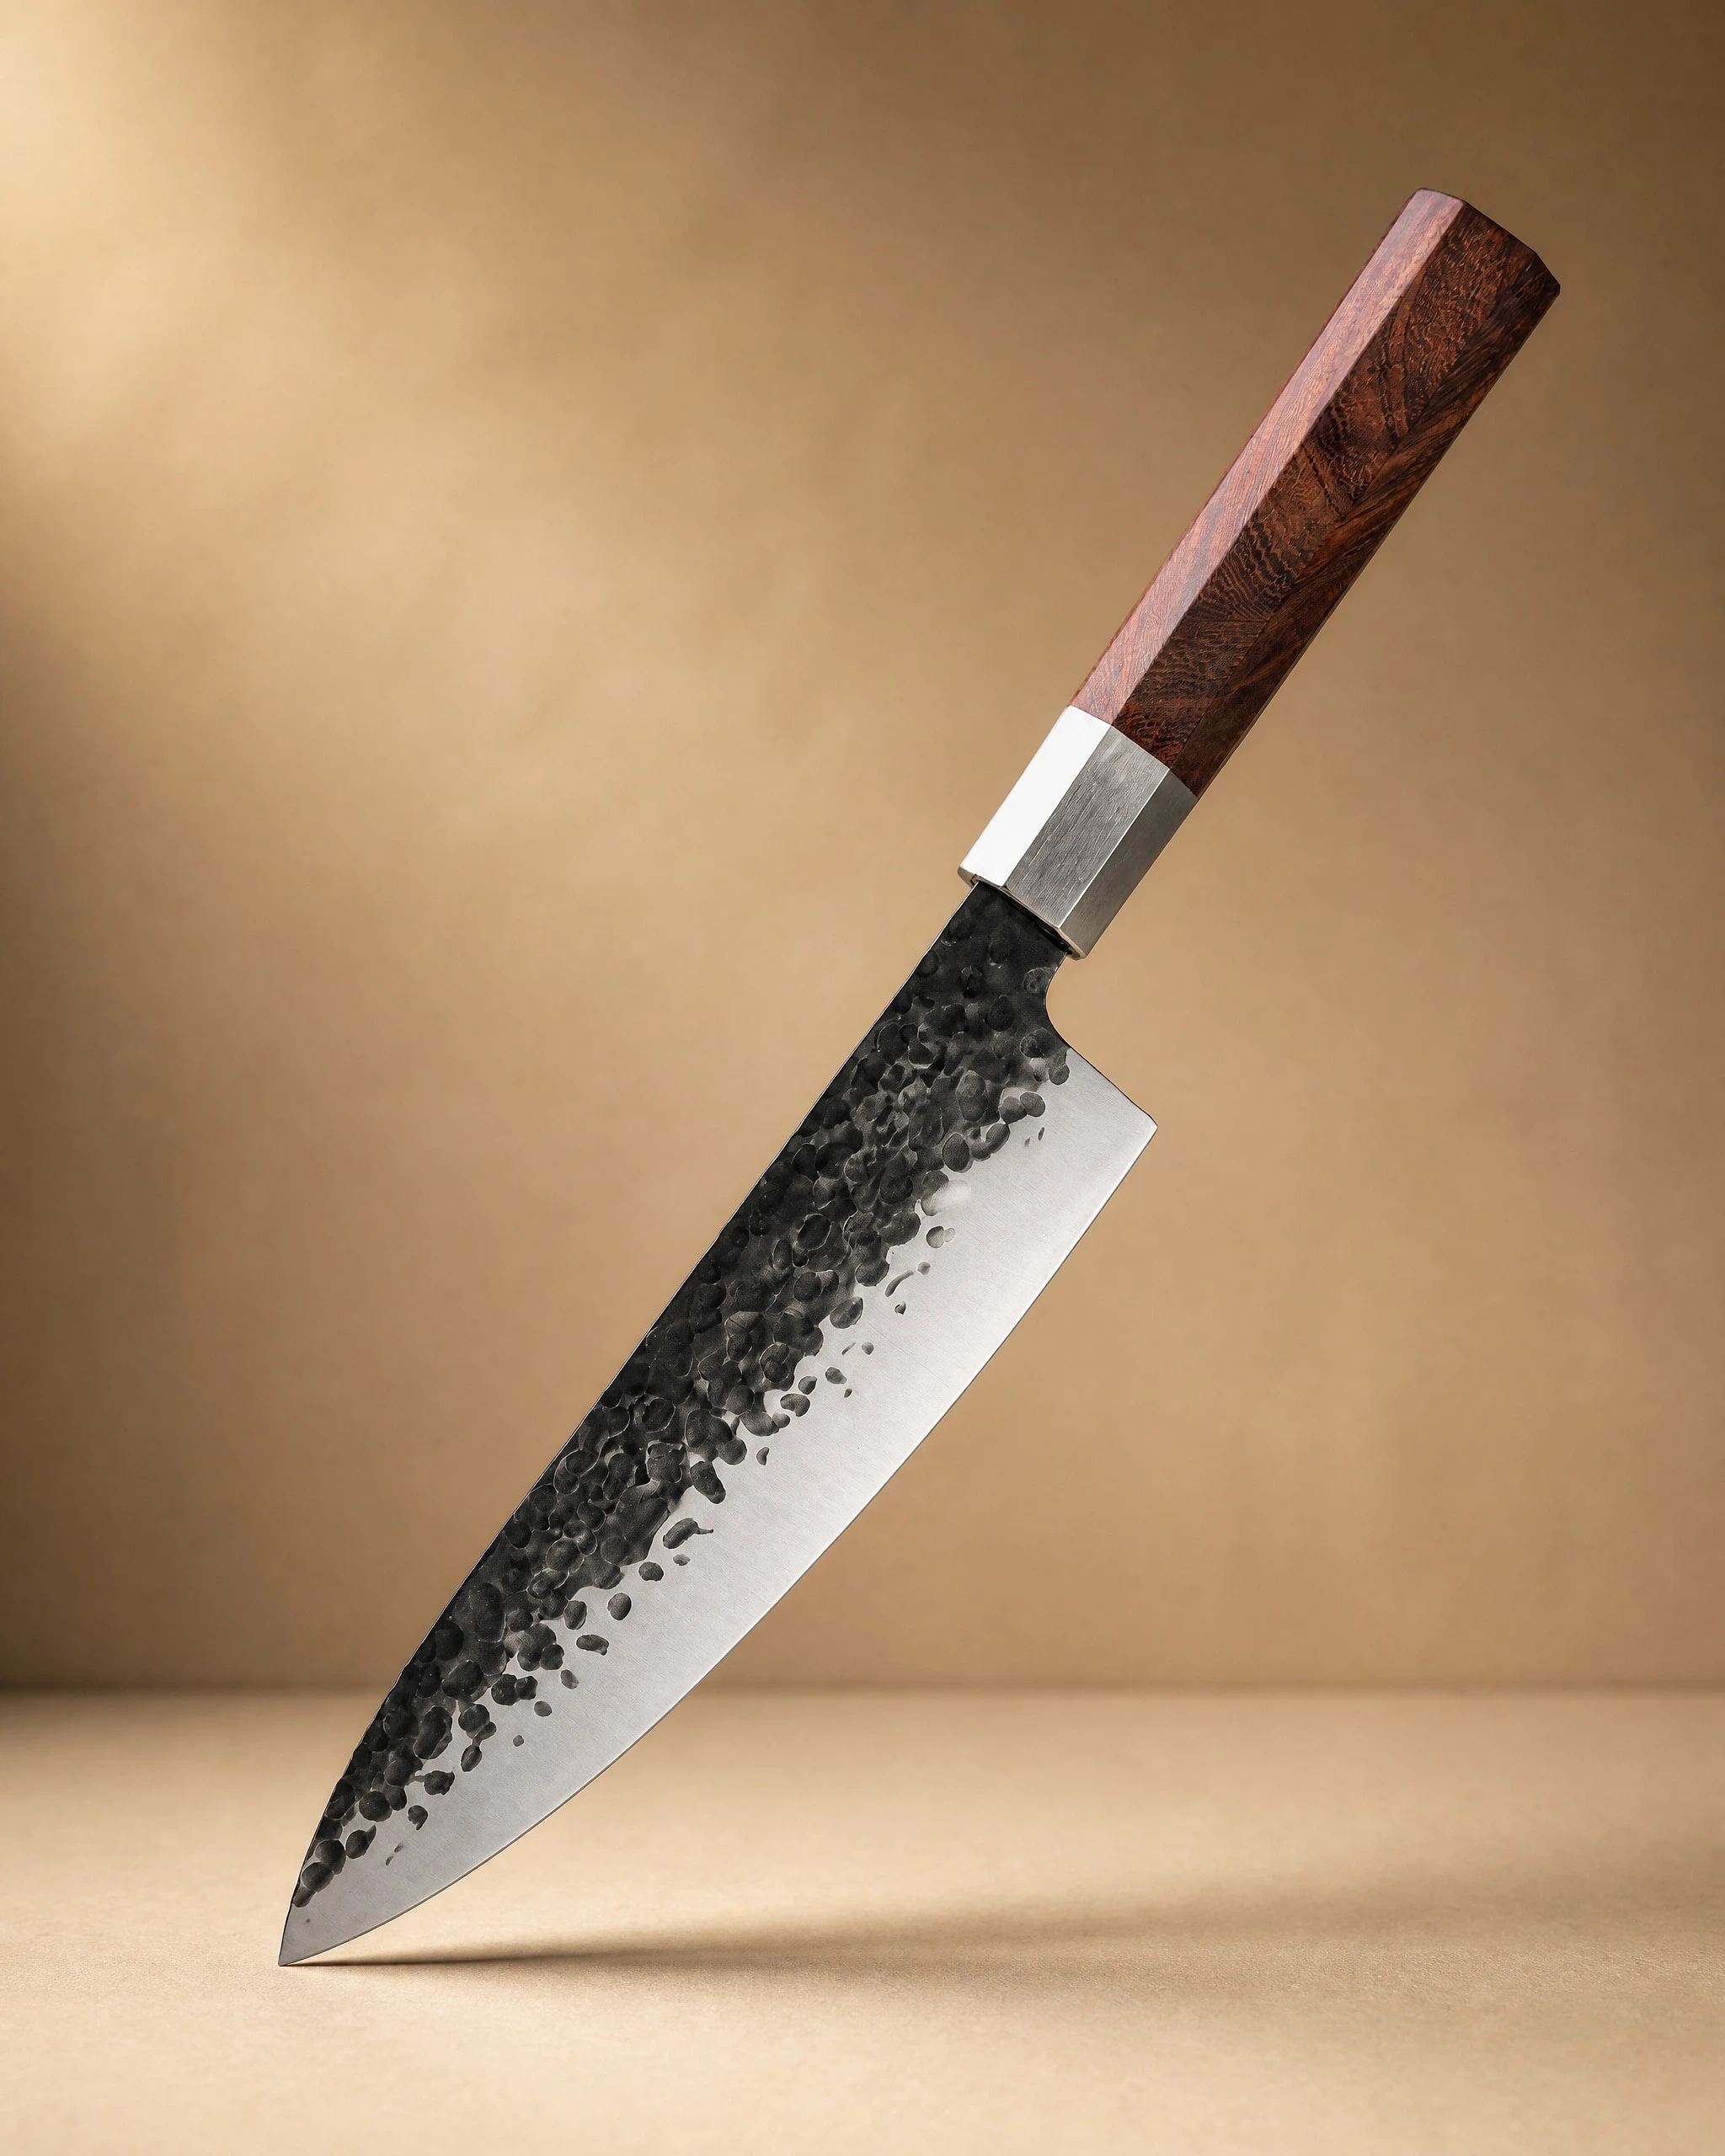 Sendai 8" Steel Gyuto Knife 牛刀$49.99View product → and
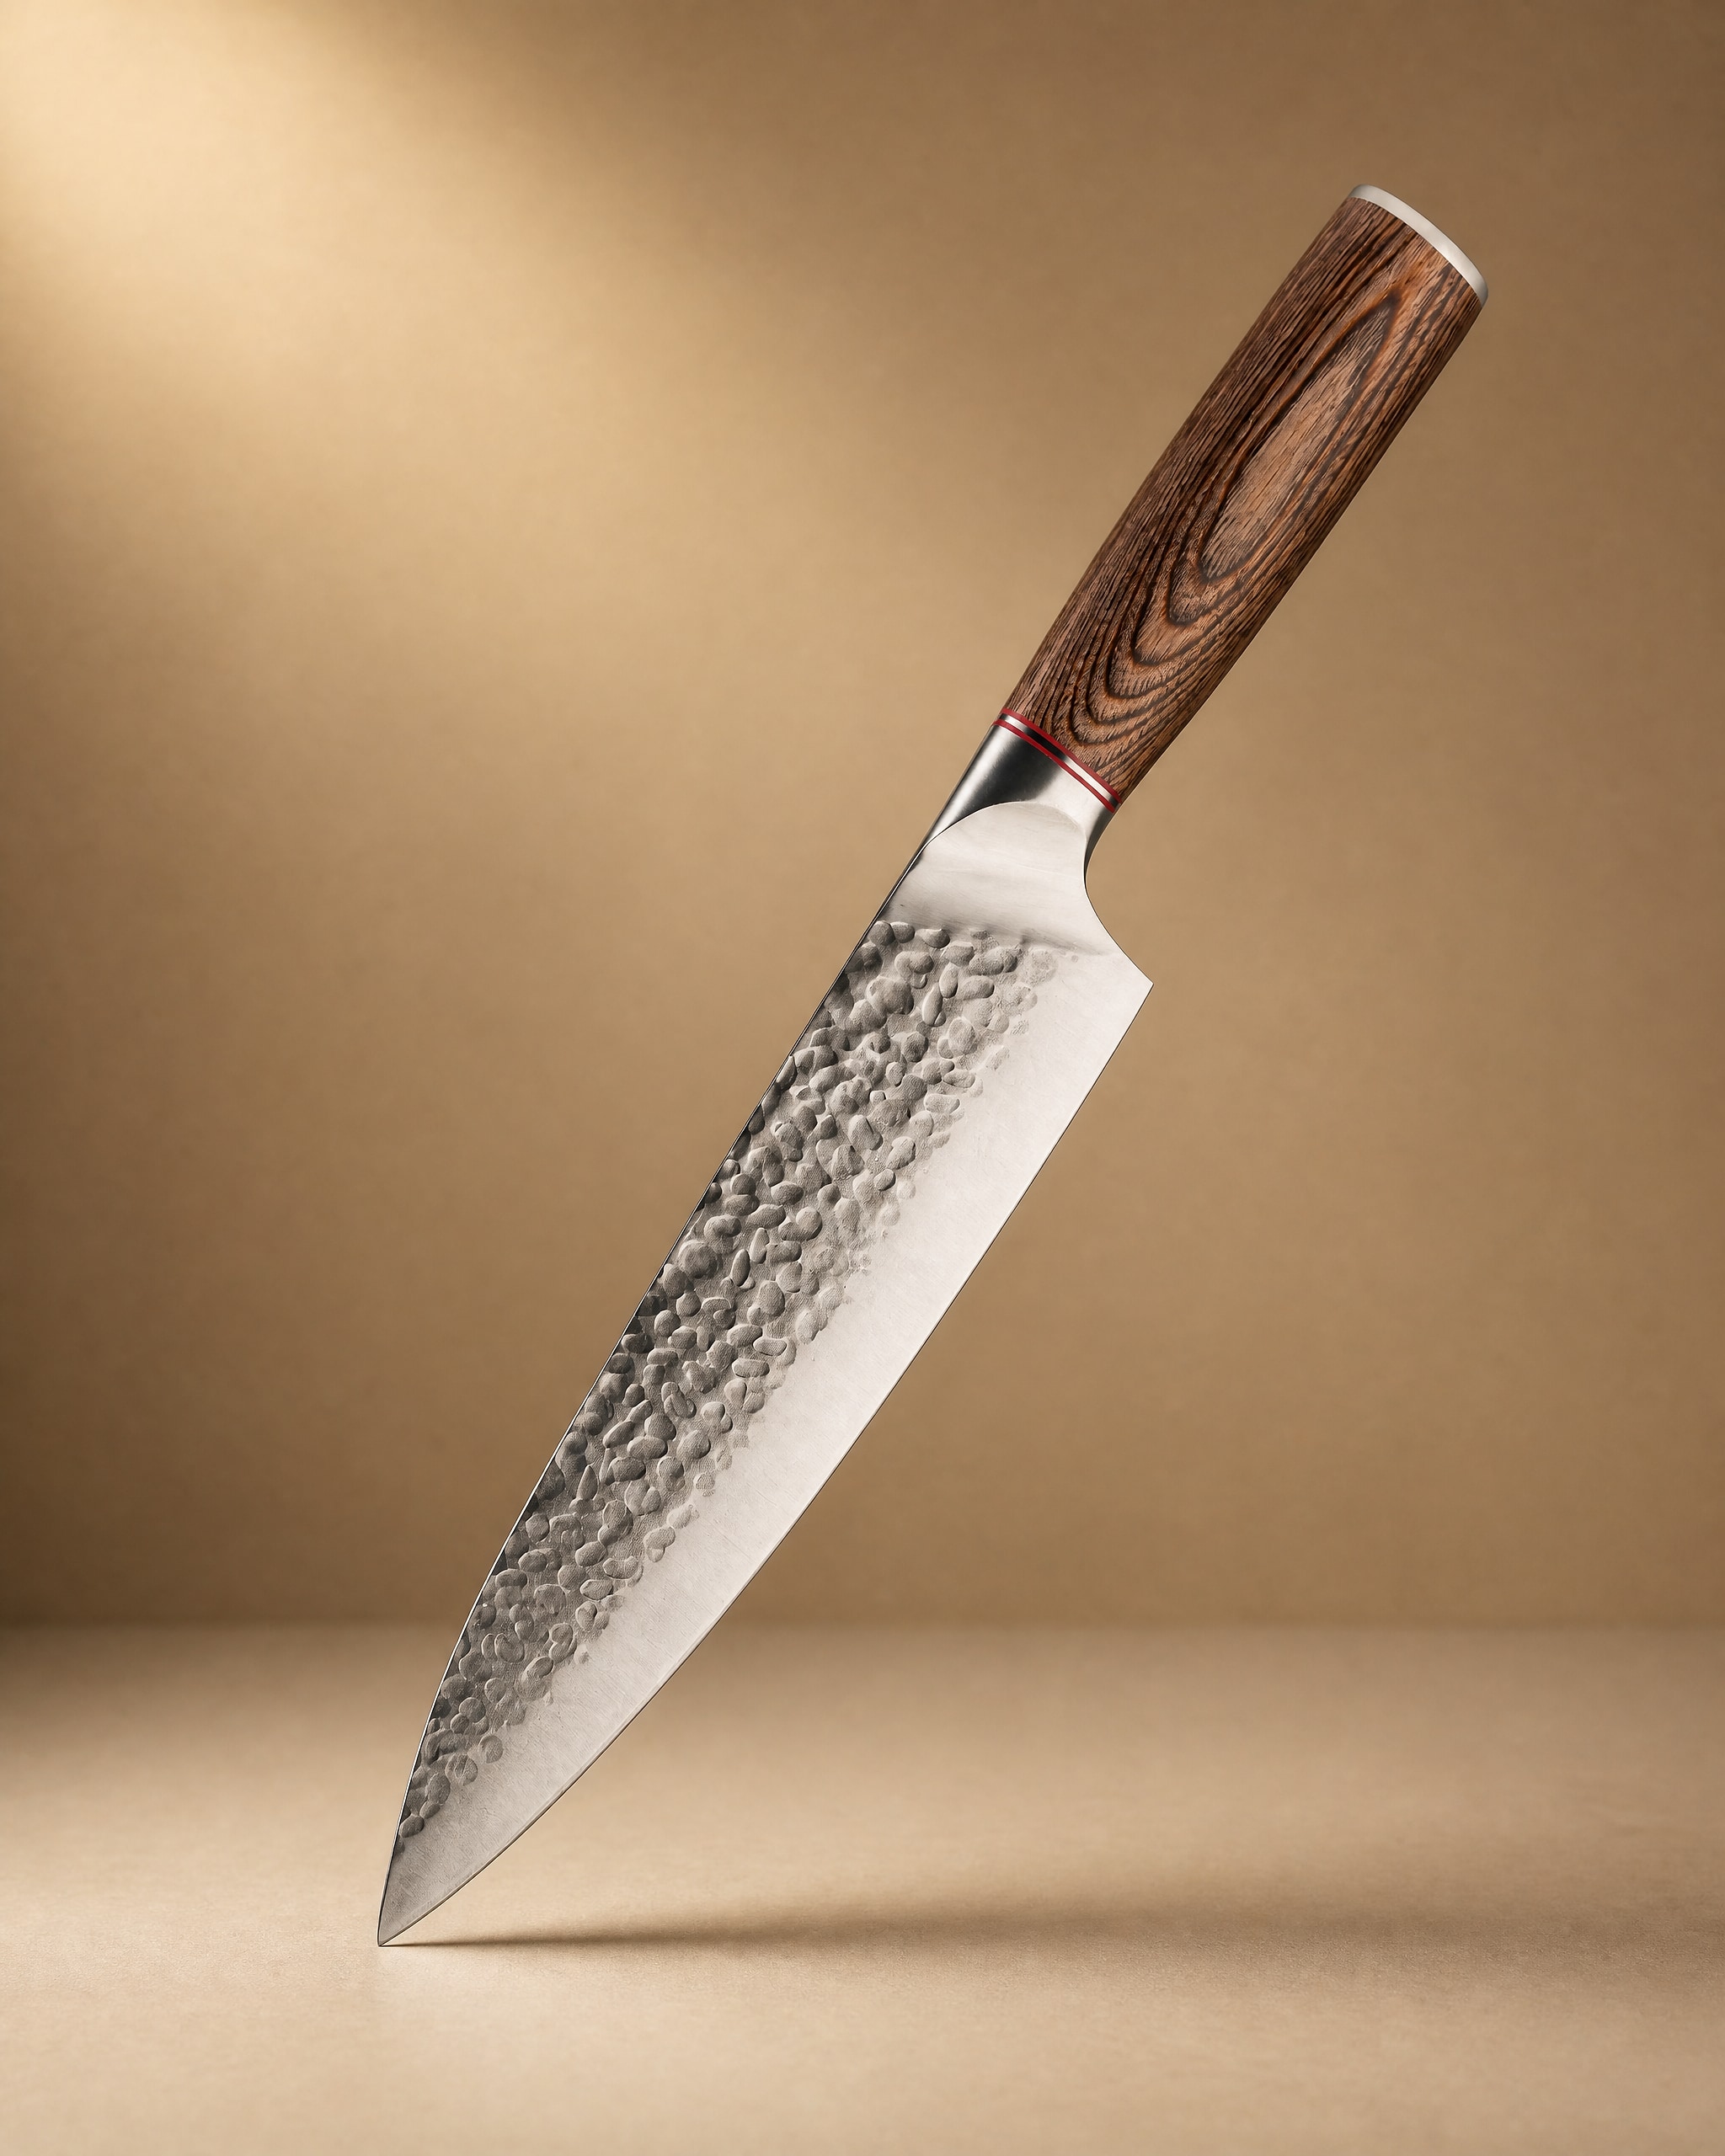 Akan 8'' Gyuto Knife 牛刀$49.99View product →. Both are built for everyday prep, the kind of cutting a yanagiba should never touch. Keep one sharp and use it for the onions, the herbs, and the trim.
Bread is another category. A long serrated blade does the job without crushing the crumb. The 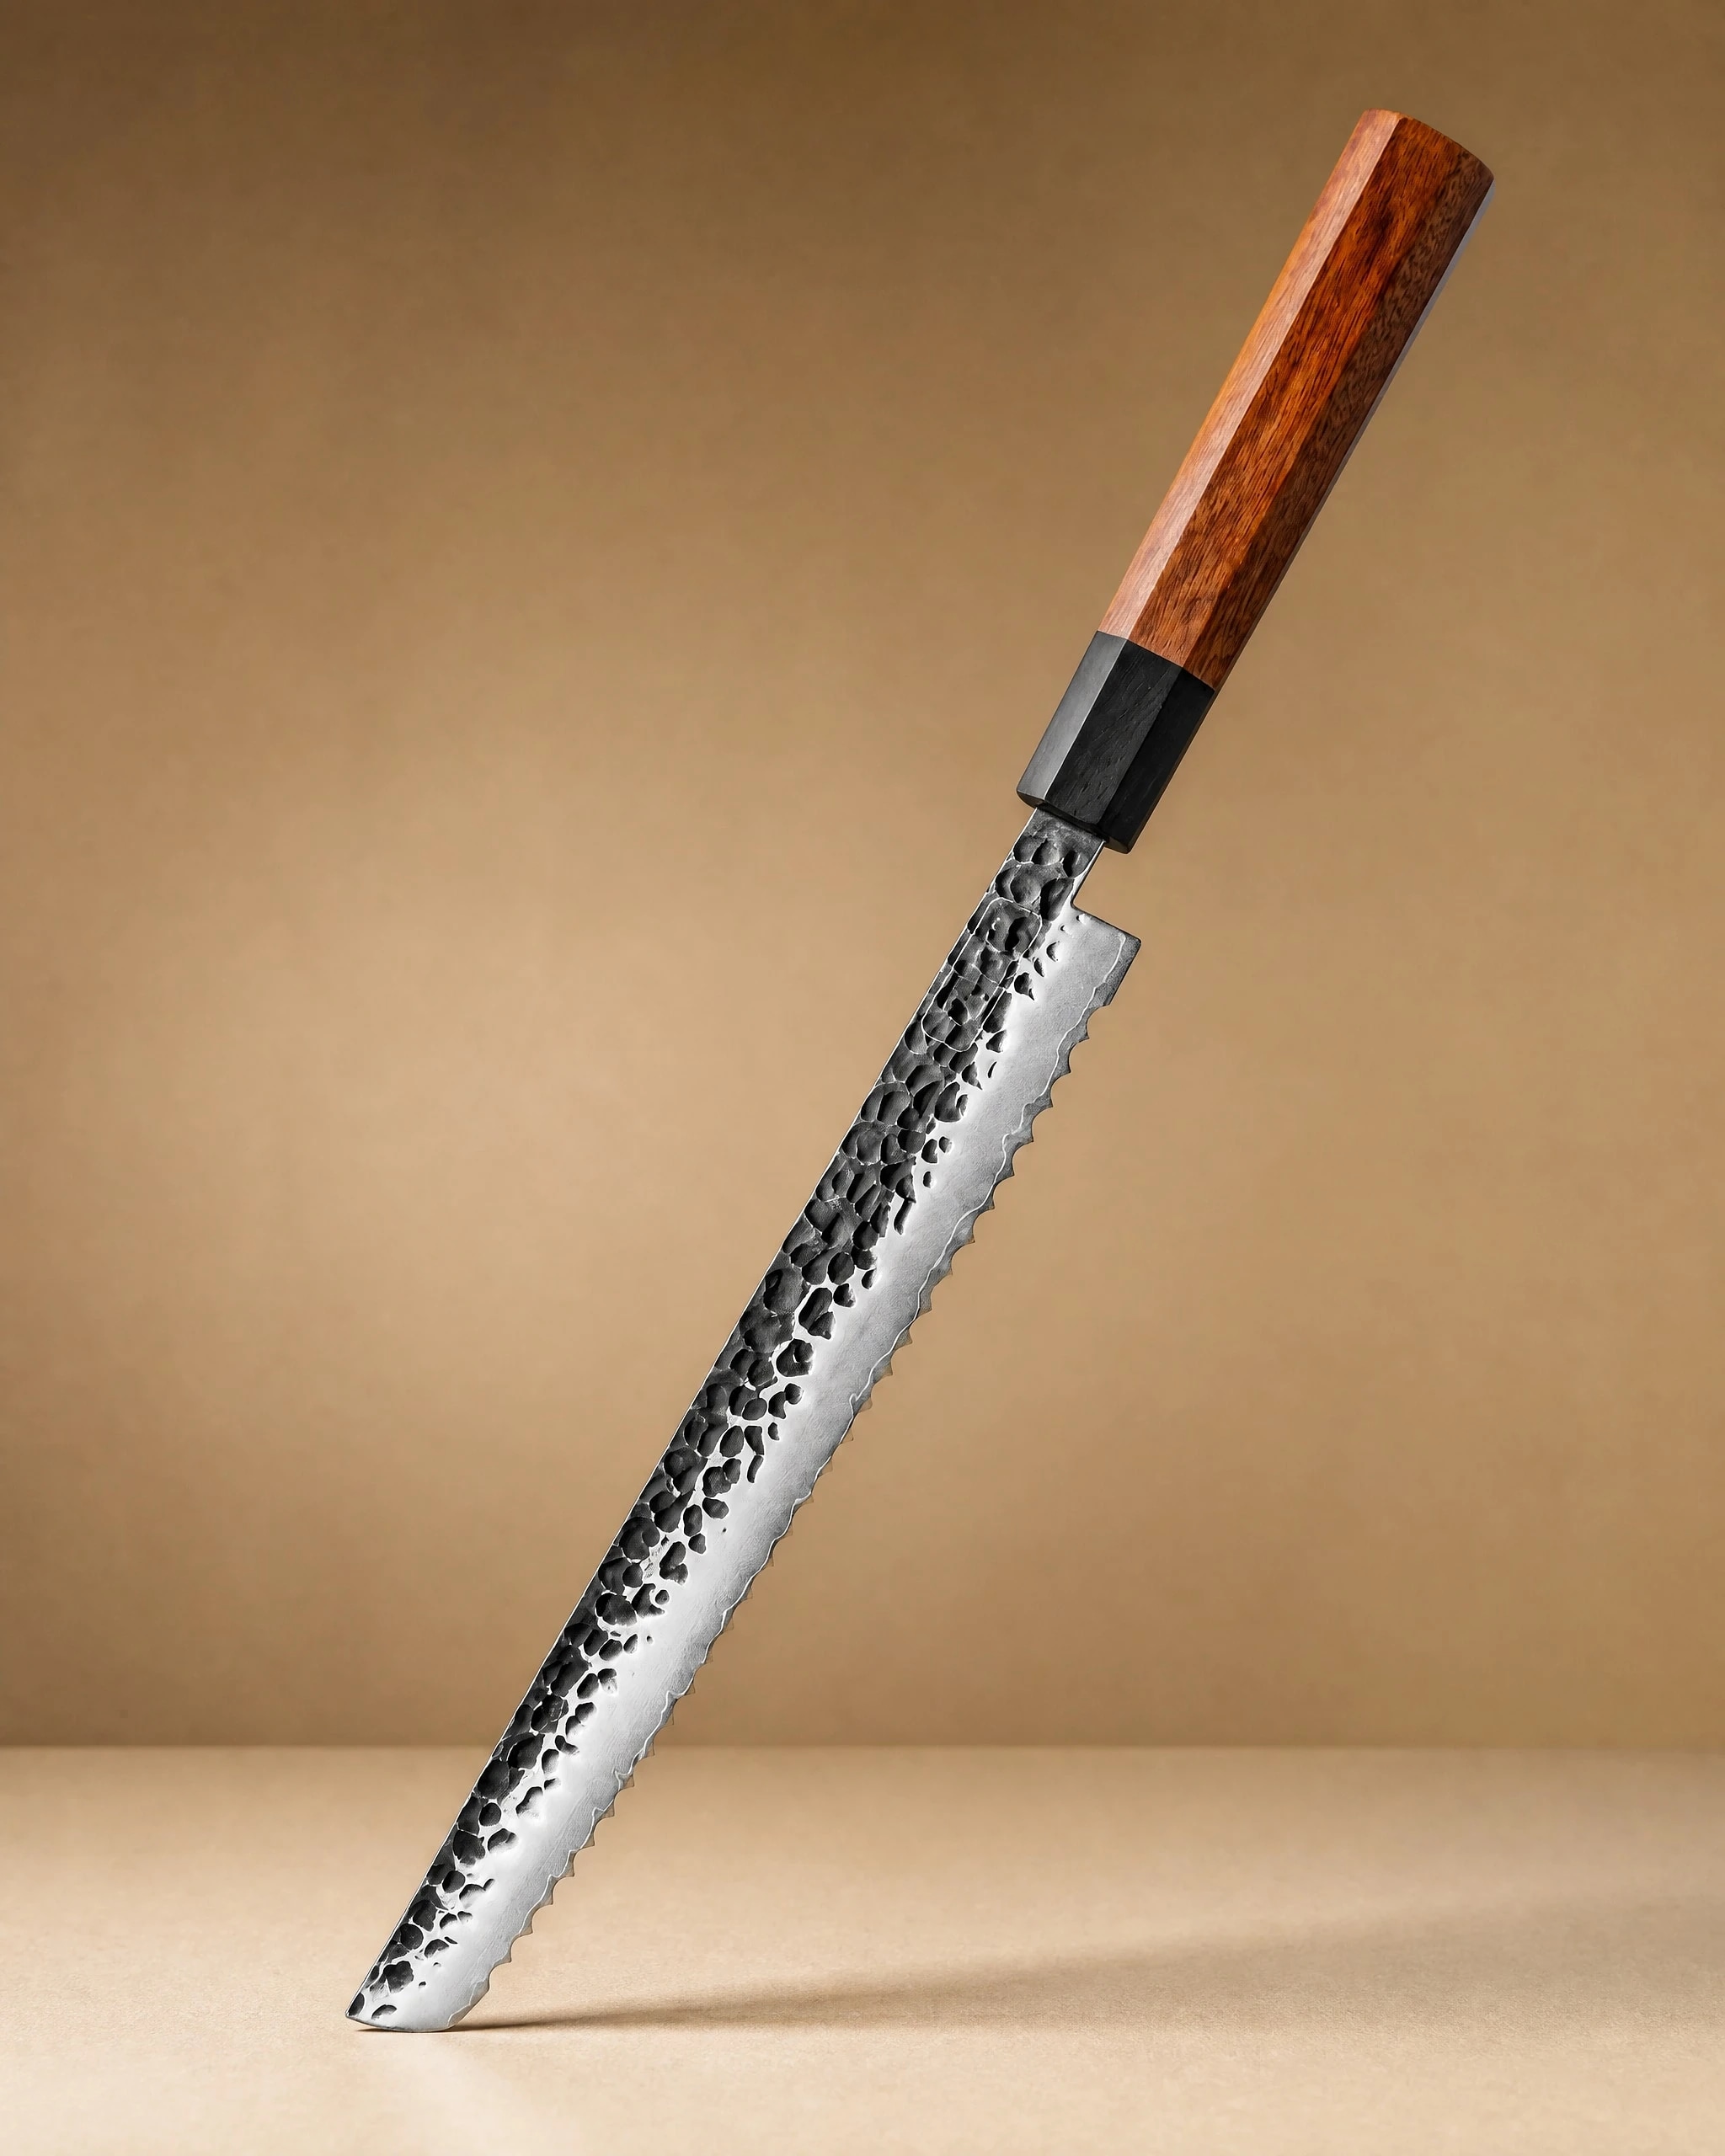 Rumoi 10" Japanese Bread Knife パン切りナイフ$59.99View product → is built for that task, and it belongs in the same drawer as the yanagiba for practical reasons.
Building a Set Around a Yanagiba
If you are starting from nothing, a matched set can work, as long as it covers the shapes you use. The 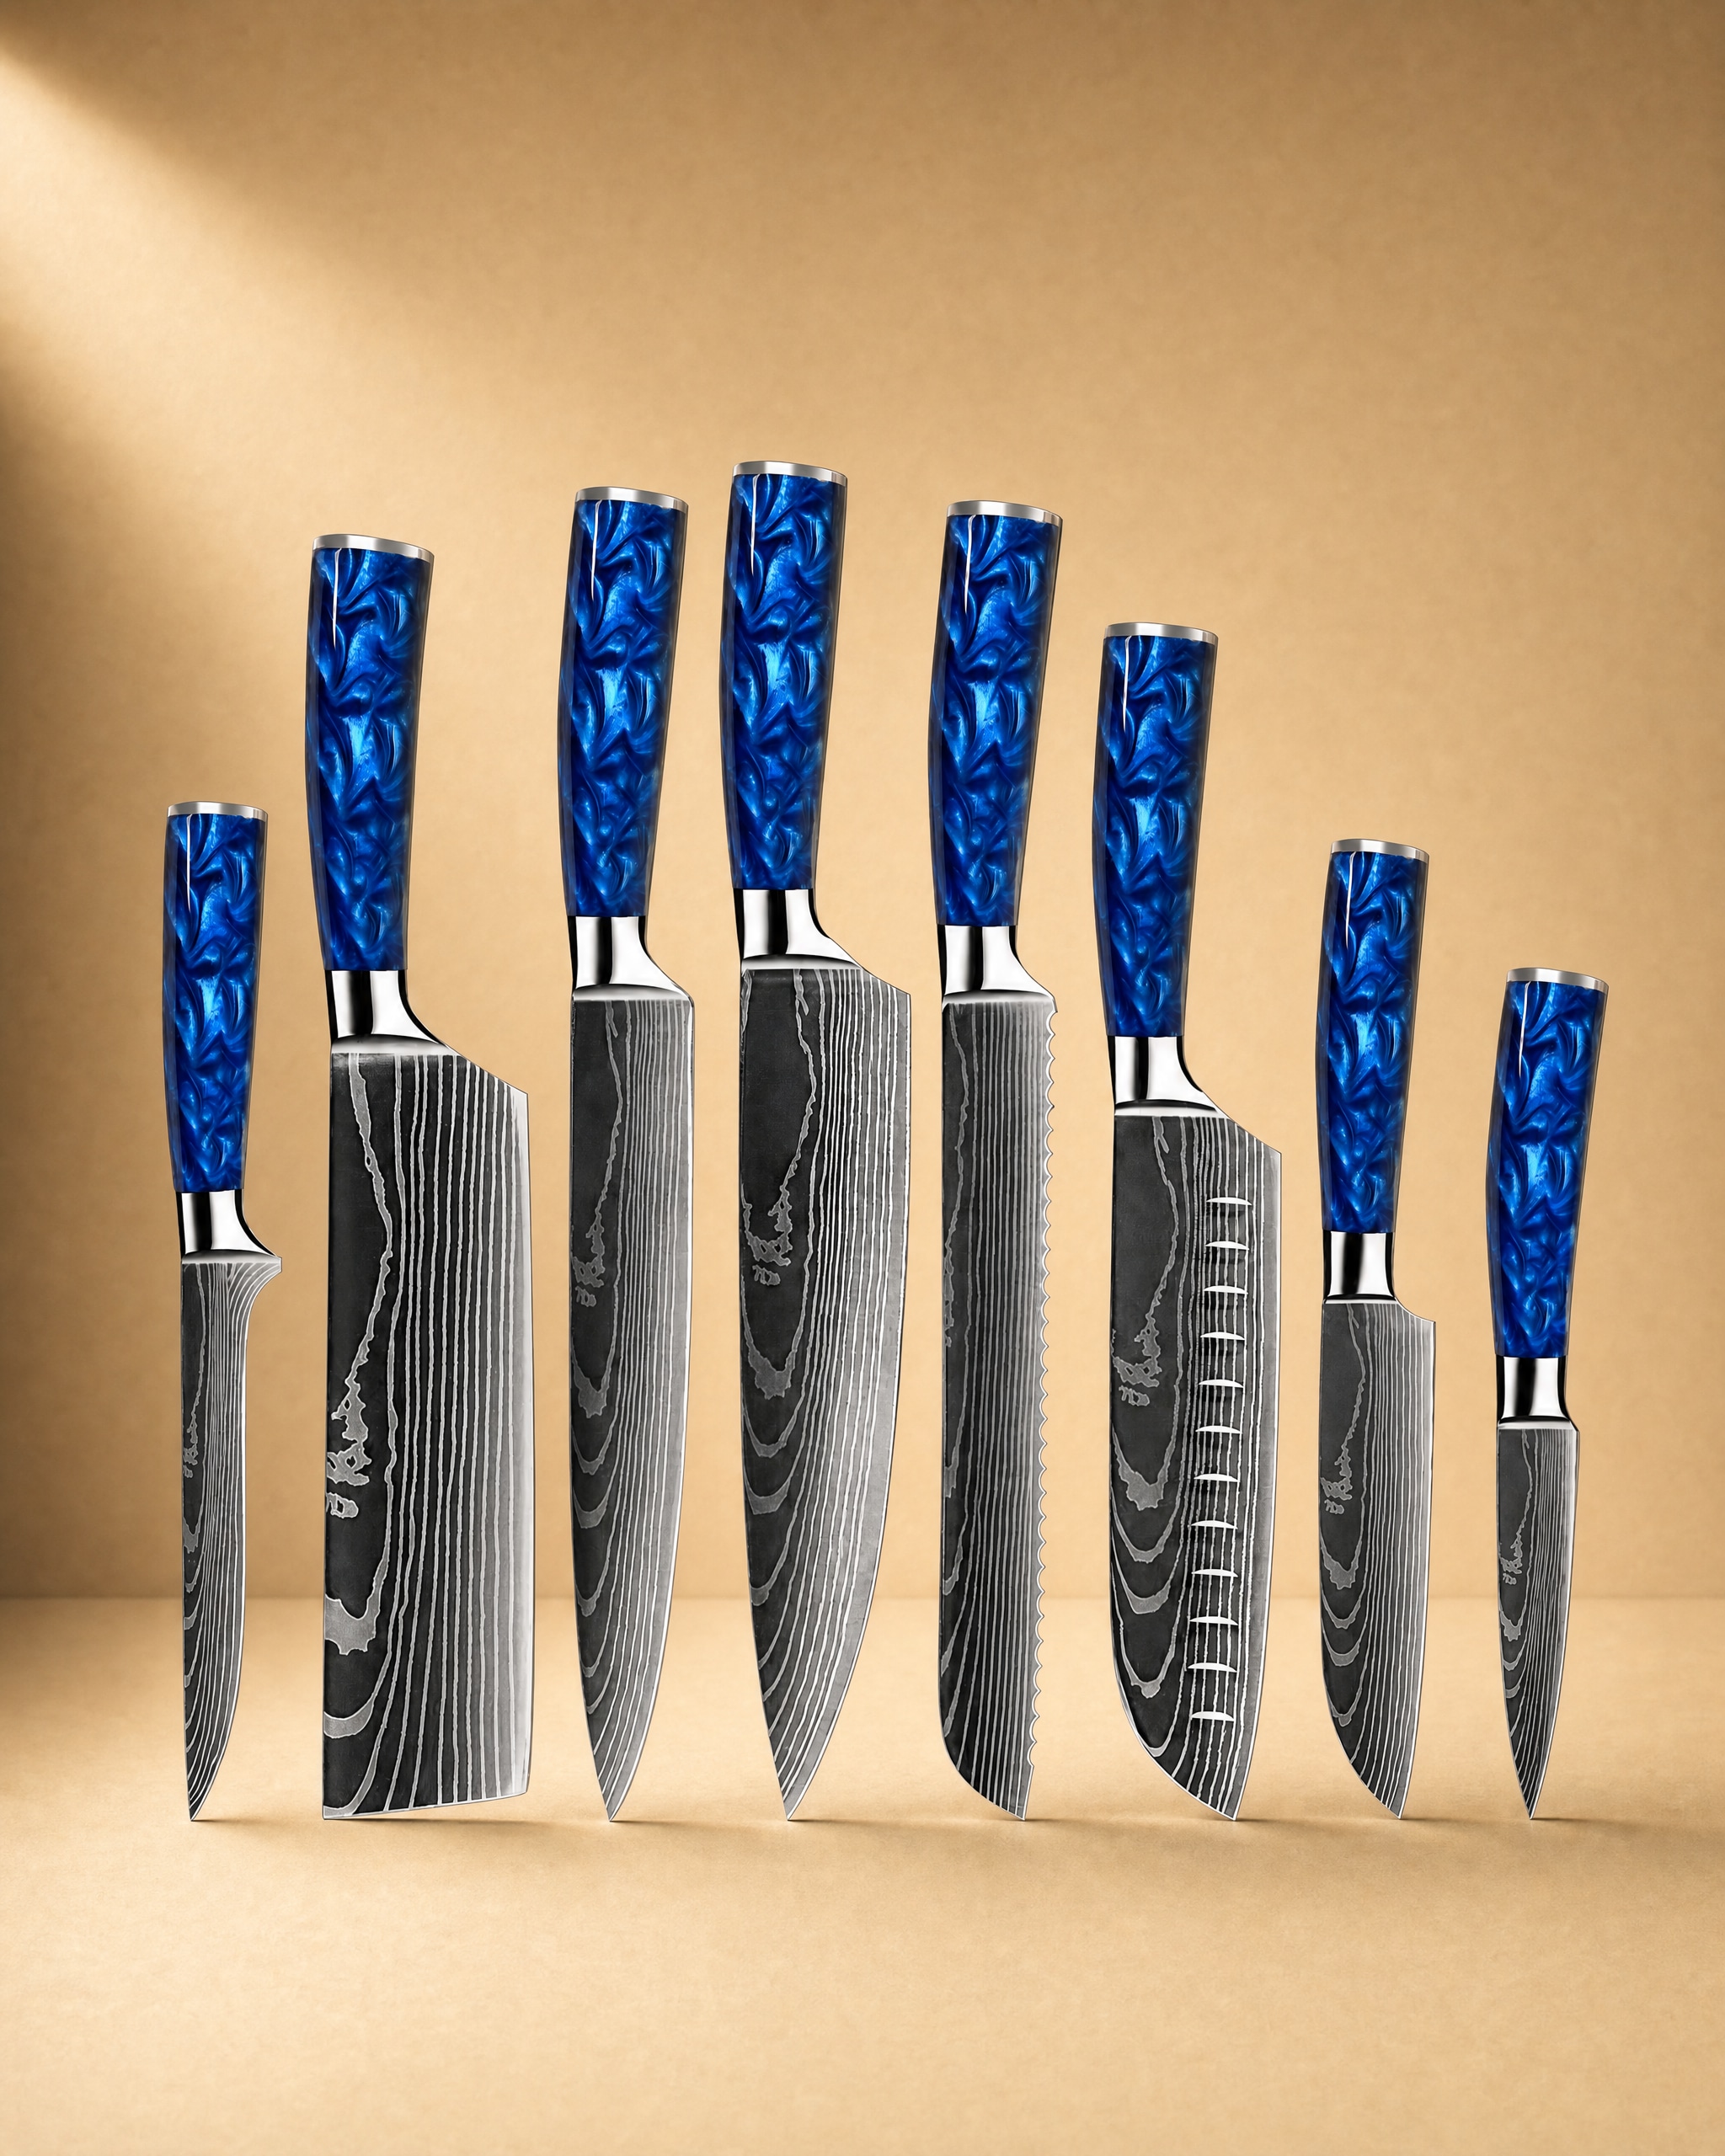 Shinano 信濃川 Damascus Pattern Stainless Steel Kitchen 8 Knife Set$149.99View product → covers the core knives a home cook needs, which frees you to add a yanagiba as the specialist piece.
You can see the full range in our knife shop. If you already own the basics and only need the slicer, buy the yanagiba on its own. There is no rule that says a knife collection has to match.
How to Choose Your First Yanagiba
Decide three things before you buy: steel, length, and handedness. Carbon steel takes a sharper edge but needs drying and oiling. Stainless is more forgiving. If you are unsure about maintenance, choose stainless or stainless clad carbon.
Length should match your board and your fish. For most home cooks, 240 mm or 270 mm is the sweet spot. For professional use or large fish, go longer.
Handedness is not optional. A yanagiba is ground for the right or the left hand. A right handed knife used by a left handed cook will steer the wrong way. Left handed yanagiba exist, but they are less common and often cost more.
Our knife guide walks through steel types, handle styles, and the questions to ask before any purchase. Read it before you spend money on a single bevel knife, because these are tools you keep for a long time.
A Short List of Mistakes
Do not cut warm fish. Do not slice with a pushing motion. Do not use a yanagiba on bones or frozen product. Do not sharpen on a pull through device. Do not leave the blade wet. Do not store it loose in a drawer where the edge can knock against other tools. Do not expect a single bevel knife to feel natural on the first cut.
Every one of those mistakes is common, and every one has a simple fix. Learn what the knife is for, use it for that, and it will give you clean slices.
Photography: blackieshoot via Unsplash.


