
Yanagiba Basics: The Sushi Knife and How to Use It

A yanagiba is not a chef's knife with a different handle. It is a single bevel tool built around one task: turning a piece of fish into slices that hold their shape, look clean on the plate, and feel right in the mouth. Plenty of home cooks buy one, use it twice, and put it away because nobody explained how it works. If you break down loins, portion sashimi, or top nigiri, a yanagiba sushi knife will do something no gyuto can. Here is what it is, what it is actually for, and how to slice with it.
What a Yanagiba Actually Is
The name means willow blade, and the profile explains it: long, narrow, tapering to a fine point, with a gentle rise along the spine. Working lengths run from about 240mm to 330mm, with 270mm and 300mm the common sizes in a sushi bar. The blade is single bevel. A right handed yanagiba carries its grind on the right face as you hold it, with a hollow ground back on the left. Left handed versions exist, but they are less common and cost more.
That construction is not decoration. A single bevel can be taken to a more acute edge than a double bevel in the same steel, and the hollow ground back, the uraoshi, means only a narrow strip near the edge meets the stone. The result is an edge that separates clean flesh with very little resistance. It is also an edge that will not survive a pin bone, a cracked board, or a wet drawer.
Why the Shape Cuts the Way It Does
The shinogi is the line where the flat face of the blade meets the bevel. On a well made knife that line is straight, and it does two jobs. It gives a long, thin blade enough stiffness to stay true through the cut, and it acts as a shoulder that pushes the slice away as the cut finishes, so the fish releases instead of clinging to the steel.
Because there is only one bevel, the blade drifts slightly as it moves through dense flesh. Beginners read that drift as the knife wandering. It is not wandering. A steady hand learns to use it, following the natural seam of the fish rather than forcing the angle. That is the part of yanagiba knife uses that takes practice, and no amount of reading replaces time on the board.
Yanagiba Knife Uses, and What It Is Not For
A yanagiba is for fish, and for protein that behaves like fish: sashimi slices, portioning a loin into blocks, trimming dark bloodline and silverskin, cutting nigiri toppings, and making the long single stroke cuts that give a slice a flat, glassy face.
It is not for bones, frozen fish, crusty bread, winter squash, or anything you would attack with a rocking motion. The edge is thin and the blade is long. One careless cut through a pin bone leaves a nick you will feel on the stones for weeks, and rocking on a hard board chips the edge at the heel. If you want one knife to do everything, buy a gyuto and leave the yanagiba for fish.
Yanagiba Slicing Technique
The cut is a draw, not a push and definitely not a saw. You start at the heel, travel to the tip in one continuous motion, and let the length of the blade do the work. Four things matter:
- Cold, dry fish on a board that does not move. Warm fish tears, and a wet surface lets the piece slide under the edge.
- A pinch grip: thumb and forefinger on the blade just ahead of the handle, remaining fingers wrapped around the handle. The blade becomes an extension of the wrist instead of a lever in it.
- A shallow angle. Lay the blade close to the flesh with the edge just biting, then open the angle a few degrees into the cut.
- One stroke, heel to tip, with almost no downward pressure. The tip should exit the far side of the piece. If you stop halfway and restart, you get a step in the surface.
Which face of the blade goes toward the fish? Practice differs. Many chefs keep the flat back toward the slice they intend to serve, so the visible cut surface is flat and even, with the bevel facing the trim. Others reverse it for certain fish and certain cuts. Try both on a piece you were going to trim anyway and look at the two surfaces side by side. Your eyes and your knife hand will settle the question faster than any rule.
Pressure is the other habit to break. A sharp yanagiba does not need to be pushed. The weight of the blade plus a smooth draw is enough. Lean on it and the edge deflects, the slice goes wedge shaped, and the cut face turns ragged.

Length, Steel, and Handle
Match the blade to the fish. A 240mm suits small loins and home portions. A 270mm is the usual working length in a sushi bar. A 300mm or longer blade is for large tuna and for cuts that need to run the full length of a block in one pass. Longer knives need more board space and more stone time, so do not buy the biggest blade you can find.
Steel is a real decision. Carbon steels take the keenest edge and are the traditional choice, but they discolor, take a patina, and rust if left wet for ten minutes. Stainless and semi stainless steels give up a little peak sharpness and forgive a great deal more. For a first single bevel knife, stainless is the honest recommendation.
Most yanagiba use a wa handle, often octagonal, with a horn ferrule. Check that the tang sits tight with no gap where the blade enters the handle, and that the spine lines up straight when you sight down the blade.
Where It Fits With the Rest of Your Knives
The yanagiba will not be your most used knife unless you cut fish for a living. That role belongs to a gyuto, and the rest of the kitchen still needs covering. A 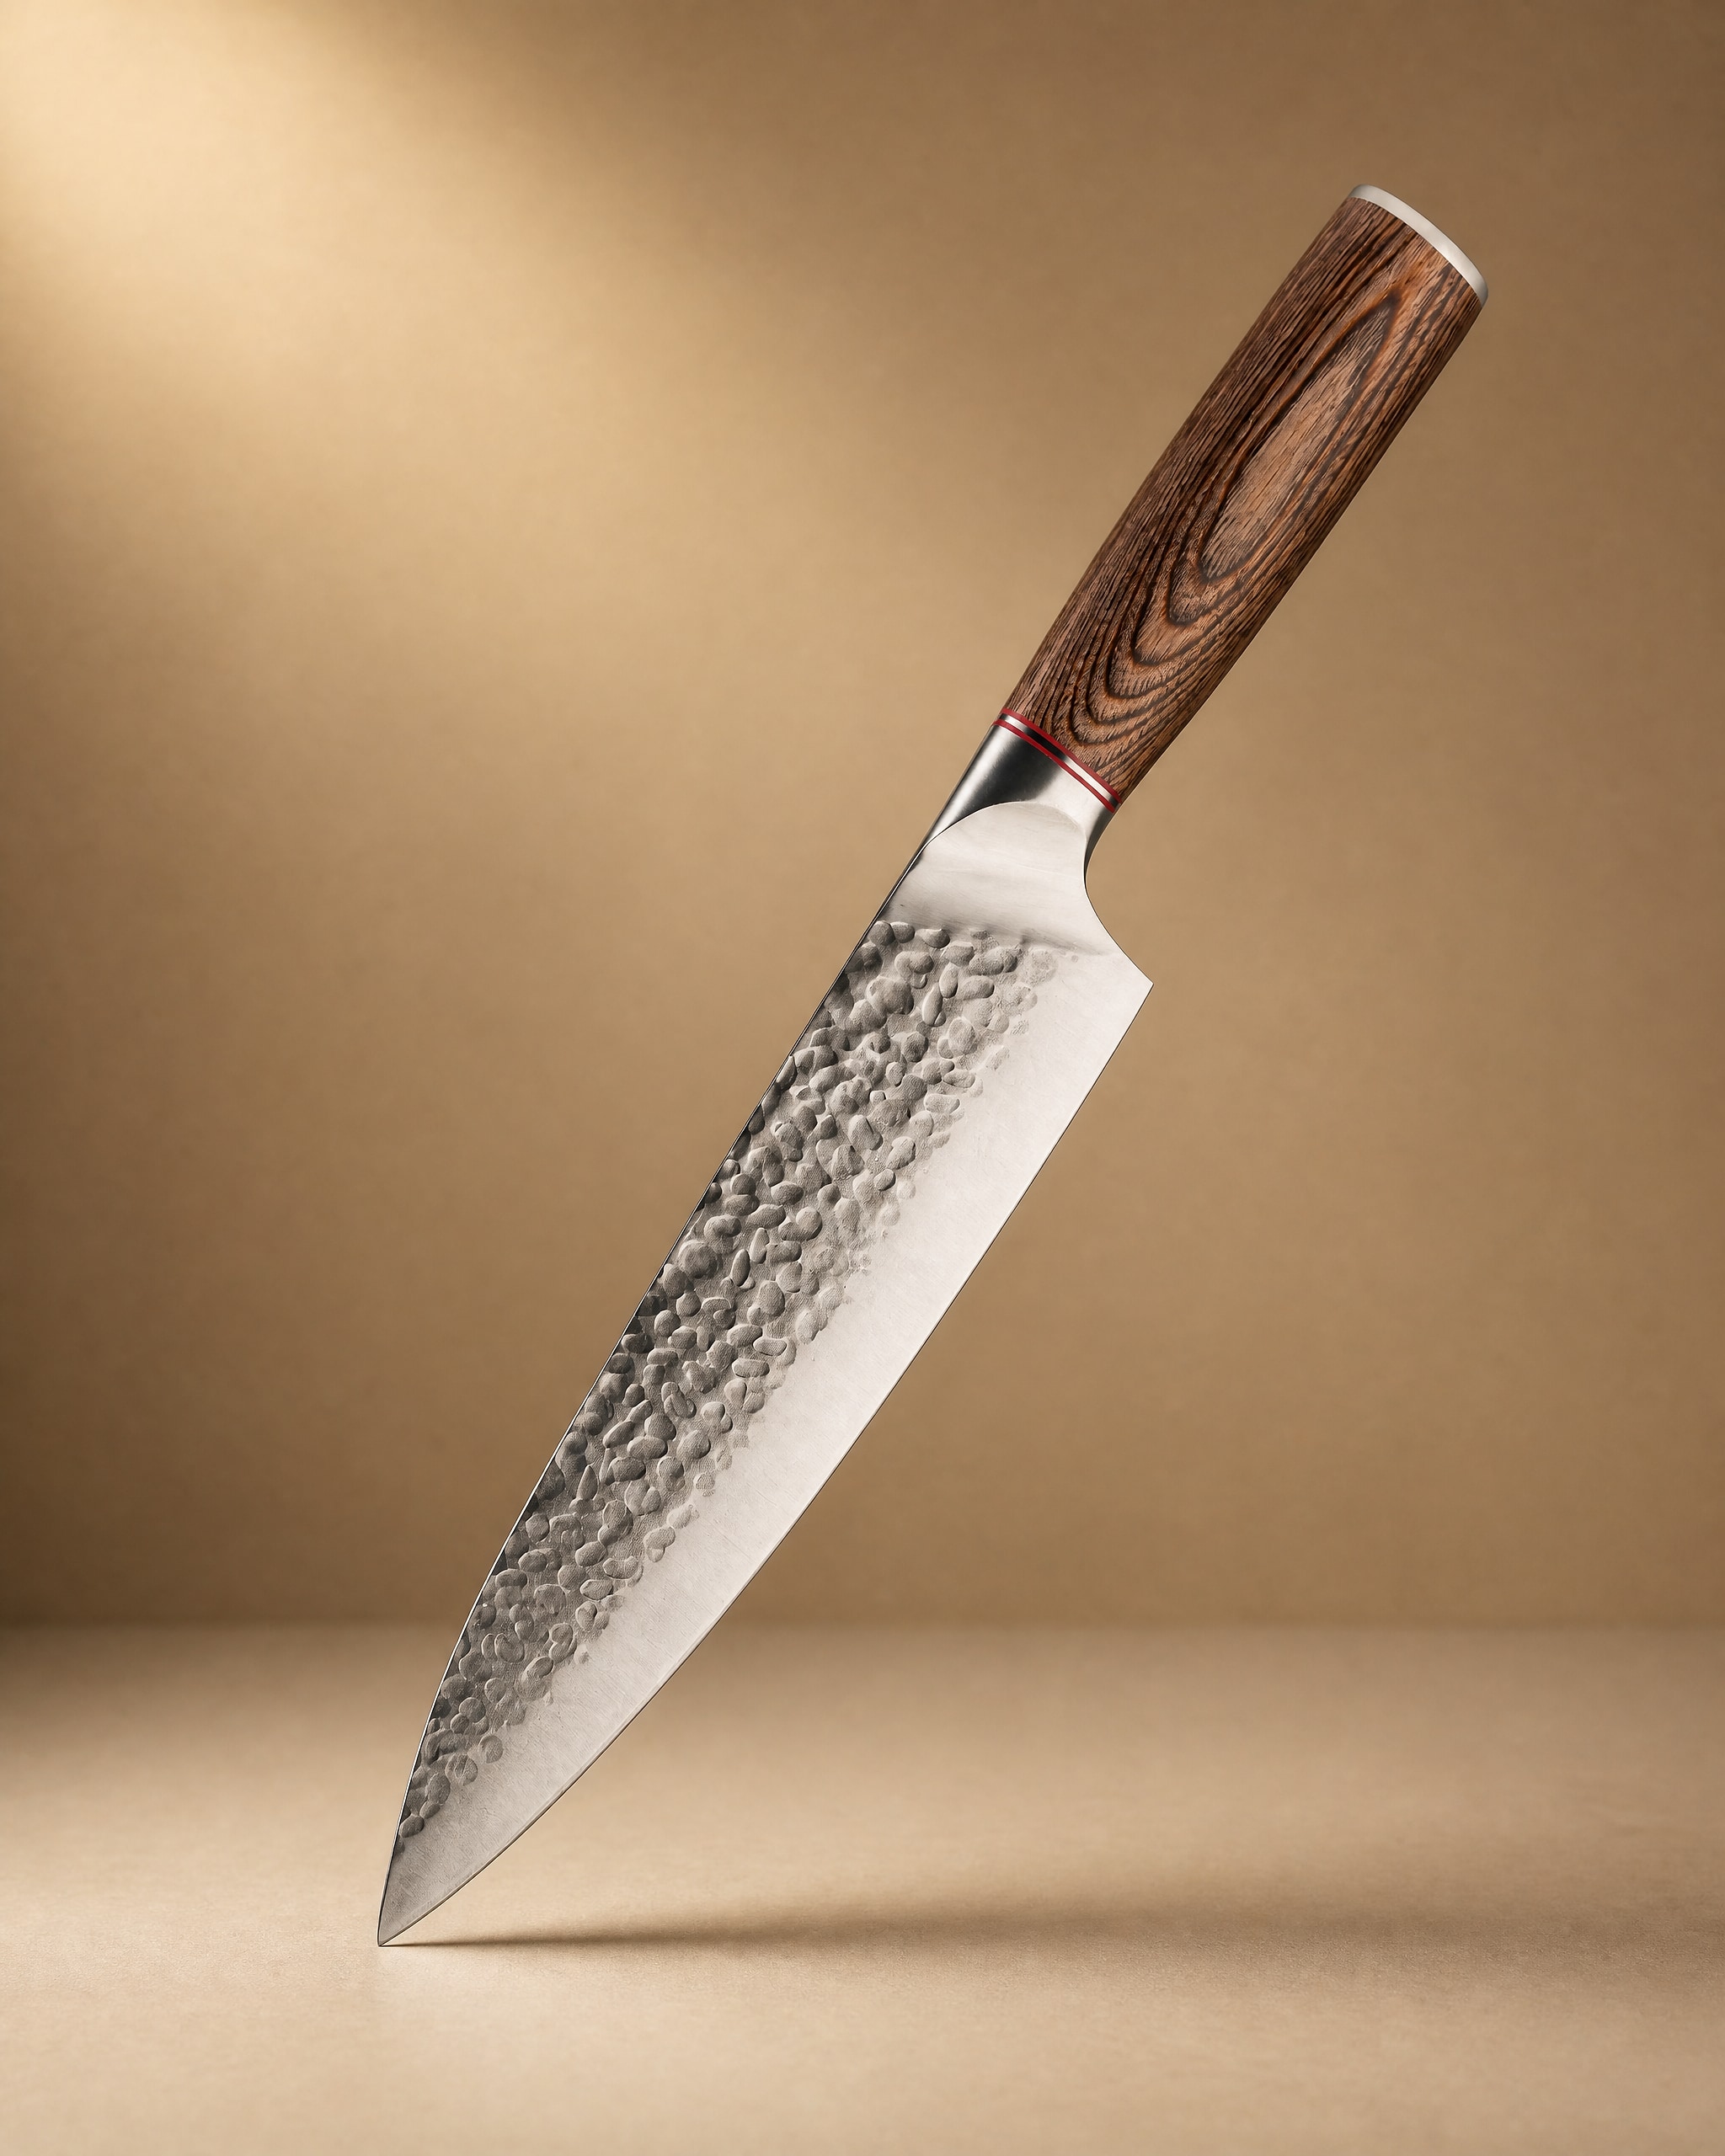 Akan 8'' Gyuto Knife 牛刀$49.99View product → handles the vegetables, herbs, and cooked proteins that fill most of a week, and a
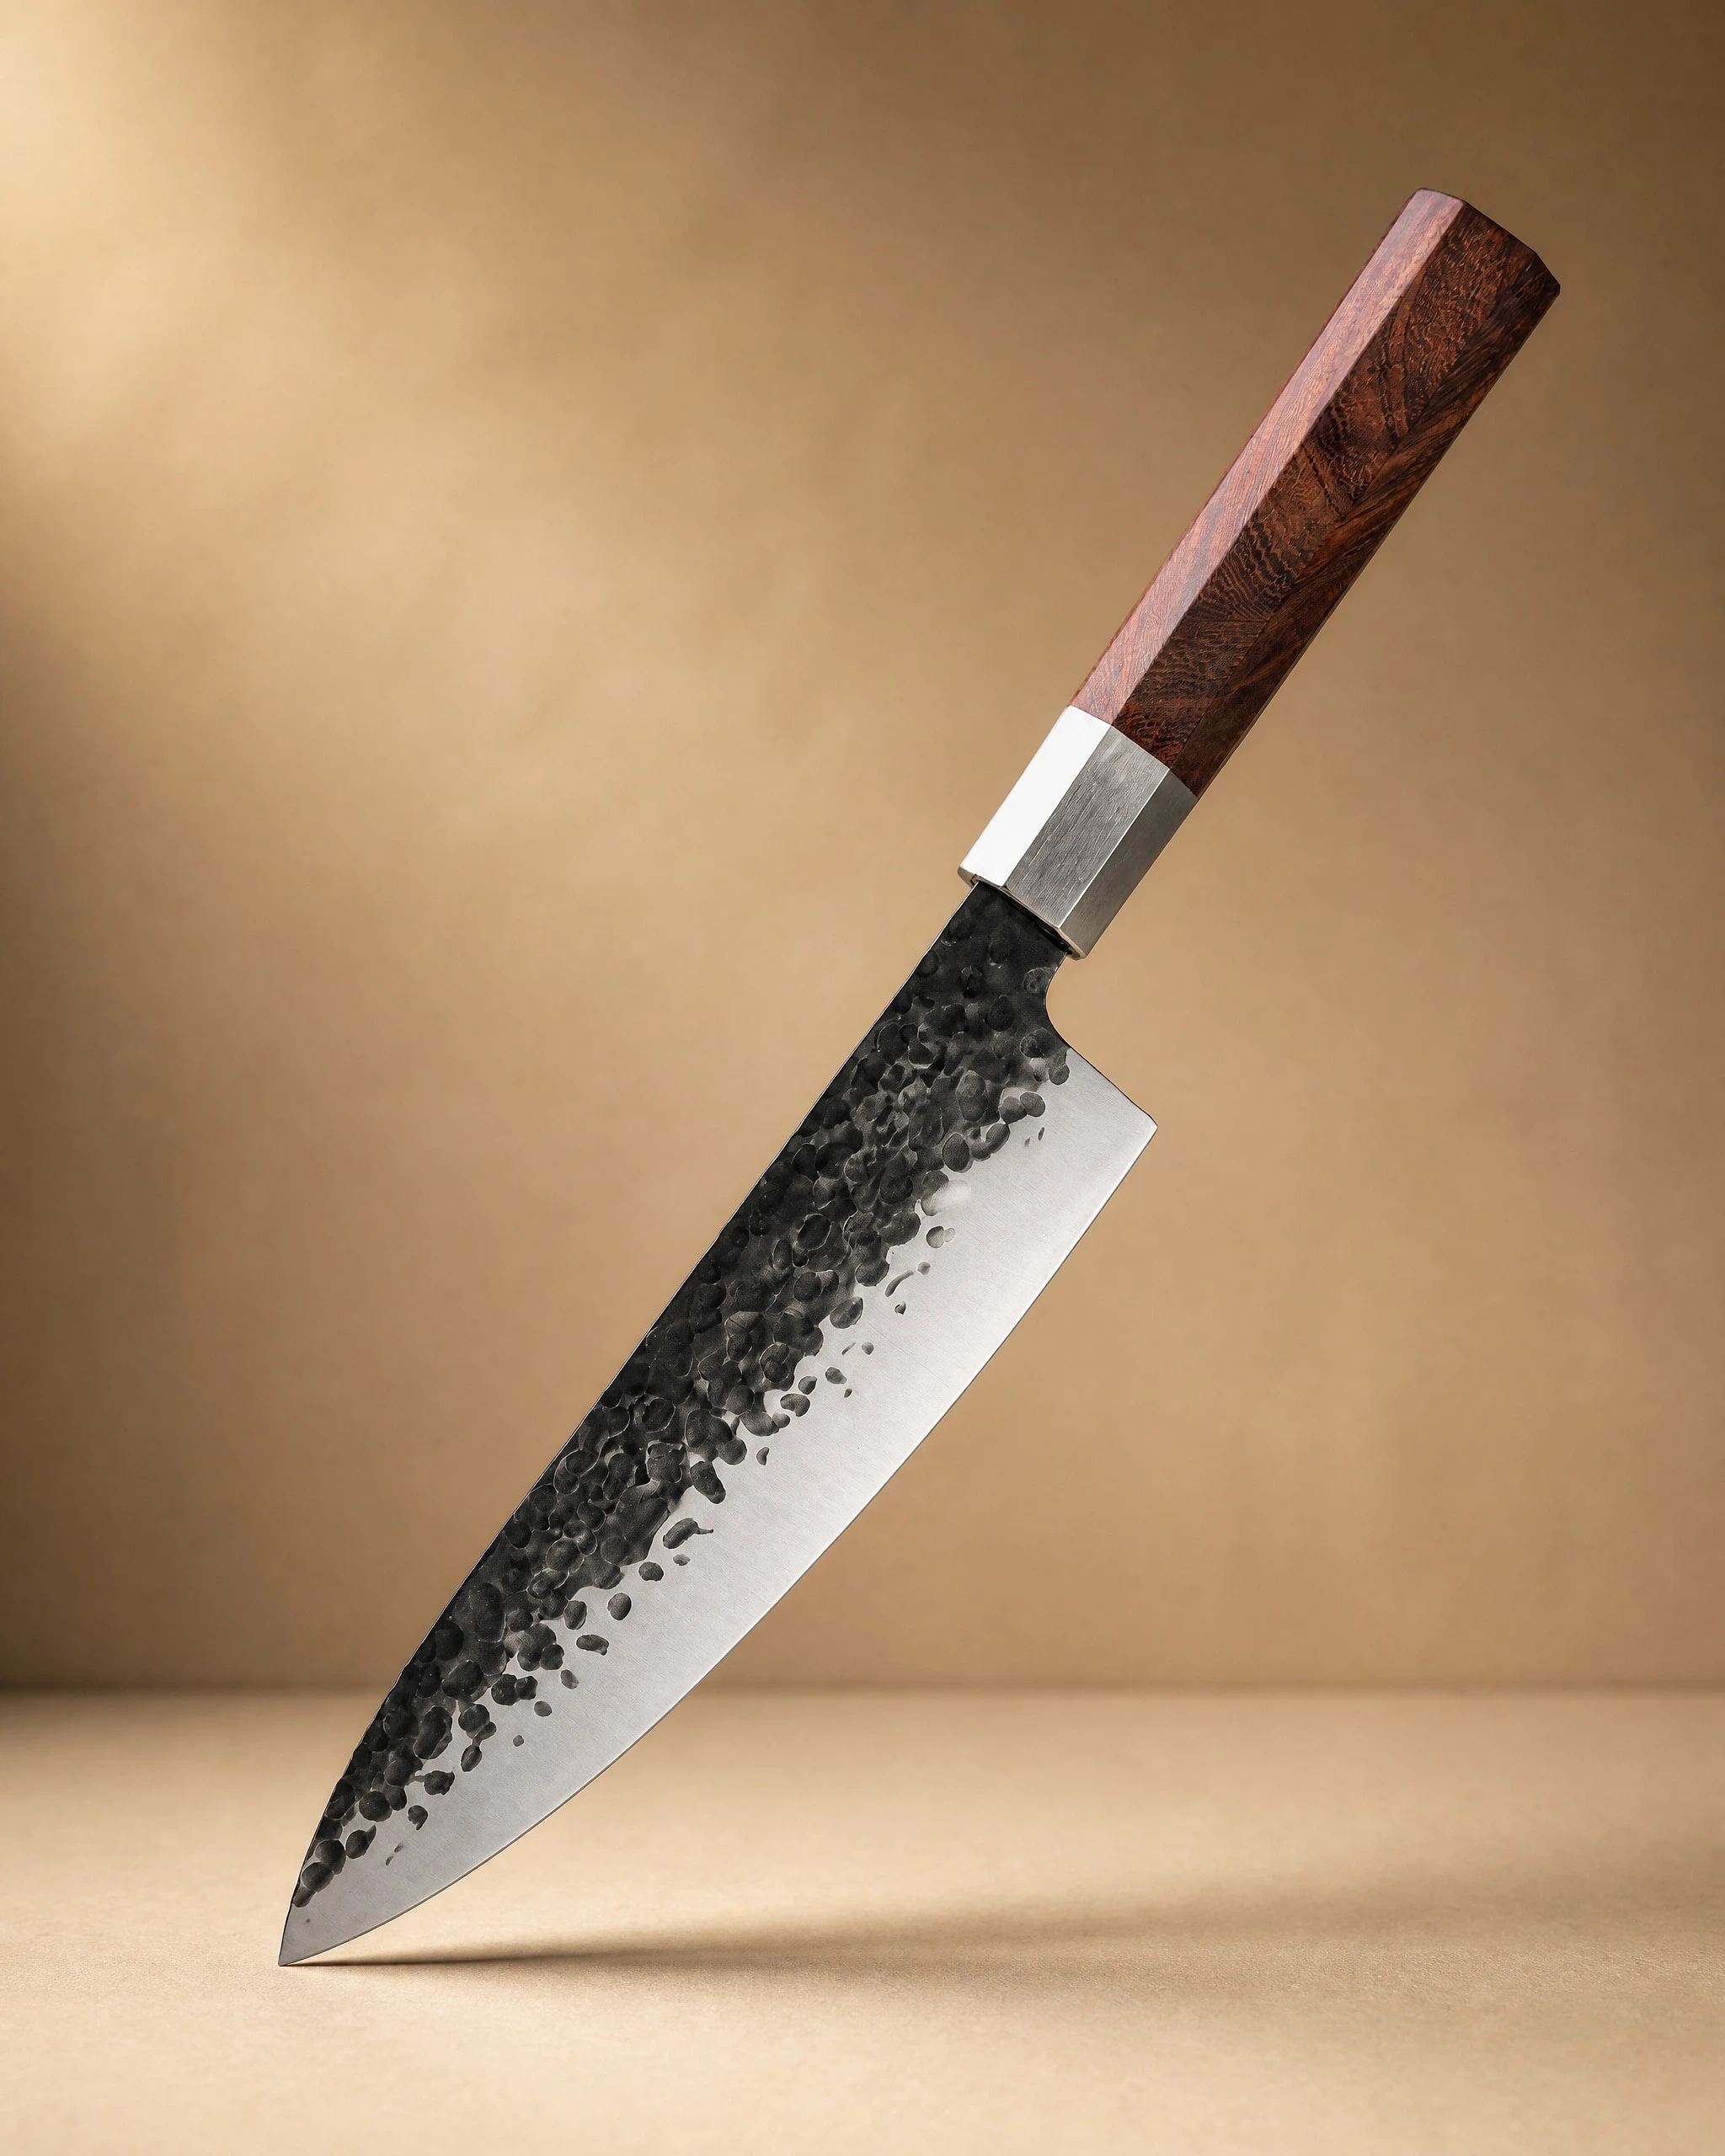 Sendai 8" Steel Gyuto Knife 牛刀$49.99View product → is the alternative if you prefer a heavier steel feel in the same shape. For crusty loaves, which no yanagiba should ever touch, the
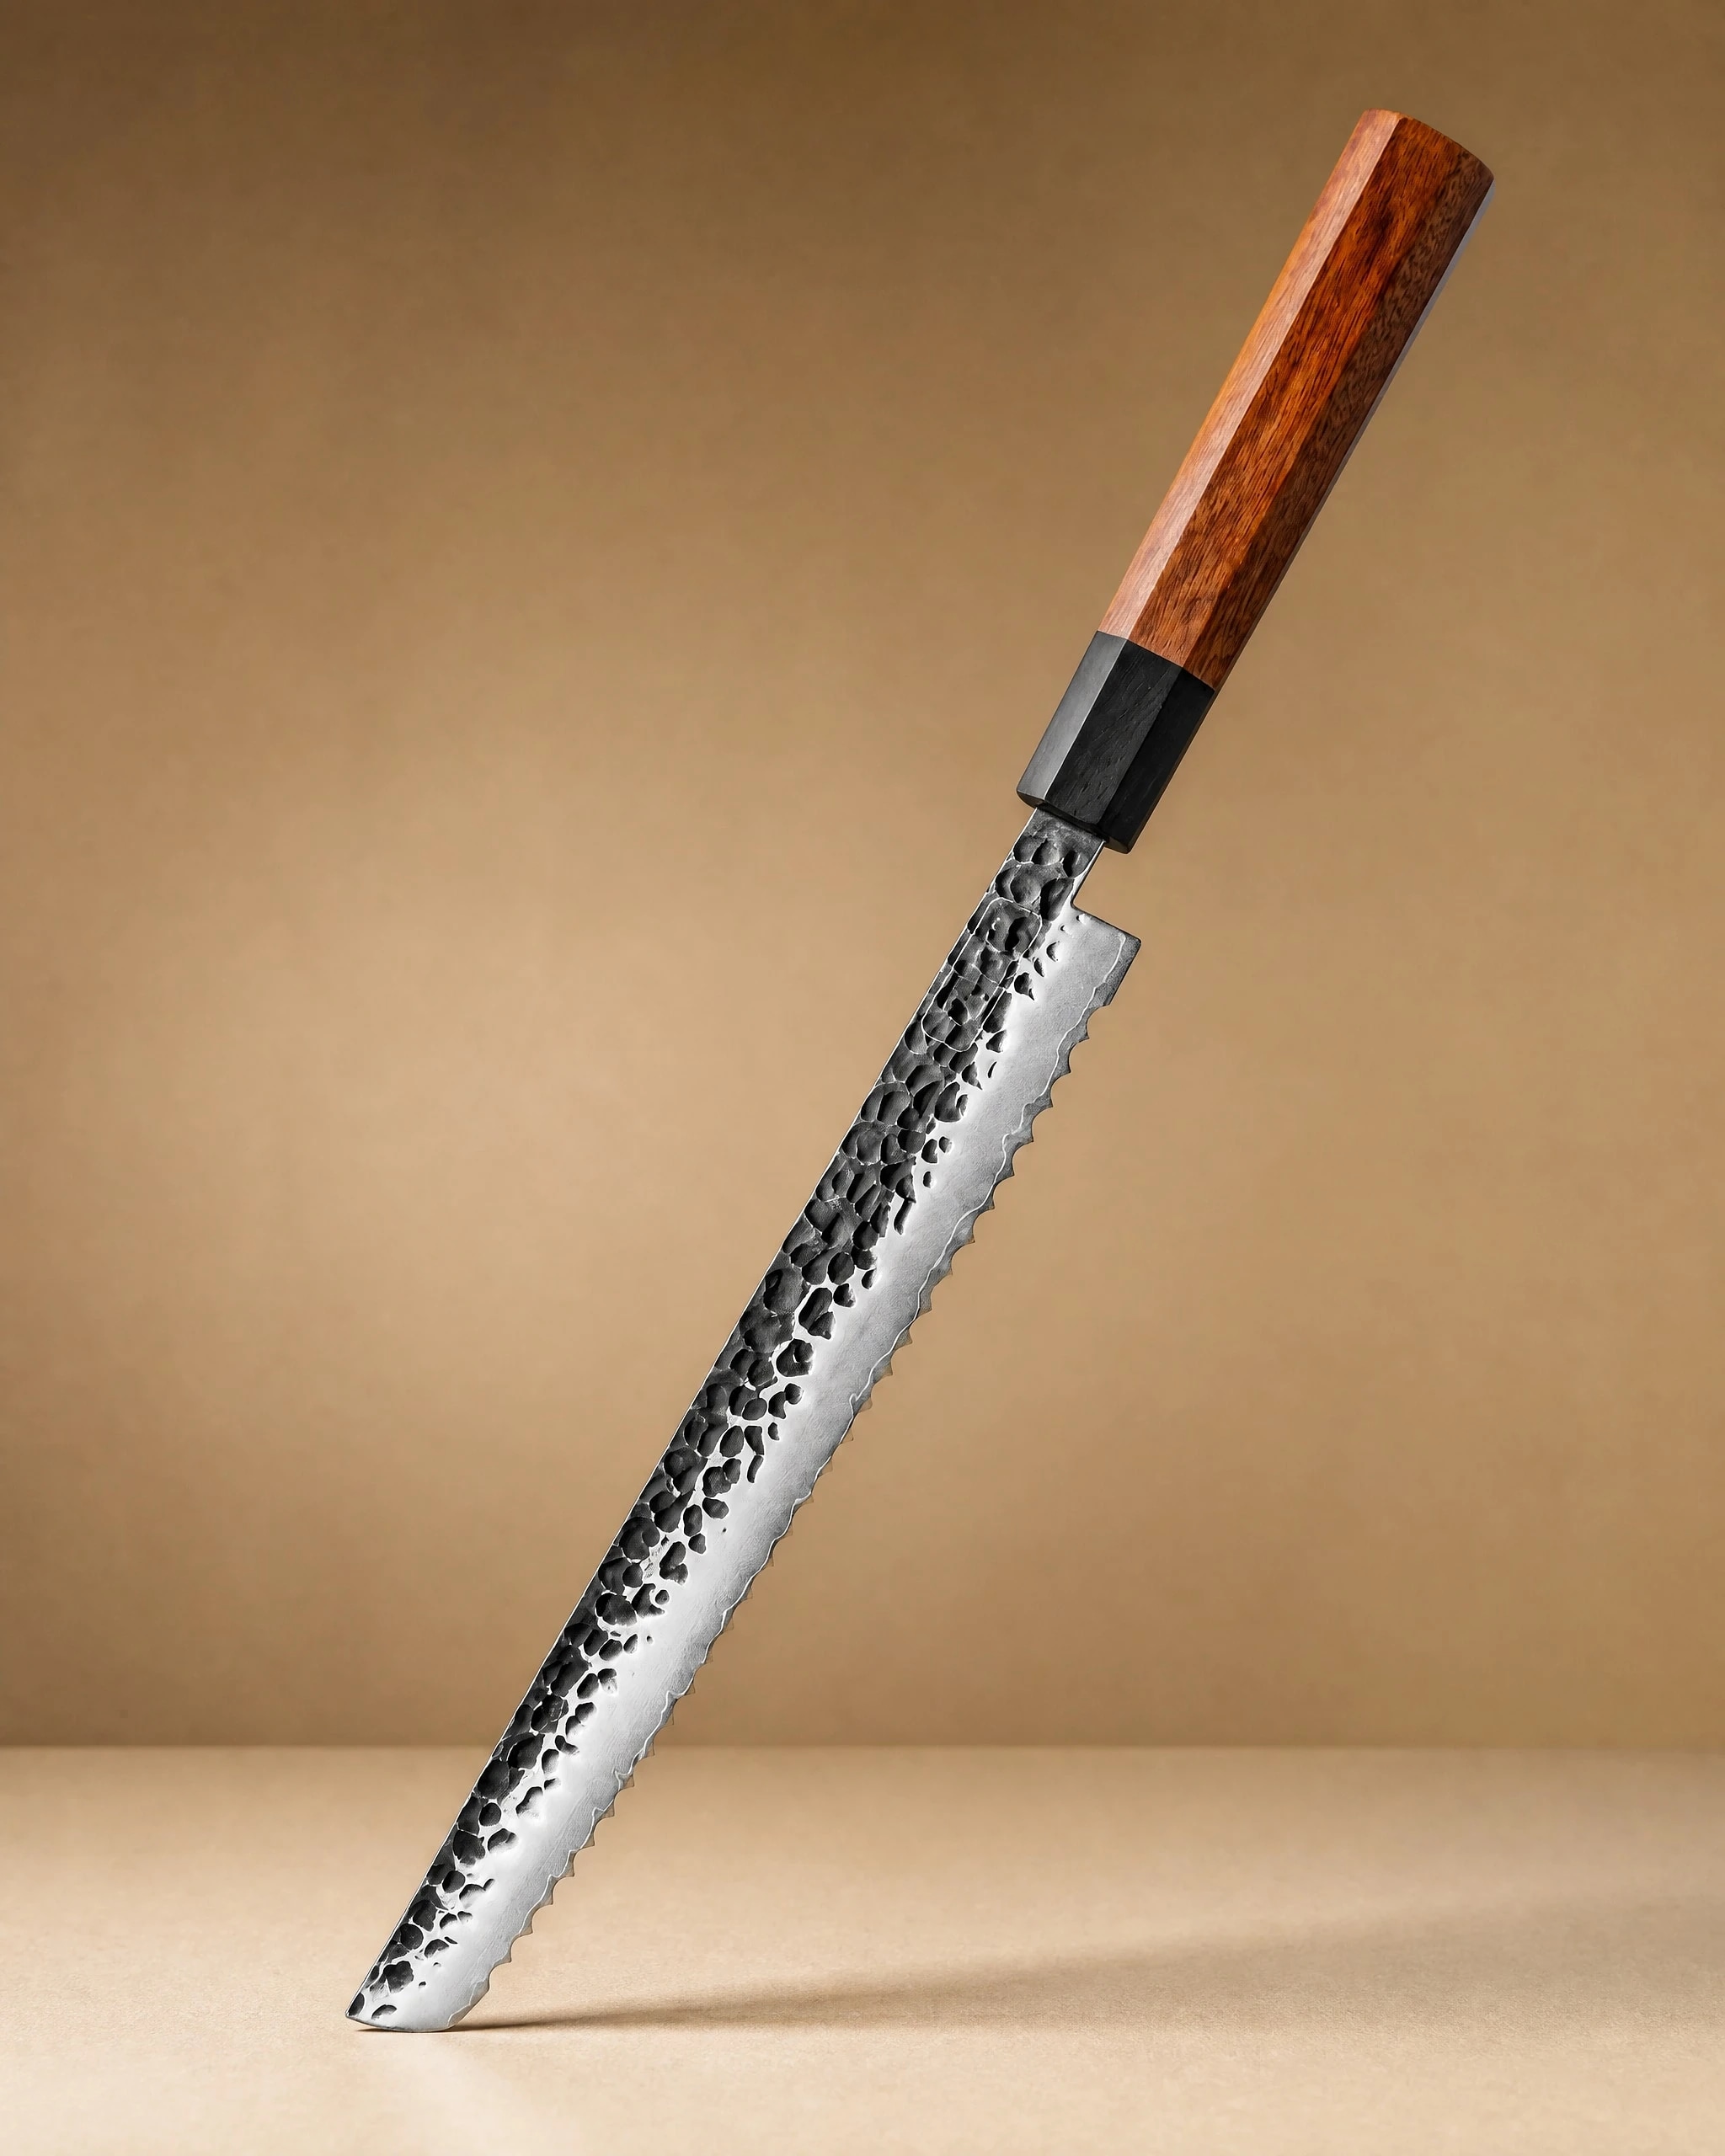 Rumoi 10" Japanese Bread Knife パン切りナイフ$59.99View product → does the job without crushing the crumb. If you are starting from nothing and would rather build a drawer in one purchase, the
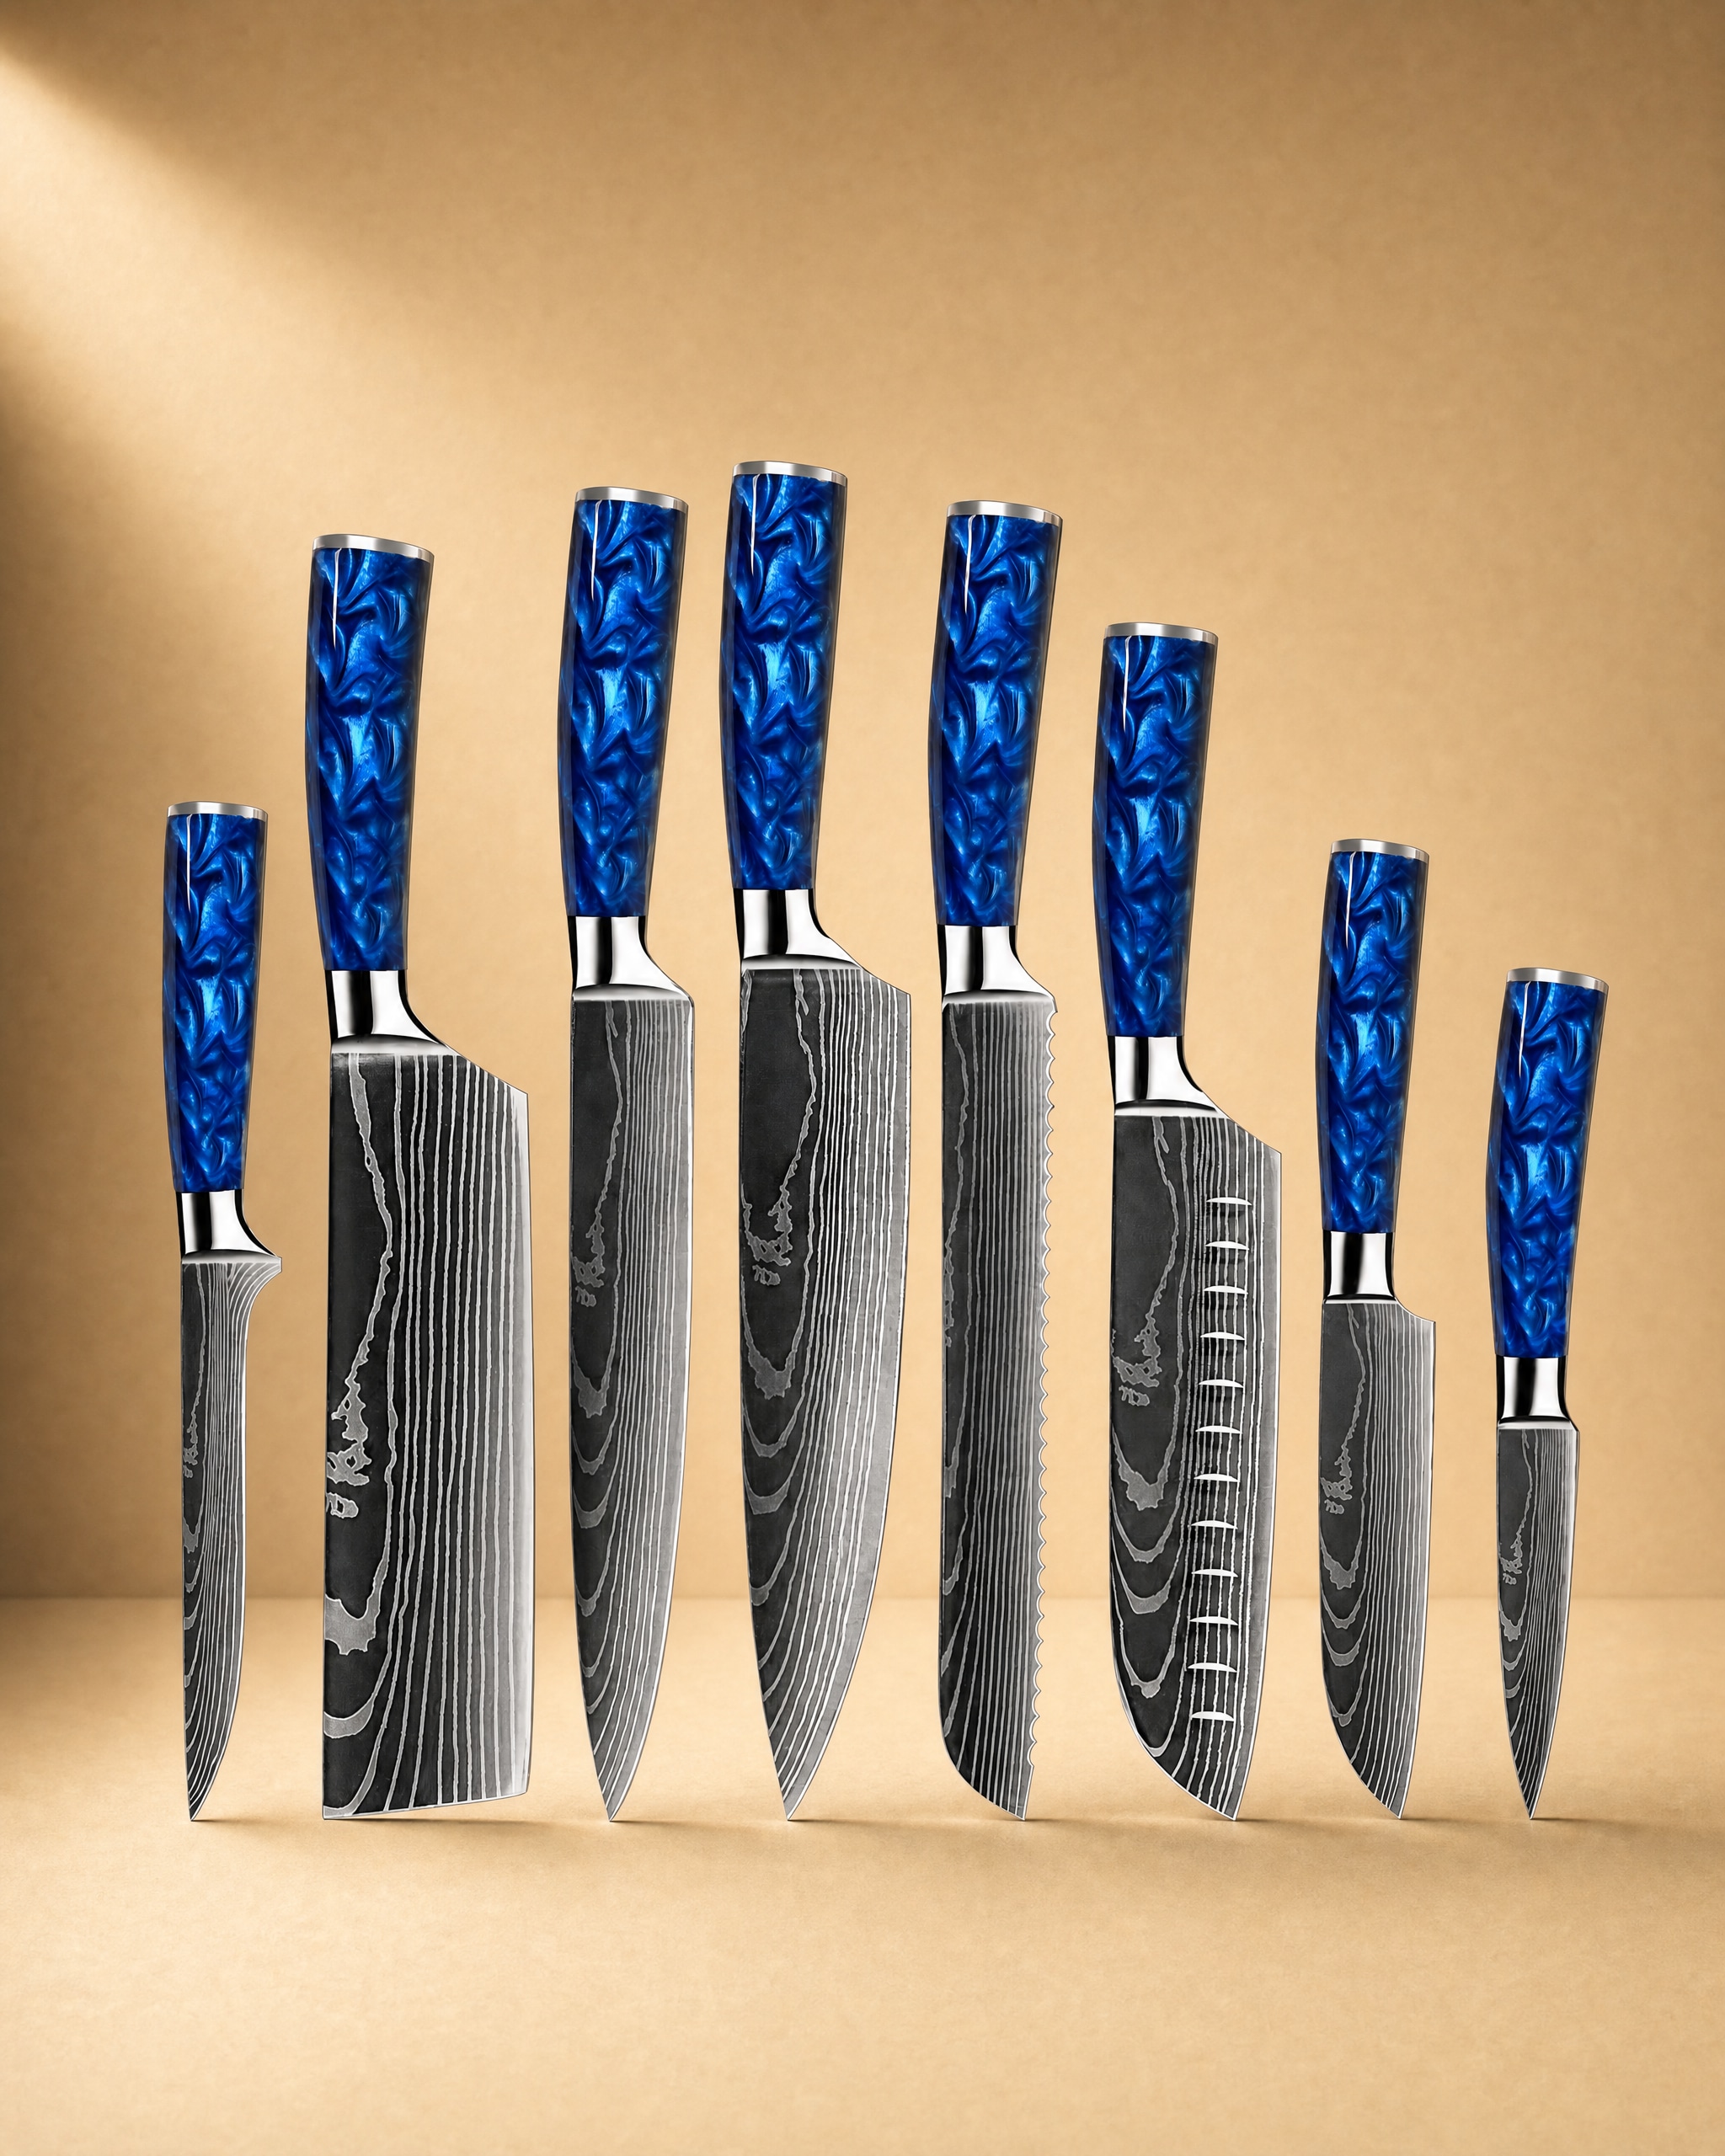 Shinano 信濃川 Damascus Pattern Stainless Steel Kitchen 8 Knife Set$149.99View product → covers the everyday work and leaves you free to add a single bevel knife later, when you know what you want. None of these is a yanagiba, and we are not going to pretend otherwise. They are the knives that make the yanagiba a specialist tool rather than a compromise.
Care, the Honest Part
A yanagiba rewards five minutes of attention and punishes neglect faster than any knife in the block. Wipe it dry after every use, including the handle. Do not soak it, do not put it in a dishwasher, and do not leave it on a wet board while you eat. Carbon steel will rust at the edge overnight, and stainless will stain if you push your luck.
Skip the honing rod. A single bevel knife is maintained on stones, with a flat bevel on the face and a light pass on the hollow ground back to keep the uraoshi even. Learn to feel the edge on your thumb pad rather than looking at it. Our knife care guide covers drying, storage, and stone basics in detail.
Board choice matters more than most people expect. Soft end grain wood or a rubber board protects a thin edge. Glass, ceramic, and most bamboo boards are the reason a lot of single bevel knives get chipped.
Buying One Without Regrets
Buy your first yanagiba for the fish you actually cut. If you portion salmon and small loins at home, a 240mm or 270mm stainless blade is the sensible start. If you already sharpen on stones and cut fish several times a week, a carbon 270mm or 300mm is worth the attention it demands. Read the knife guide before you settle on length and steel, and browse the full range in our knife shop when you are ready.
One last honest note. A yanagiba will not make you a better sushi cook by itself. It removes one obstacle, the cut, so you can see what your rice and your fish are actually doing. That is worth a lot, but it is not everything. Buy it for the work, learn the draw, and keep it dry.
Photography: Richard Iwaki via Unsplash.


