
How to Sharpen Serrated Bread Knives

A serrated bread knife is one of the most useful knives in a kitchen, and one of the least understood at the sharpening bench. The teeth saw through a hard crust without crushing the soft crumb inside. That same shape makes the knife awkward to sharpen on a flat stone. The teeth lift most of the edge away from the abrasive.
You can keep a bread knife working well if you accept one rule: sharpen the beveled side and leave the flat side alone. The rest is patience and a light touch. This guide covers the method, the tools, the common mistakes, and the point where a professional or a new knife makes more sense.
Why serrated bread knives are different
Look closely at a bread knife edge. Most have scallops or pointed teeth. Each tooth has a small bevel on one side and a flat or slightly hollow face on the other. The bevel does the cutting. The flat side clears the cut and keeps the tooth strong. If you sharpen the flat side, you change the geometry and the knife will not track straight through a loaf.
The teeth also protect the edge. On a plain knife, the full edge touches the board. On a serrated knife, the points take most of the contact. That is why a bread knife can stay useful for years of weekend baking. It is also why the knife can feel dull while the points still look sharp. The bevels wear, the points round over, and the knife starts to tear crust instead of slicing it.
Scallops, points, and Japanese bread knives
Serration patterns vary. Some knives have deep rounded scallops. Some have sharp sawlike points. Japanese bread knives often use a cleaner scallop pattern and a thin, hard blade. The method is the same, but the pressure is lighter. Let the abrasive work. Do not bear down on a thin blade as if you were filing metal.

What you need before you start
You do not need a full sharpening station. You need an abrasive that fits between the teeth and a way to hold the knife still. A tapered diamond rod is the most practical tool for most home cooks. A round ceramic rod works for light touch-ups. A round file can work on softer steel, but it removes metal quickly. A rod that matches the radius of your scallops is better than a large one that bridges the teeth and misses the bevel.
- A tapered diamond or ceramic rod, or a round sharpening file sized to your serrations.
- A stable work surface and a damp cloth under a cutting board.
- Good light, so you can see the bevel on each tooth.
- Masking tape if you want to protect the flat side.
- Warm soapy water and a clean towel for cleanup.
Skip pull-through sharpeners with fixed carbide or ceramic slots. They cannot follow a serrated bevel. They tend to round the points and leave the scallops untouched. Electric sharpeners are risky unless the maker supports serrated edges and gives clear instructions. A flat bench stone is excellent for plain knives, but it is the wrong tool for a full serrated edge.
The basic method: sharpen the beveled side only
Start by finding the beveled side. On most bread knives, one side has a clear polished bevel along each tooth. The other side is flat or nearly flat. Work on the beveled side only. If you cannot tell which side is which, look at the reflections under a light. The bevel catches light at a different angle.
Hold the knife with the edge facing away from you. Place the rod into the first scallop at the heel. Match the rod to the angle of the bevel. Most bread knives use a fairly low angle, but do not guess a number. Use the existing bevel as your guide. The rod should sit flat on the bevel, not on the flat side and not across the points.
Use light, controlled strokes. Two or three strokes per tooth is enough for maintenance. Work from heel to tip, one scallop at a time. Keep the rod in contact with the bevel and follow the curve of the tooth. Do not saw back and forth in a hurry. The goal is to refresh the bevel, not remove a lot of steel.
After you finish the beveled side, stop. Do not flip the knife and repeat on the flat side. Do not run a stone flat along the teeth. A few light passes on the flat side with a fine ceramic rod can be used by an experienced sharpener to remove a burr, but most home cooks should leave that side alone. If the knife feels worse after sharpening, the usual cause is too much pressure or work on the wrong side.
How to handle deep scallops and small teeth
Deep scallops need a rod that fits inside the curve. If the rod is too large, it will bridge the scallop and only touch the points. If it is too small, you will spend a long time and may create an uneven bevel. Turn the rod as you stroke so the abrasive wears evenly. For very small teeth, use the tip of a tapered rod and short strokes. Keep your fingers behind the edge.
If a tooth is chipped or badly rounded, do not try to file it back into a perfect point in one session. Heavy repair changes the tooth shape and can make the knife catch. A light touch that restores the bevel is enough for most home use. If several teeth are damaged, the knife needs a professional sharpener who can reshape the serrations consistently.
Testing the edge without damaging it
Test the knife on a crusty loaf, not on a tomato or a sheet of paper. A serrated knife is not meant to shave arm hair or push cut cleanly through paper. It is meant to bite into crust and slice without tearing the inside. Hold the loaf steady and use a gentle sawing motion. The knife should catch the crust with little pressure and leave clean slices. If it still tears, check your angle and try a few more light strokes on the bevels.
Look at the edge under good light. The bevels should look even. The points should be defined but not sharpened into needles. A bread knife with needle points will dull quickly and can snag. A slight rounding at the very tip is normal and helps the tooth survive board contact.
Maintenance between sharpenings
Most home bakers do not need to sharpen a bread knife often. A few light passes every few months is plenty for normal use. If you bake several loaves a week, check the bevels monthly and touch them up when the crust starts to tear. Clean the knife by hand with warm soapy water and dry it right away. Do not leave a bread knife soaking, and do not put it in the dishwasher.
Store the knife in a drawer guard, on a magnetic strip, or in a knife block with enough clearance. Do not let the teeth knock against other knives. A small nick in a tooth changes how the blade tracks through a loaf. For more on daily care, see the [knife care guide](/knife-care).
When to stop sharpening and change course
Some bread knives reach a point where sharpening is no longer the best use of your time. If the serrations are worn nearly flat, if several teeth are missing, or if the blade has lost its shape, a new knife is often the practical answer. This is not a sales pitch. It is the same advice you would get for a badly worn serrated knife in a commercial kitchen.
For a dedicated bread knife, look at 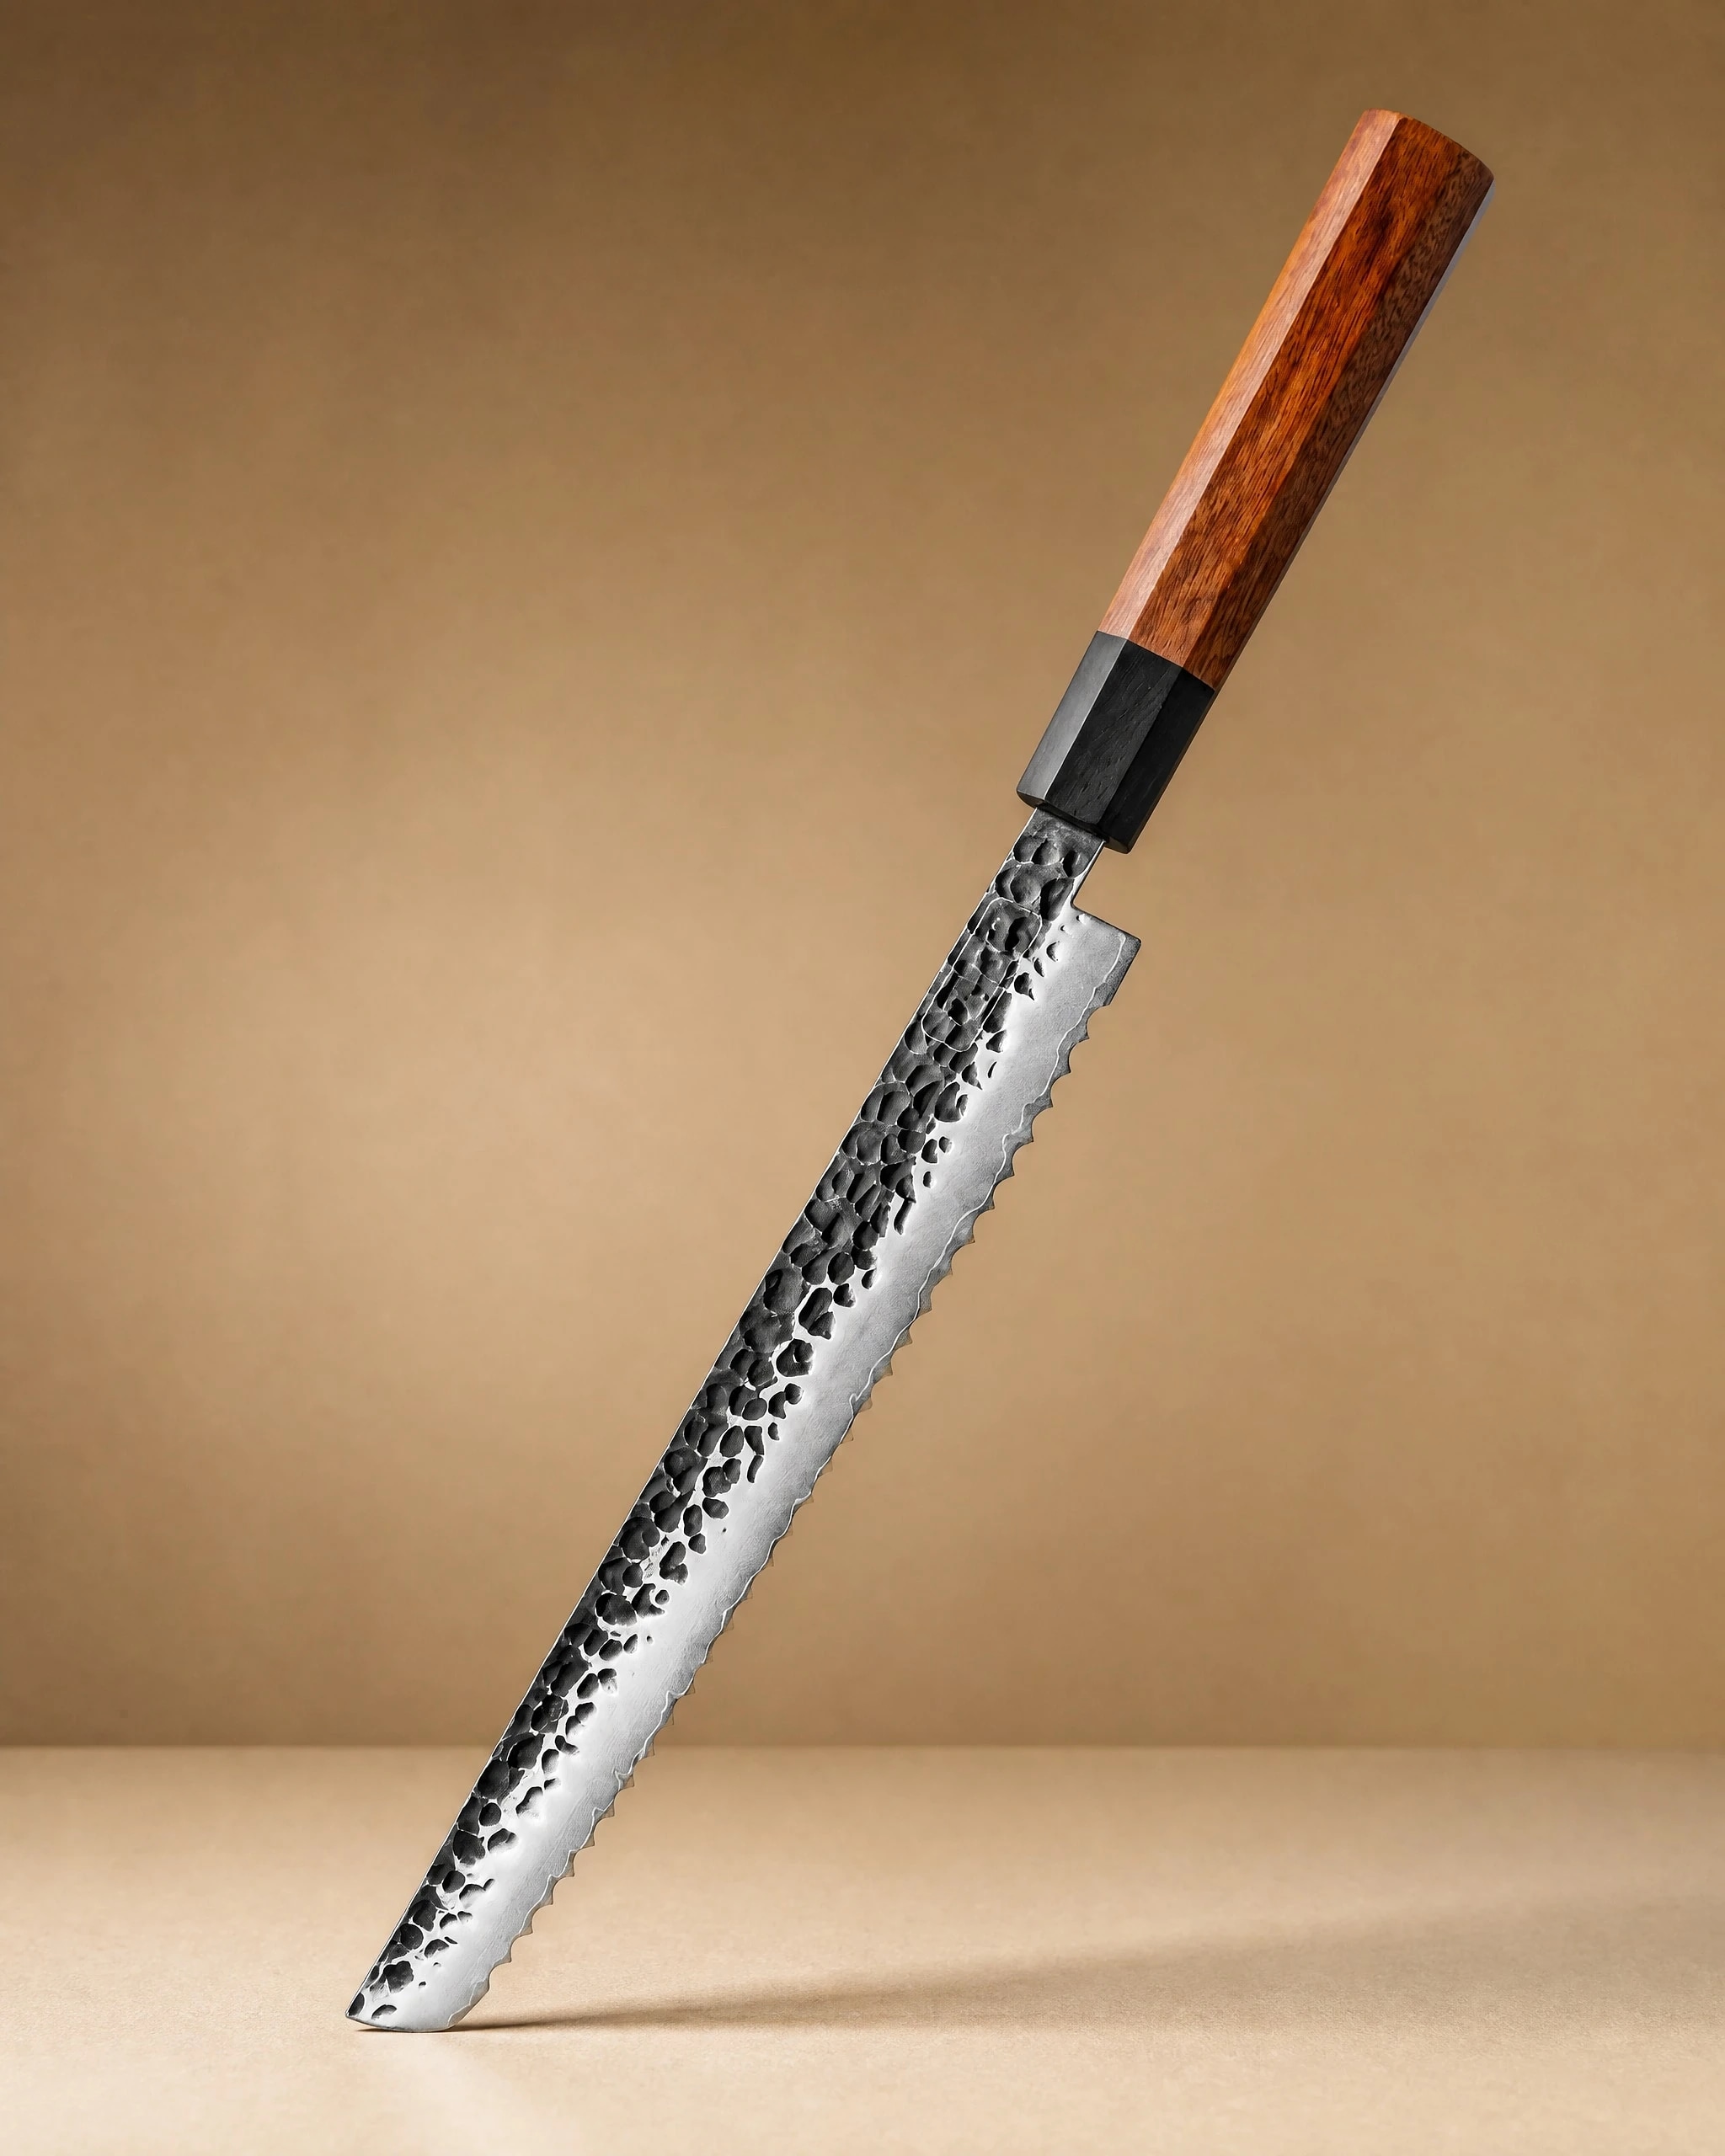 Rumoi 10" Japanese Bread Knife パン切りナイフ$59.99View product →. A long bread knife gives you room to slice a wide loaf in one clean stroke. If your daily prep needs a knife that does more than bread, the
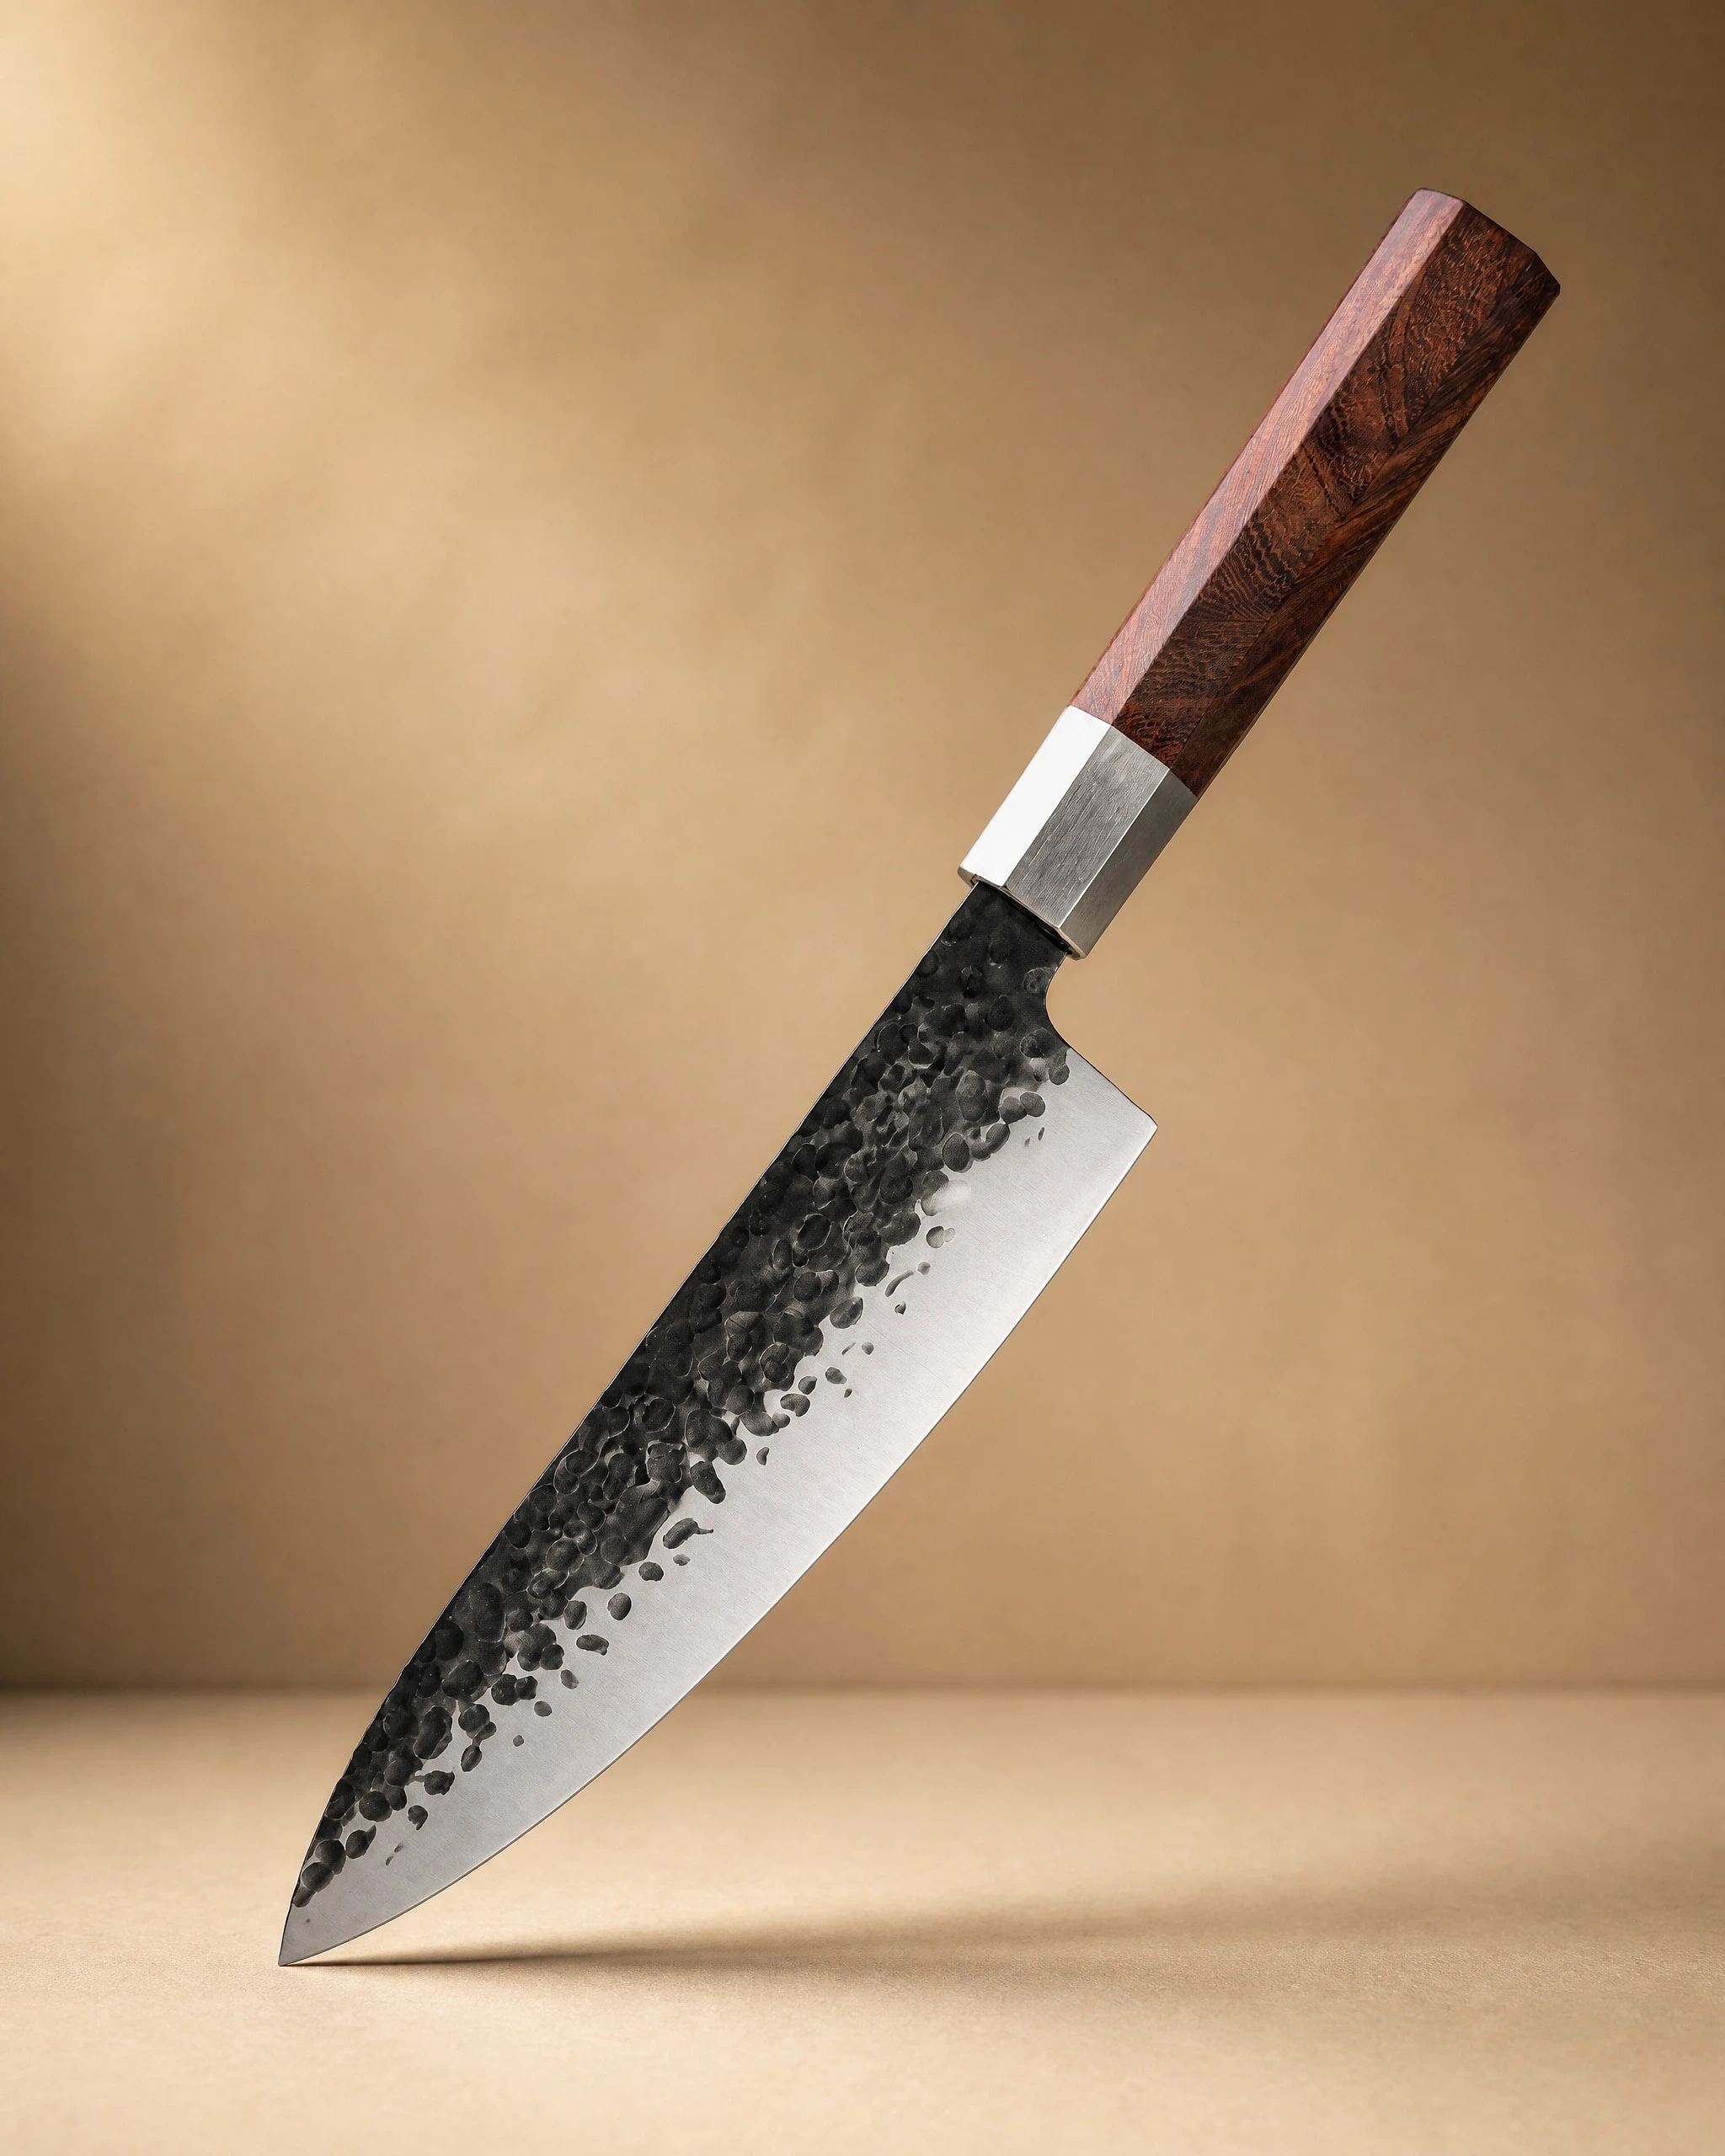 Sendai 8" Steel Gyuto Knife 牛刀$49.99View product → and
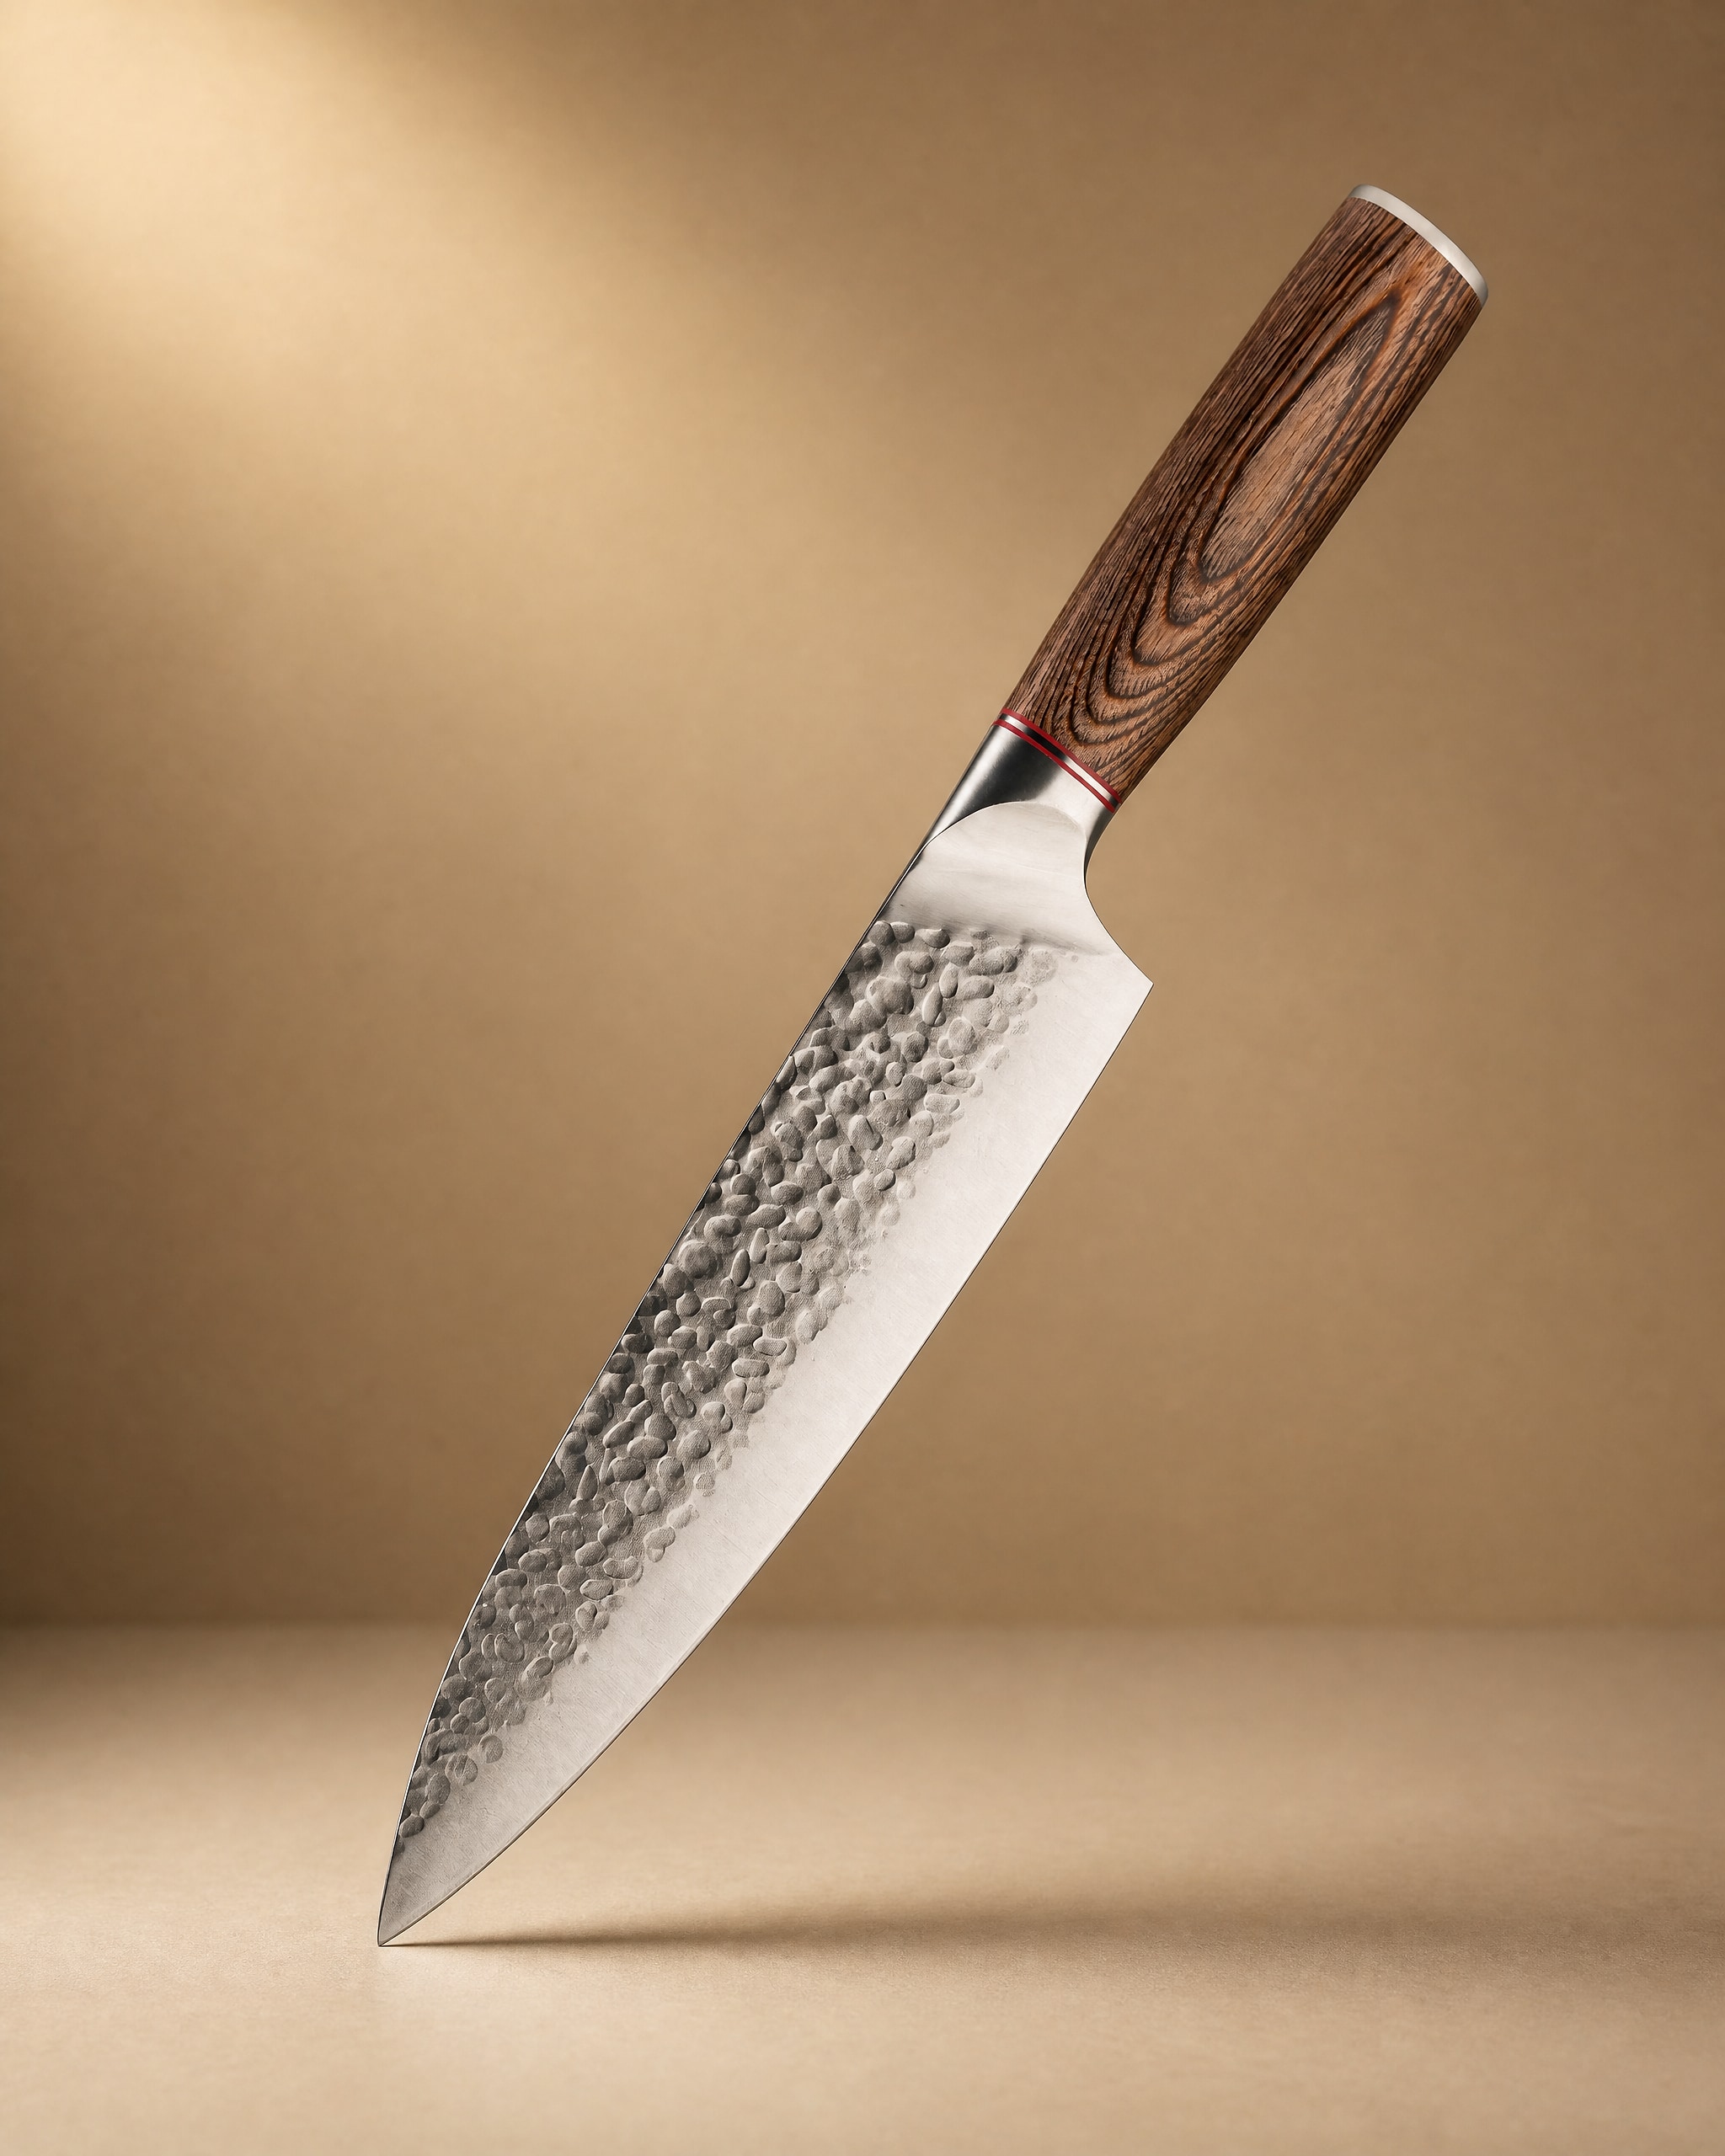 Akan 8'' Gyuto Knife 牛刀$49.99View product → are gyuto options listed as best for everyday prep. A matched set such as
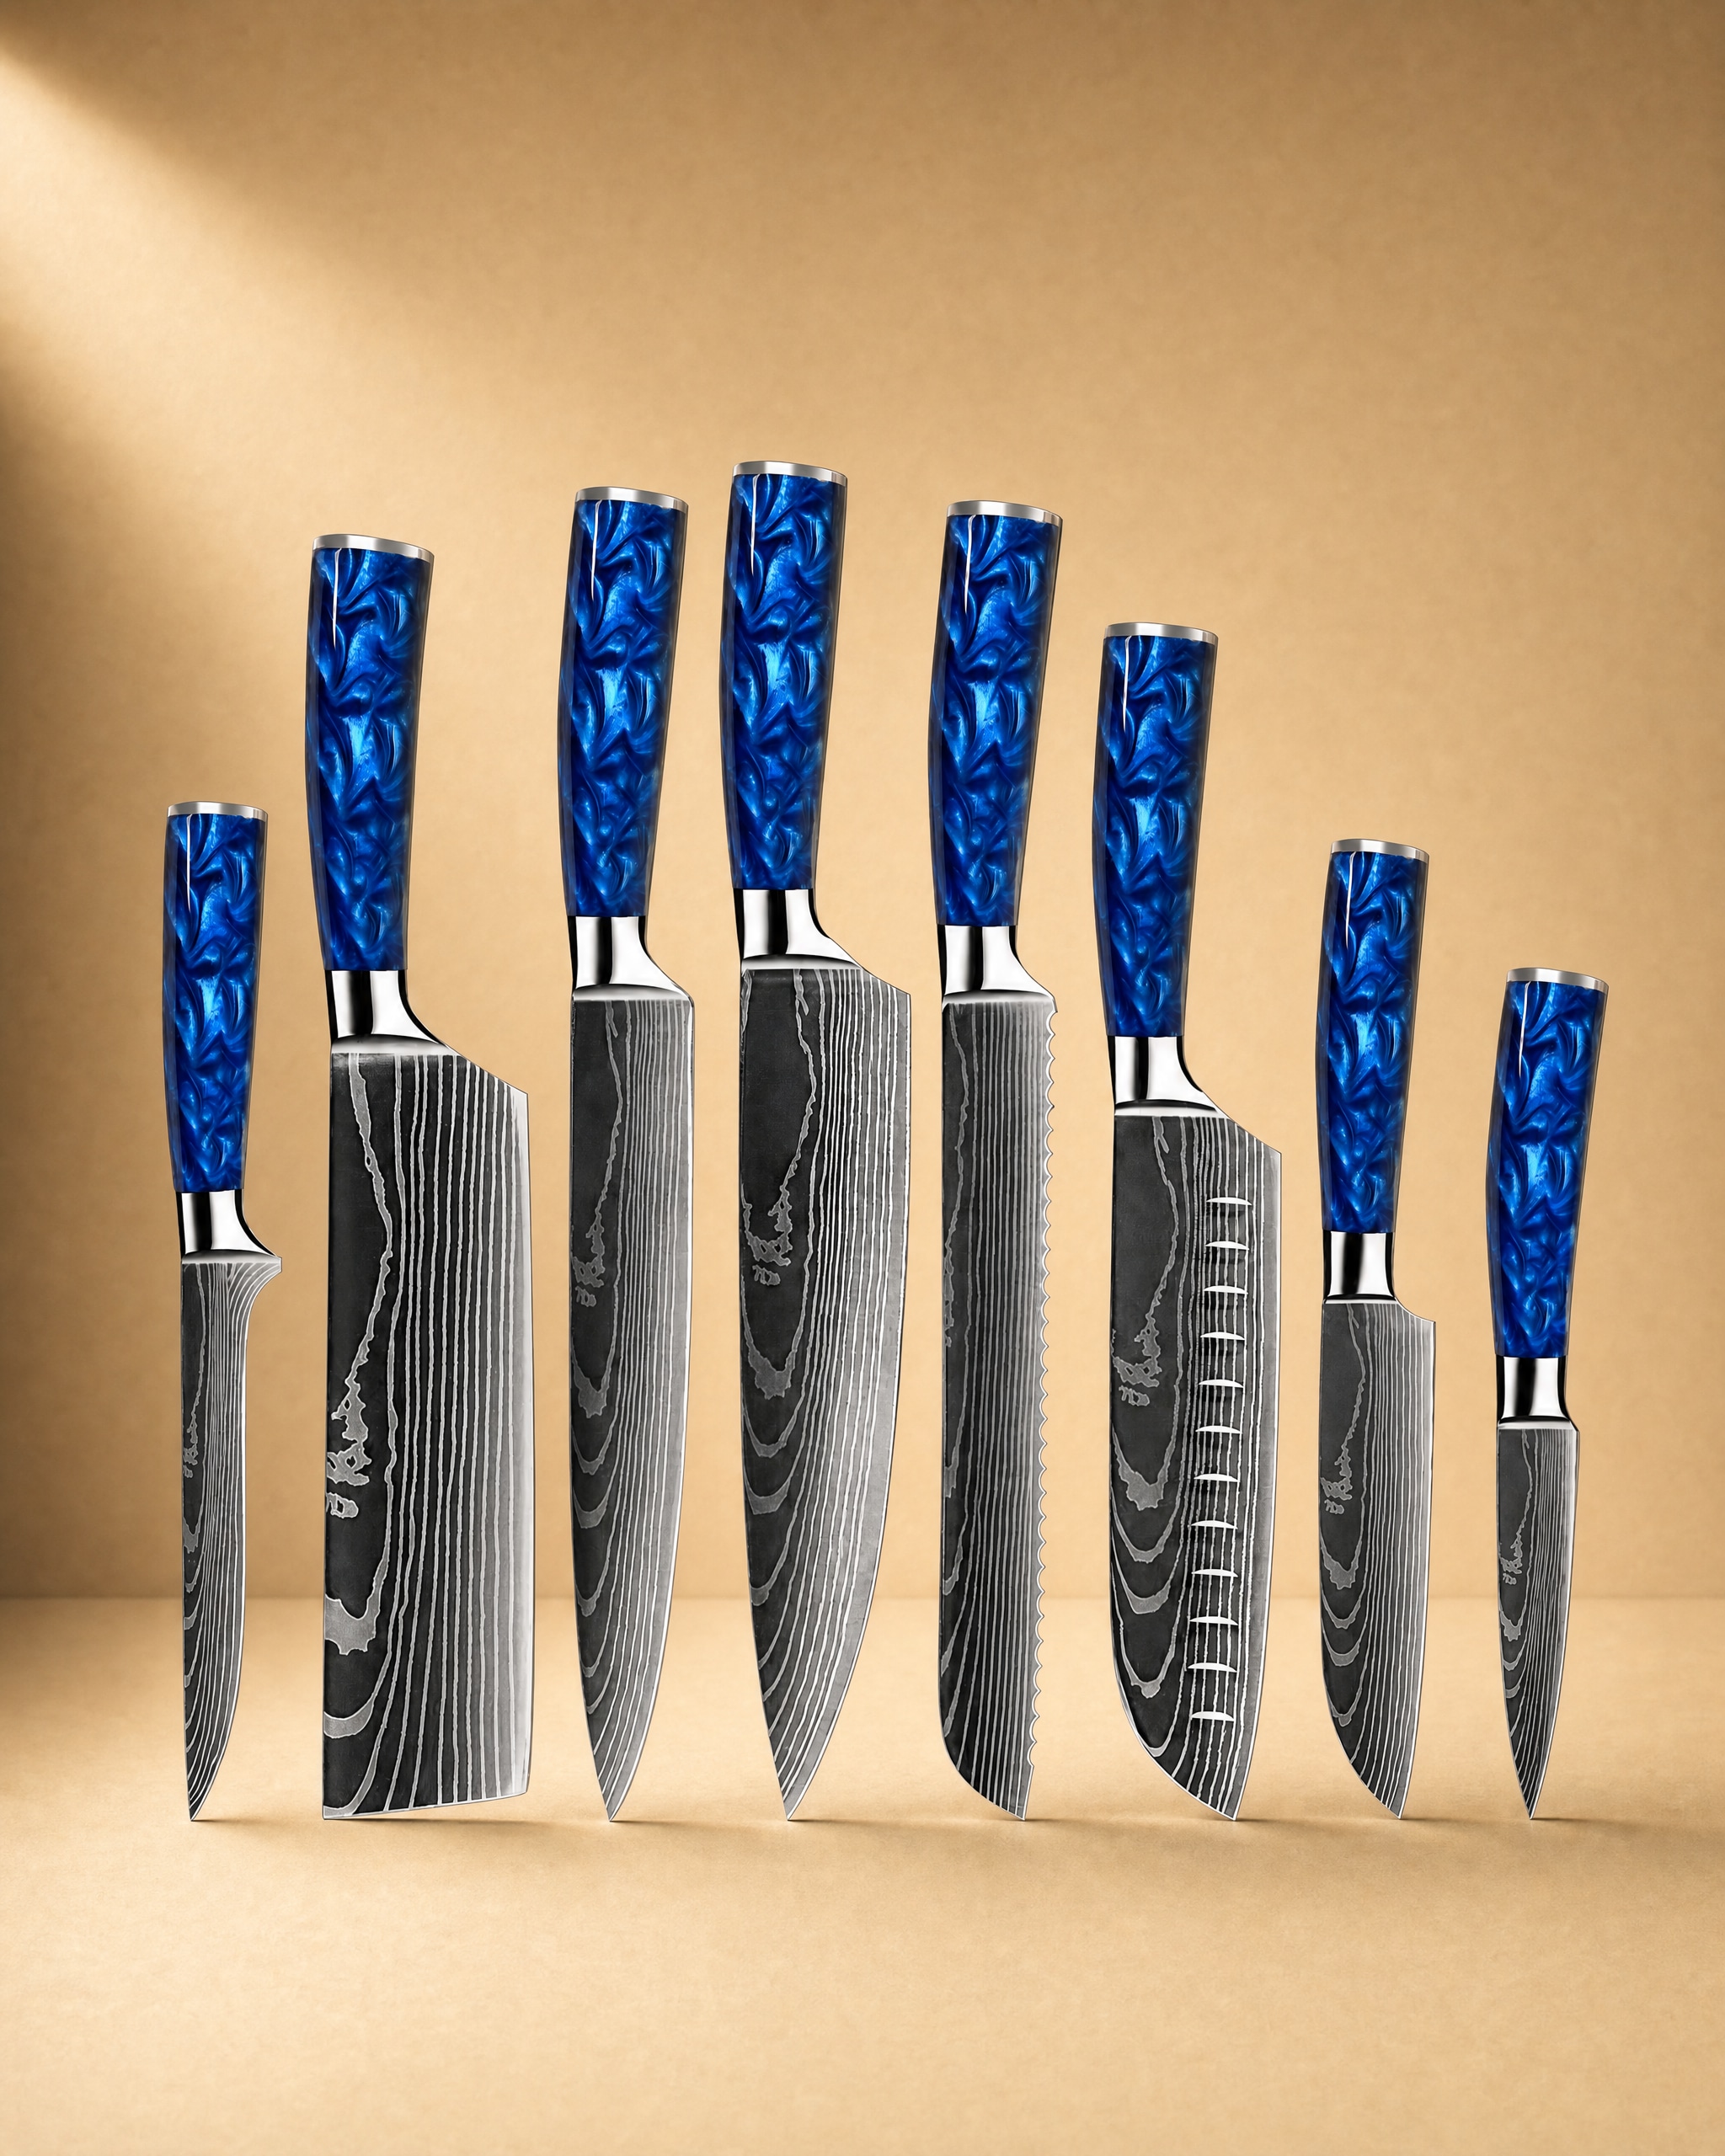 Shinano 信濃川 Damascus Pattern Stainless Steel Kitchen 8 Knife Set$149.99View product → can make sense for a household that wants a consistent block without buying one knife at a time. You can compare the full range at the [full knife shop](/product).
If you are still deciding which knife shapes belong in your kitchen, the [knife guide](/knife-guide) explains the differences without hype. A bread knife should be long enough for your loaves, comfortable in your hand, and easy to clean. Everything else is detail.
Common mistakes to avoid
Do not sharpen the flat side. Do not use a pull-through sharpener. Do not press hard. Do not grind the teeth down to make a plain edge. Do not test the edge by running your finger along it. Do not assume a dull bread knife needs replacing before you check the bevels. Most of the time, a light touch on the beveled side brings the knife back to useful sharpness.
If you are new to sharpening, practice on an older bread knife first. Use a slow stroke and check the bevel after every few teeth. Keep the rod moving along the curve of the scallop. Stop before you think you need to. A bread knife does not need a polished, razor edge. It needs clean, consistent teeth that can start a cut and follow it through the loaf.
Photography: Tommaso Urli via Unsplash.


