
How to Sharpen a Kitchen Knife on a Wet Stone

A dull knife is not a broken knife. Almost every kitchen knife that feels tired has simply lost the fine apex of its edge, and a wet stone will put it back in about ten minutes. Wet stone knife sharpening is a skill you can learn in an afternoon. Once you have it, sharpening stops being a chore and becomes maintenance, the same way you think about washing dishes or wiping down a board. This guide covers the whole process in plain terms: what the stone actually does, how to hold the angle, how to read the feedback the steel gives you, and when to stop.
Why a Wet Stone Works
A wet stone, also called a whetstone, is a block of abrasive material that cuts microscopic amounts of steel away from the edge. What separates it from a pull through gadget or an electric machine is control. You decide the angle, you decide the pressure, and you can see exactly what is happening along the full length of the blade. Water does two jobs: it floats away the steel particles that would otherwise clog the surface, and it keeps the stone cutting evenly instead of glazing over. Soak a water stone for five to ten minutes before you use it, until the bubbles stop rising, and keep it wet through the session.
The grit number tells you how coarse the abrasive is. Lower numbers cut faster and shape the edge. Higher numbers polish it. A 1000 grit stone does the real sharpening, and a 3000 to 6000 grit stone refines the result. You do not need a drawer full of stones to start.
What You Need Before You Start
- A combination stone, 1000 grit on one side and 3000 or 6000 on the other
- A shallow tray or a sink with enough water to cover the stone
- A folded towel or a stone holder so the stone does not slide
- A permanent marker for checking your angle
- Ten minutes and a clear counter
Carbon steel and hard Japanese steel both love a water stone. Softer Western stainless sharpens well on one too. There is no knife in a normal kitchen that a 1000 grit stone cannot improve.
Finding the Angle and Holding It
Japanese double bevel knives are generally sharpened at roughly 15 degrees per side. Most Western style knives sit closer to 20 degrees. You do not need a protractor. Lay the edge flat on the stone, then lift the spine until the gap underneath is about the height of two stacked coins for 15 degrees, or three for 20. That is your angle.
To confirm it, color the edge bevel with the marker, take three light strokes, and look. If the marker is gone along the whole bevel, your angle matches the existing grind. If it is only removed near the very edge, you are too shallow. If it is only removed at the top of the bevel, you are too steep.
Hold the knife with your dominant hand on the handle and your other hand pressing lightly on the flat of the blade, two or three fingers spread. That second hand does most of the work of keeping the angle steady. Lock your wrists. The motion comes from your shoulders and your body, not from your fingers.
Feeling for the Burr

Sharpening happens when the abrasive reaches the very apex of the edge. The proof that it has is a burr, a thin curl of steel you can feel on the opposite side of the blade. After twenty or thirty strokes on one side, run a fingertip from the spine toward the edge, at a shallow angle, on the side facing up. If it feels slightly rough or catches, the burr has formed and that side is done.
This is the most useful feedback a wet stone gives you, and the reason sharpening on a stone beats guessing with a gadget. Work in sections if you need to: heel, middle, tip, then blend them with long strokes. Do not flip the knife until the burr runs the full length of the edge.
Sharpen One Side, Then the Other
Flip the knife and repeat the same angle, the same pressure, the same number of strokes. The burr should now form on the first side, which tells you the edge has met in the middle. Keep the stone wet. Use light pressure on the forward stroke and let up on the return so you do not rock the blade.
Once both sides have burred, alternate: five light strokes per side, then three, then one, then one again. This removes the burr and centers the edge. Skip this step and the knife will feel sharp for a week, then feel dull again, because that thin curl of steel folds over the first time it meets a cutting board.
Moving Through the Grits
Switch to the 3000 or 6000 side and repeat the process with lighter pressure and fewer strokes, maybe ten to fifteen per side. You are not reshaping anything now, just polishing the scratches the coarse grit left behind. A polished edge glides through ripe tomatoes and raw fish and feels almost sticky when you test it on paper.
For a Western chef's knife used on hard squash and the occasional bone, stopping at 1000 grit is honestly fine. A slightly toothy edge holds up better to rough work. Sharpen kitchen knives with a whetstone to the grit that matches how you cook, not to the highest number you own.
Between Sharpenings
A wet stone restores an edge, and in a home kitchen you should not need it more than every few months. In between, a few passes on a leather strop or a ceramic honing rod will realign the edge and buy you weeks. Hone lightly, at the same angle, and keep grooved steels away from hard Japanese blades.
Store knives dry, never in a sink, and wash them by hand. Our knife care guide covers the daily habits that keep an edge alive longer, from board choice to drying.
Mistakes That Cost You an Edge
Too much pressure is the most common one. Grinding hard does not sharpen faster, it digs a groove and wears the stone unevenly. Inconsistent angle is second. Third is skipping the burr check and guessing. Fourth is forgetting to soak the stone. Fifth is testing sharpness by dragging a thumb across the edge, which is how people cut themselves badly. Cut paper instead.
When Sharpening Stops Helping
Every edge eventually loses enough steel that it will not hold. If a knife sharpens up and dulls again within a week, or if you can see a wavy line where the edge should be, it is time to think about replacement rather than another session on the stone. That is also the point where the shape of the blade matters more than the edge.
For everyday prep, a gyuto around 8 inches is the one knife most cooks reach for. The 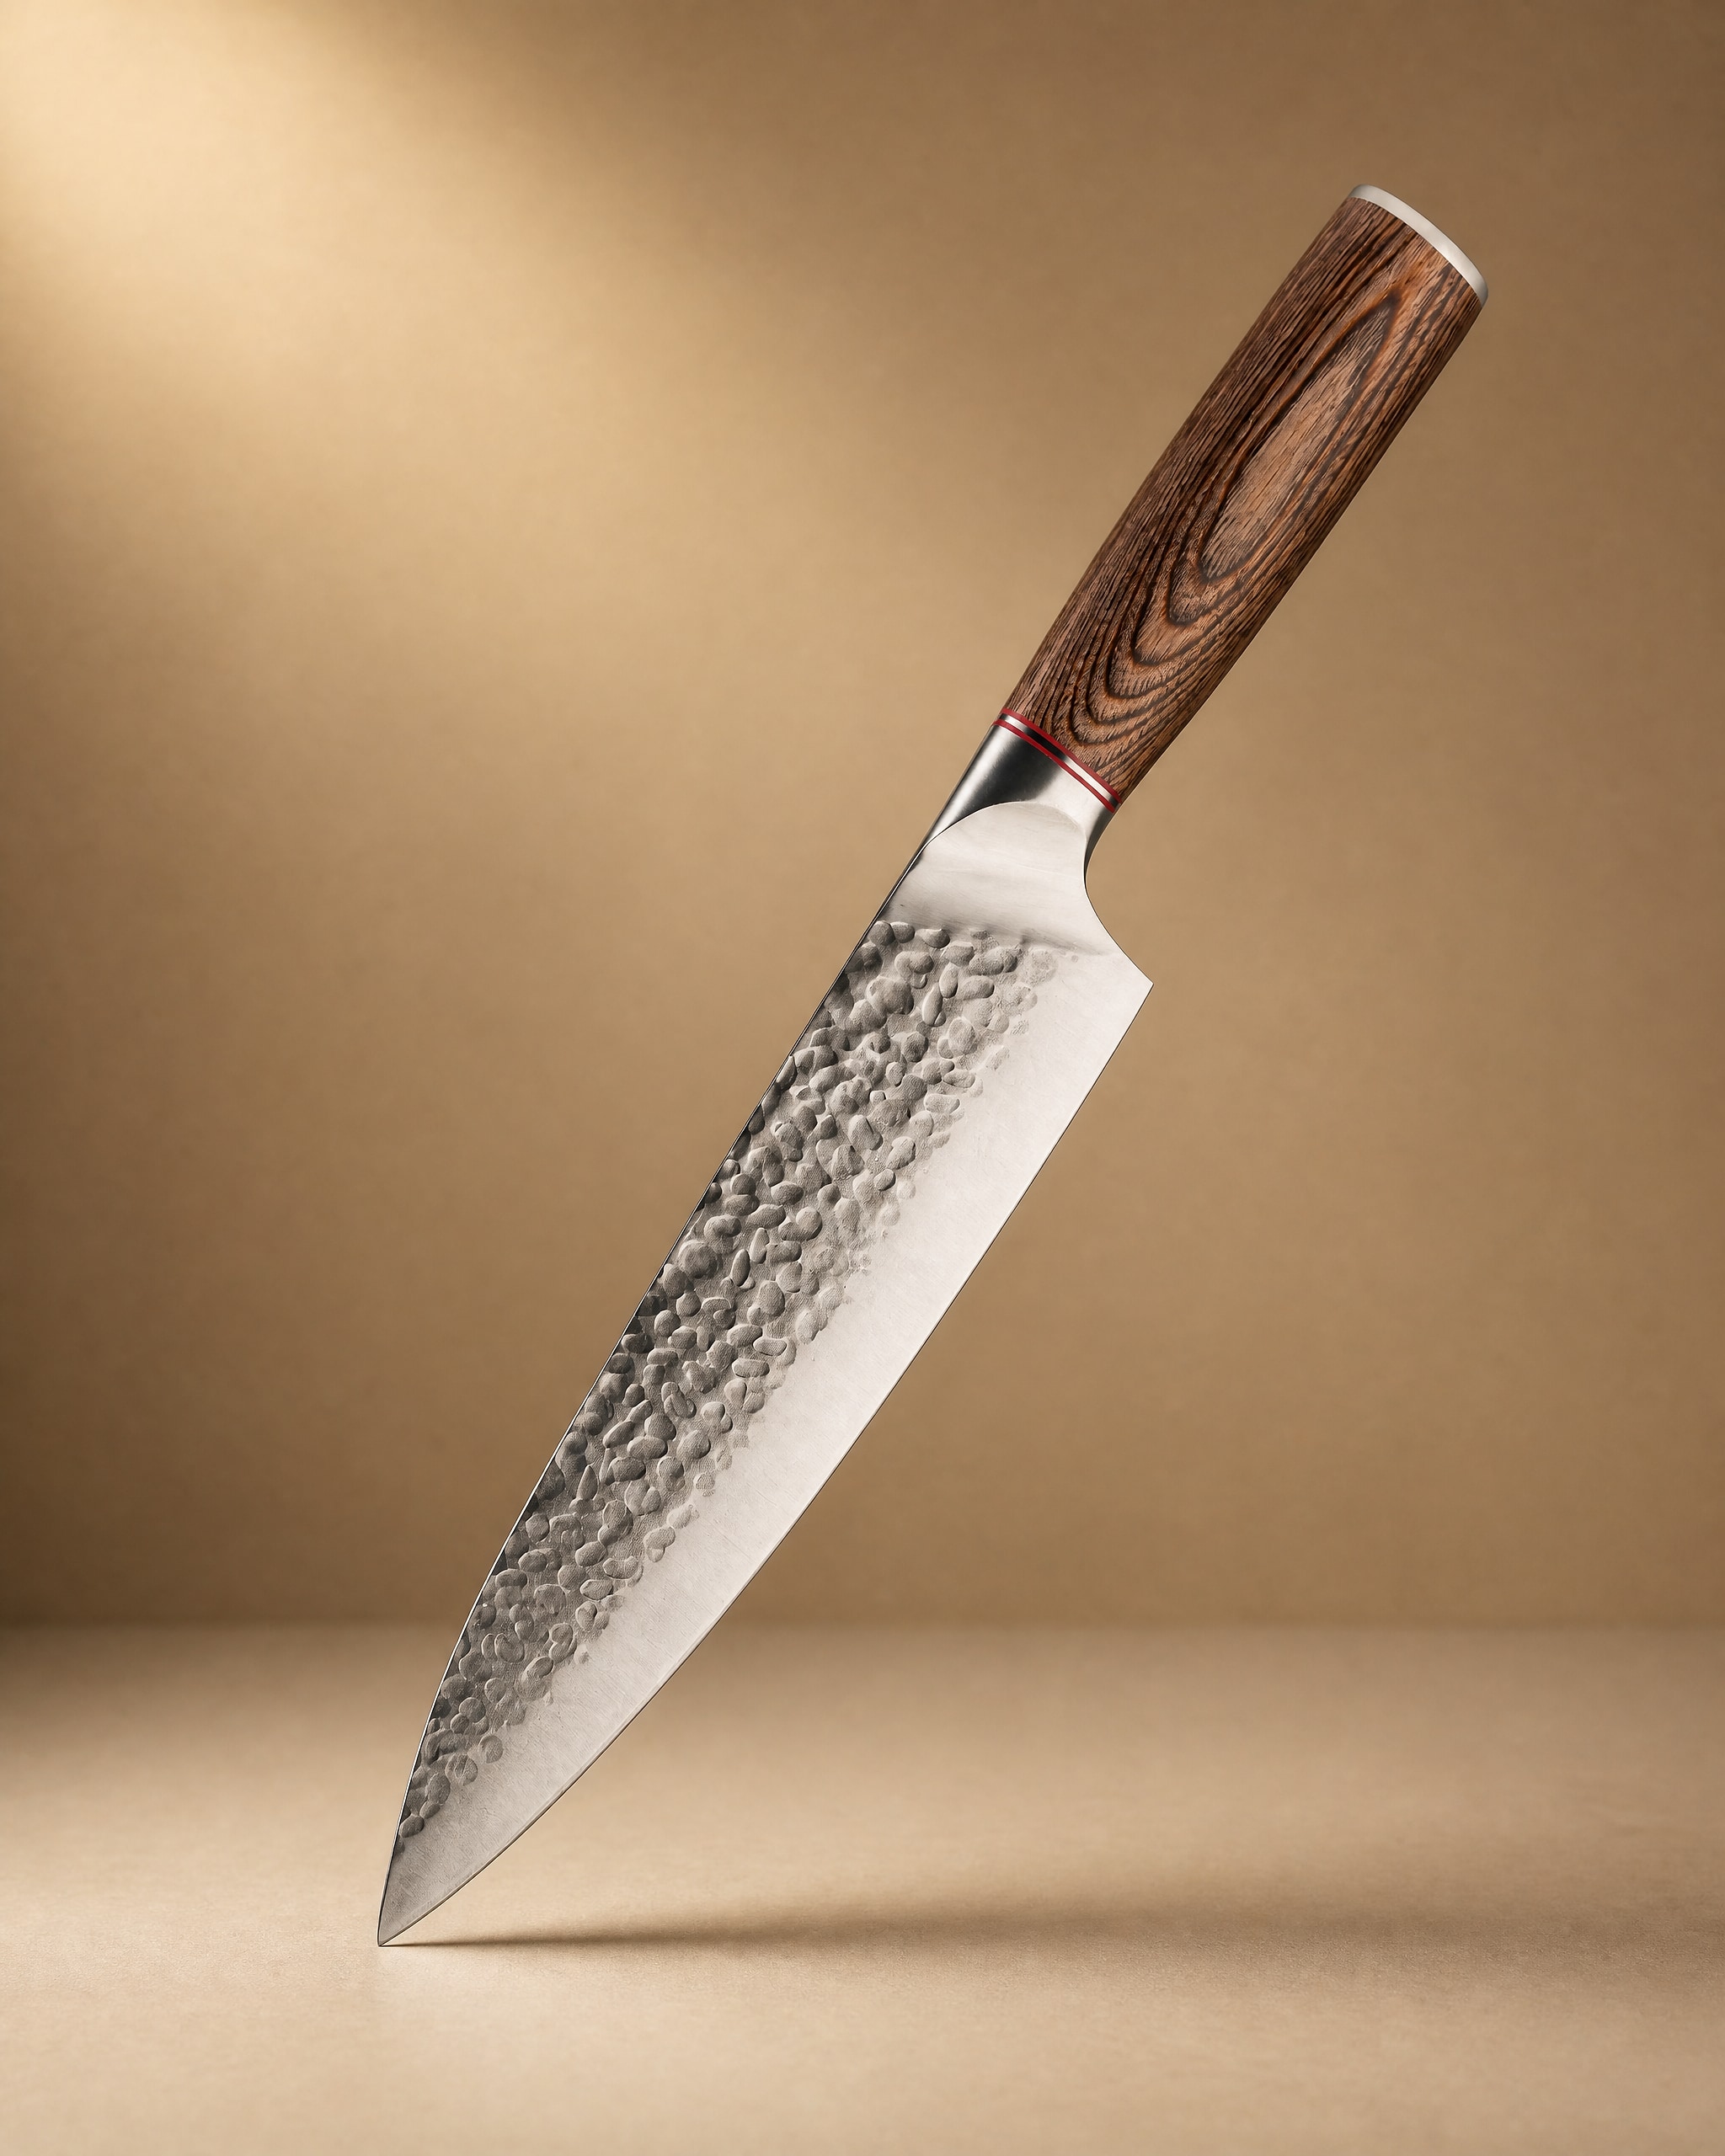 Akan 8'' Gyuto Knife 牛刀$49.99View product → is the straightforward choice for vegetables, chicken and most board work. If you want a second gyuto with a different feel in the hand, the
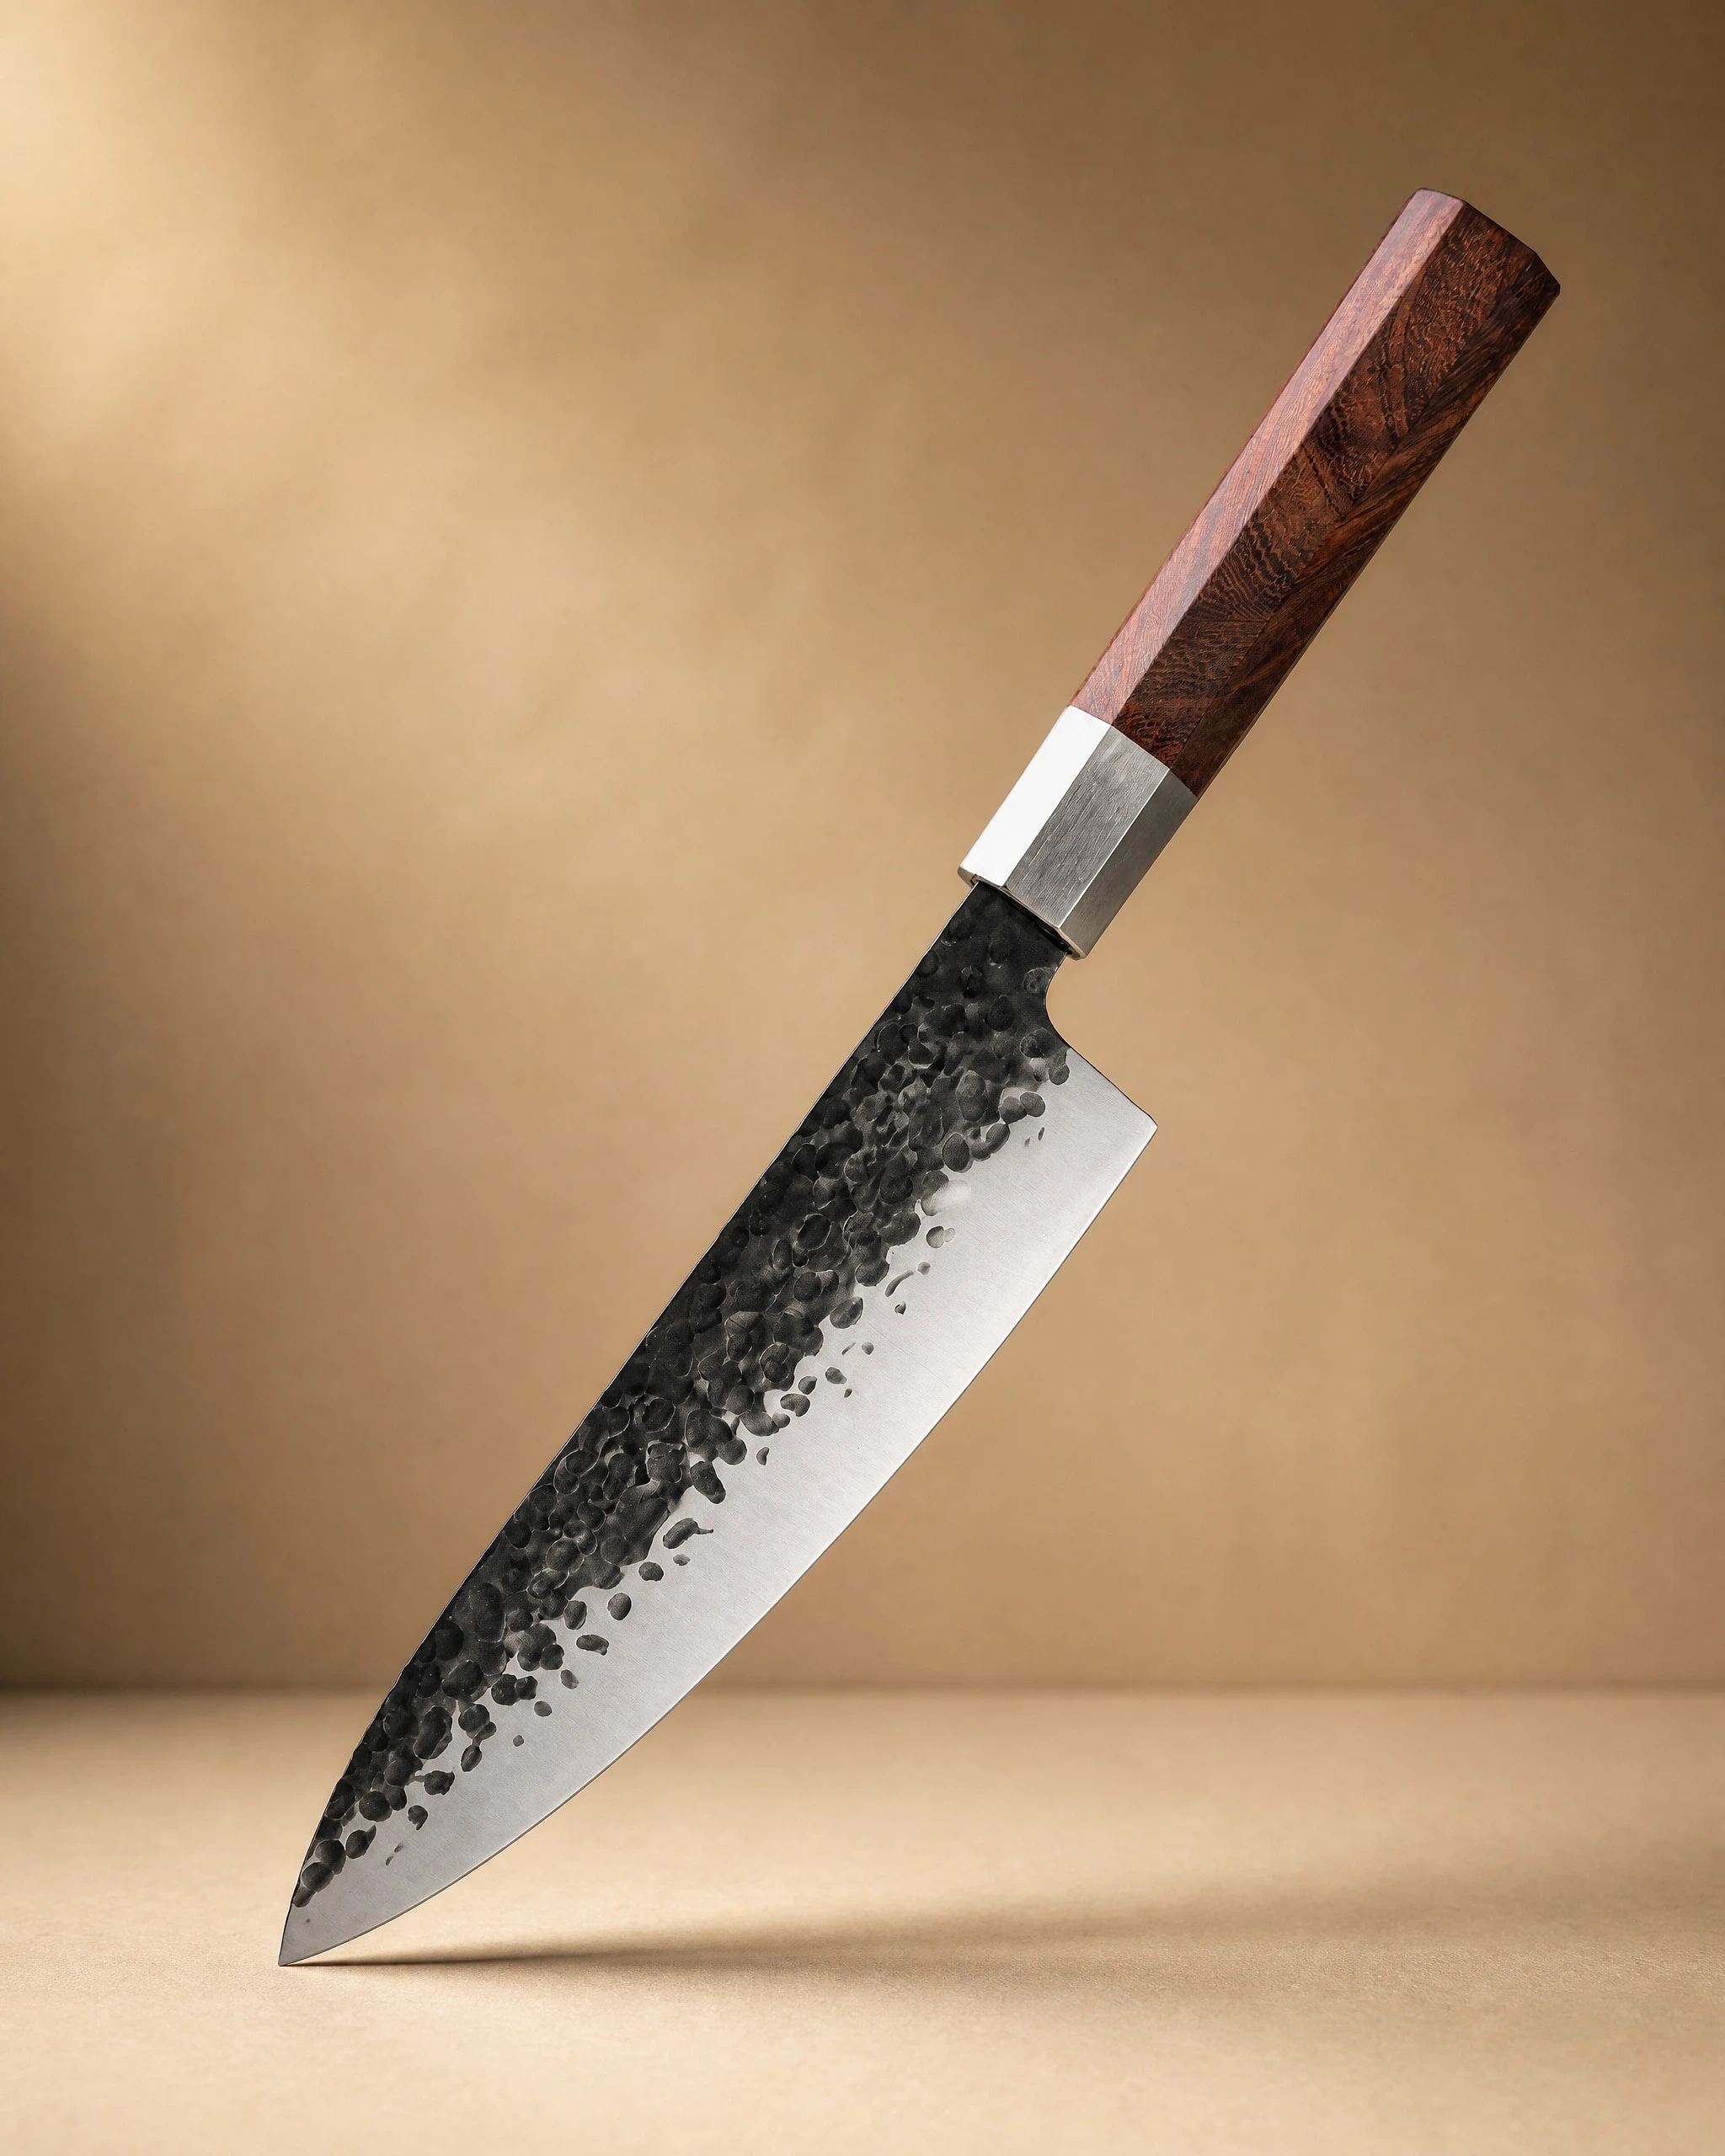 Sendai 8" Steel Gyuto Knife 牛刀$49.99View product → is the same shape from Sendai and takes a 20 degree edge comfortably. Either one is worth owning before you buy a block of knives.
Serrated knives are the exception. A bread knife has scallops that a flat stone cannot reach, so it should not be sharpened on one. A good one stays useful for years with almost no maintenance. The 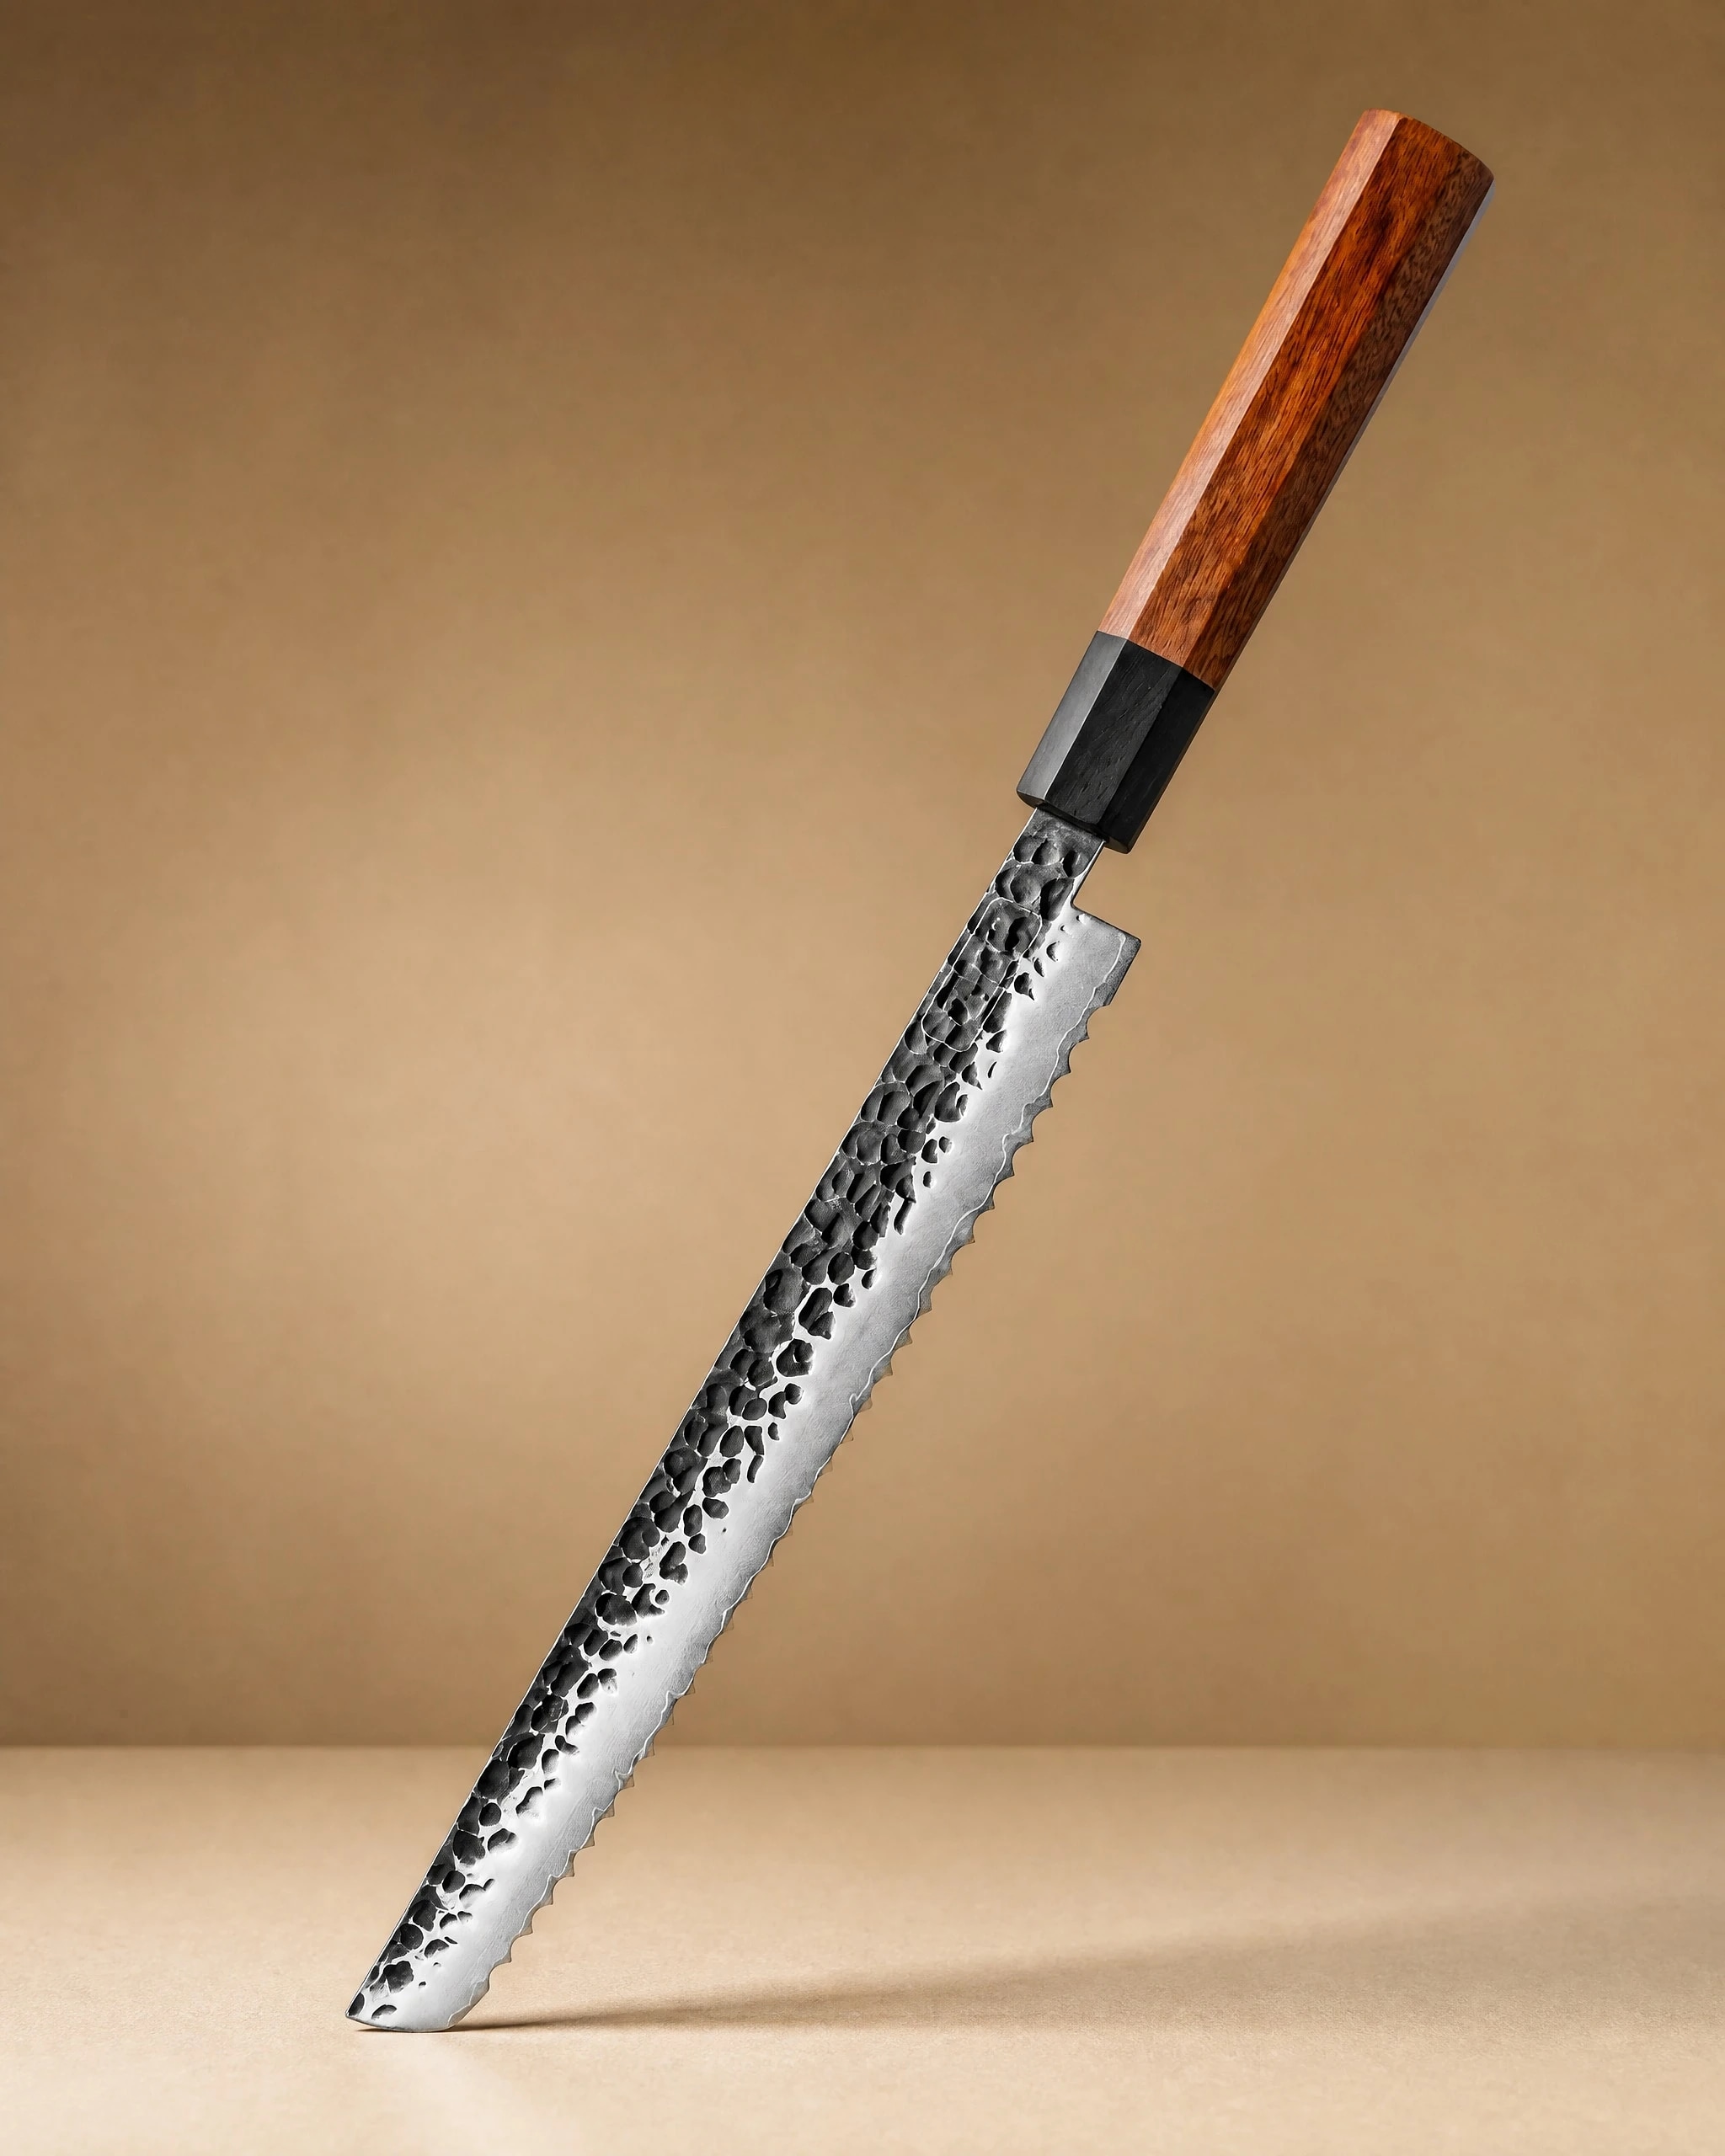 Rumoi 10" Japanese Bread Knife パン切りナイフ$59.99View product → handles crusty loaves and tomatoes without crushing them. If you are outfitting a kitchen from scratch, the
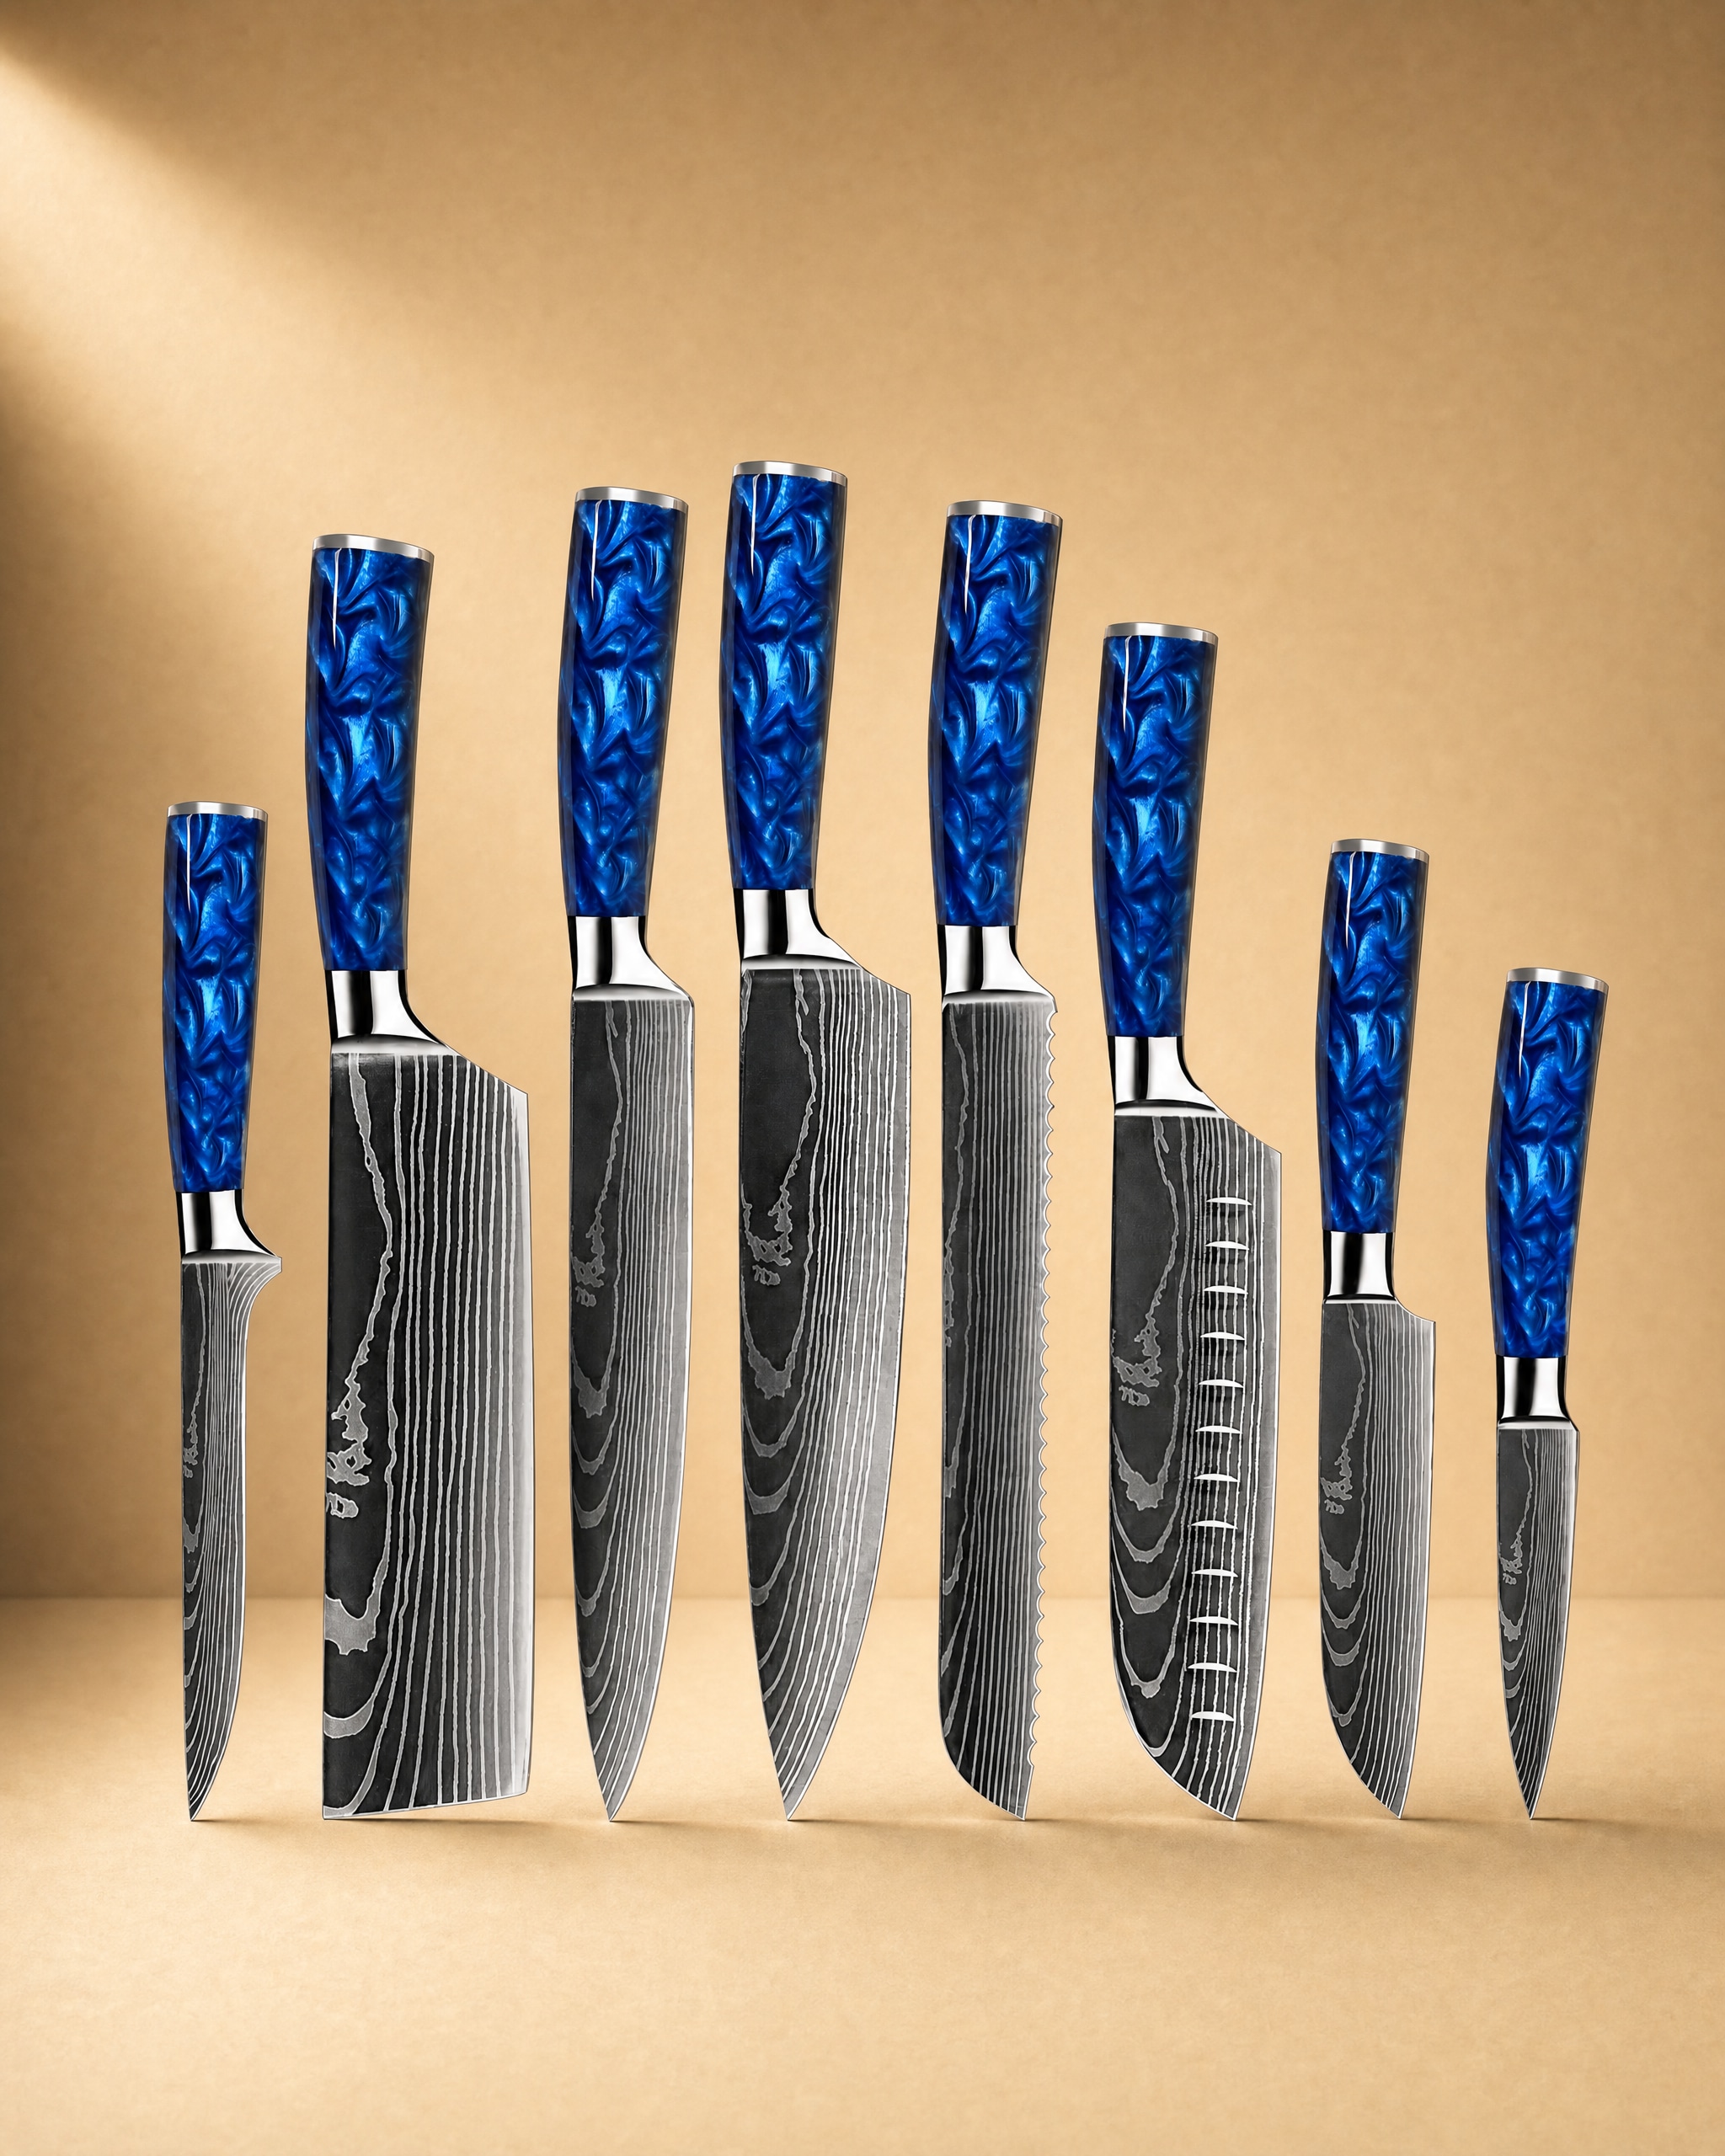 Shinano 信濃川 Damascus Pattern Stainless Steel Kitchen 8 Knife Set$149.99View product → covers the core shapes, and you can add a stone and learn on whichever knife you reach for most.
You can browse the full range in our knife shop, and if you are still deciding which shapes belong in your kitchen, the knife buying guide walks through the tradeoffs honestly.
Practice Beats Equipment
Your first session will not produce a perfect edge. You will wobble, you will press too hard, and you will probably leave a small flat spot near the heel. That is normal. Do it again in a month on the same knife, and by the third session you will feel the burr forming and know exactly what your hands are doing. A wet stone knife sharpener is simply a stone, water and your attention. Everything else is repetition.
Photography: wu yi via Unsplash.


