
How Do I Use a Knife Sharpener? A Step by Step Guide

If you have asked, how do I use a knife sharpener, the answer is simpler than it looks. A sharpener is a controlled abrasive. If you hold the blade at a steady angle and use light pressure, you can bring back a working edge in a few minutes. If you rush or wobble, you can round the edge or scratch the blade. This guide walks through the setup, the angle, and the strokes so you can learn how to use a knife sharpener with confidence.
First, Understand What Kind of Sharpener You Have
Before you touch the blade, identify your tool. The method changes depending on whether you are using a pull-through sharpener, a honing rod, or a stone. Each one removes metal at a different rate. Each one asks for a different touch.
- Pull-through sharpeners: These use fixed carbide or ceramic slots. They are fast and simple, but they remove a lot of metal and can leave a rougher edge. Use light pressure and do not force the knife.
- Honing rods: A rod is not a sharpener in the strict sense. It realigns a slightly bent edge. Use it between sharpenings, not as a replacement for one.
- Guided stone kits and water stones: These give you the most control. They take more practice, but they let you match the angle to the knife and finish with a clean edge.
Read the instructions for your sharpener. If you use a stone, check whether it needs to soak or only needs a splash of water. If you use a guided system, confirm the angle setting. For general knife care, see our knife care guide.
Set Up Your Sharpening Station
A stable station prevents accidents and improves results. Clear a counter at waist height. Put a damp towel under your stone or sharpener so it does not slide. Add good light so you can see the edge. Keep a towel nearby for wiping the blade and your hands.
Clean the knife before you sharpen. Food residue can clog a stone and make the surface uneven. Dry the blade so you can see the edge clearly. Keep your fingers behind the edge, not on it. If you are new to using a knife sharpener, practice with a cheaper knife first. The motion will feel more natural after a few passes.
Find the Angle and Keep It Steady
The angle is the most important variable. It is the angle between the blade and the abrasive. Most kitchen knives fall in a range that you can feel with a simple check. Lay the blade flat on the stone. Lift the spine until you see a small gap. That gap is your angle. Keep your wrist locked and move your whole arm, not just your hand.
If you are unsure, use the marker test. Color the edge with a marker. Make one light pass on the stone. Look at where the marker is removed. If the marker is only removed at the very edge, you are close. If it is removed high on the bevel, you are too steep. If it is not removed at the edge, you are too shallow. Adjust and try again. This test is honest and it saves steel.
The Step by Step Process
Step 1: Clean and inspect. Wash and dry the knife. Look for chips, bends, or a worn tip. If the edge is badly damaged, stop and read the section below on when sharpening is not enough.
Step 2: Set the angle. Place the blade on the abrasive at your chosen angle. Use your free hand to guide the blade. Keep the angle consistent on both sides.
Step 3: Start with the right grit. If the knife is dull but not damaged, start with a medium stone or the fine slot on a pull-through. If the edge is very dull, start coarser. Do not jump straight to a fine grit and expect a new edge.
Step 4: Use light pressure. Let the abrasive do the work. Pressing hard does not sharpen faster. It digs into the stone, flexes the edge, and makes the angle harder to hold.
Step 5: Alternate sides evenly. Make a set of passes on one side, then match the count on the other side. Even work keeps the edge centered. If you do ten passes on one side and two on the other, the edge will lean.
Step 6: Finish with a finer abrasive. Once you feel a burr along the full edge, move to a finer grit. Use lighter pressure and fewer passes. The goal is to clean up the scratch pattern and refine the edge.
Step 7: Clean and test. Wipe the blade. Test the edge on paper or a tomato. A sharp knife should bite and move with control. Do not test by running your finger along the edge.

How Often Should You Sharpen?
Sharpen when the knife stops doing its job. If a tomato skin slips instead of biting, or if paper tears instead of slicing, the edge needs attention. For a home cook, that may be every few months. For heavy daily use, it may be more often. Do not sharpen on a schedule just to sharpen. Every session removes metal.
Use a honing rod between sharpenings to realign the edge. A few light passes before you start cooking can keep a good edge working longer. If the rod does not bring the edge back, it is time to sharpen. This is the simple rhythm of using a knife sharpener well: hone often, sharpen when needed.
Common Mistakes to Avoid
Most sharpening problems come from a few habits. Too much pressure is the first. A sharpener is not a scrub brush. Let the abrasive cut. The second is an inconsistent angle. If your wrist rolls, the bevel becomes rounded. The third is skipping the burr. If you move to a fine grit before the edge is fully formed, you polish a dull edge. The fourth is a dirty stone. Clean the surface and keep it flat.
A note on serrated edges
Do not sharpen a serrated knife on a standard flat stone unless you know how to work each scallop. A rod or a service that specializes in serrations is safer. If you slice bread often, keep a dedicated serrated knife such as 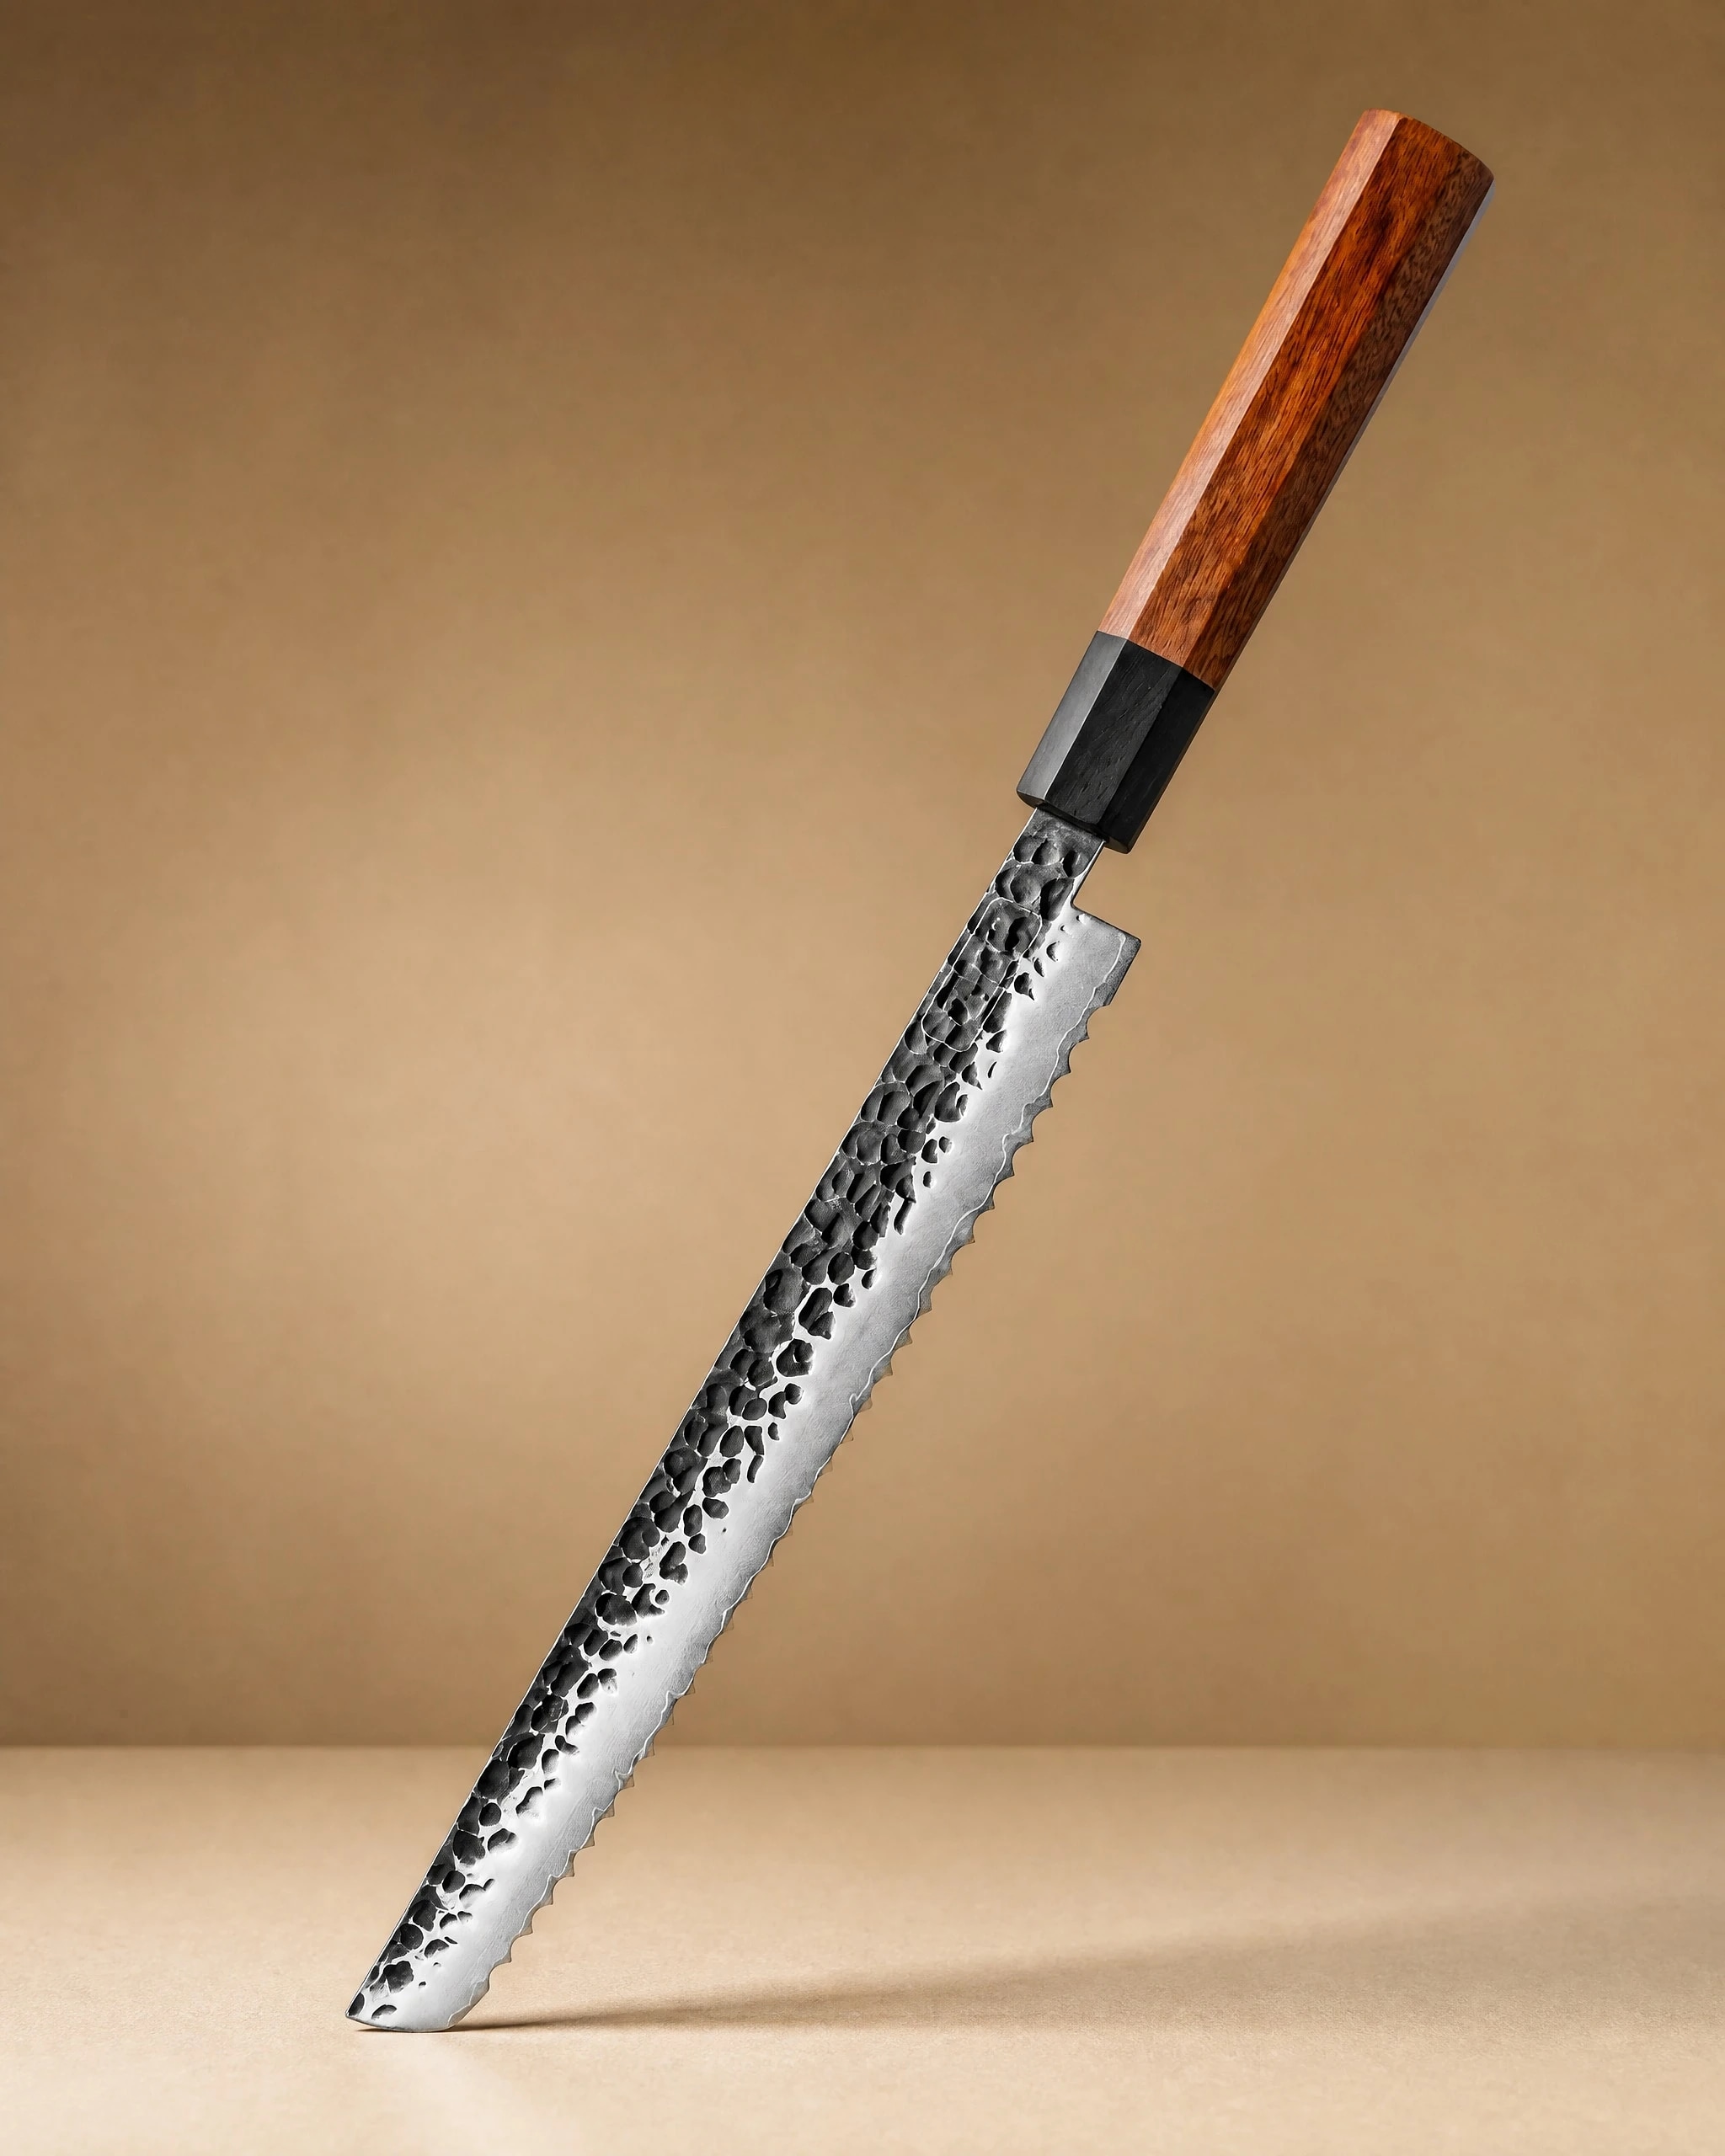 Rumoi 10" Japanese Bread Knife パン切りナイフ$59.99View product → and treat it gently. A bread knife stays useful for a long time when you do not run it through a pull-through sharpener.
Knife Sharpener Tips for Better Results
Use the marker test once a month. It teaches your hands what the correct angle feels like. Keep your stone flat with a flattening plate or wet sandpaper on glass. Rinse the stone between grits so loose abrasive does not carry over. Strop the edge on a fine stone or a piece of newspaper to remove the burr. Store the knife so the edge does not touch other metal. These knife sharpener tips are simple, but they make a real difference over a year of cooking.
If you use a pull-through sharpener, use the finest slot that will bring the edge back. Do not use a coarse slot every week. If you use a rod, use light strokes and keep the angle consistent. If you use a stone, keep the stone wet or splashed as the manufacturer directs. The tool matters less than the control.
When Sharpening Is Not Enough
Some damage is beyond a routine sharpening. A deep chip, a bent tip, or a blade that has been sharpened at a bad angle for years may need professional repair. A thick chip can require grinding past the damage, which changes the profile. A bent edge can crack if you try to straighten it cold. Stop and ask a professional. It is cheaper than ruining a good knife.
If the knife is thin and flexible, use a stone or a guided system rather than a pull-through. Thin edges are less tolerant of heavy carbide cutters. If the knife is very hard, light pressure and a consistent angle matter even more. Do not force the edge to meet the abrasive.
Choosing a Knife Worth Sharpening
A good knife rewards good sharpening. It holds an edge, feels balanced in your hand, and gives you feedback on the stone. If you are building a kitchen setup, start with one knife you use every day. The 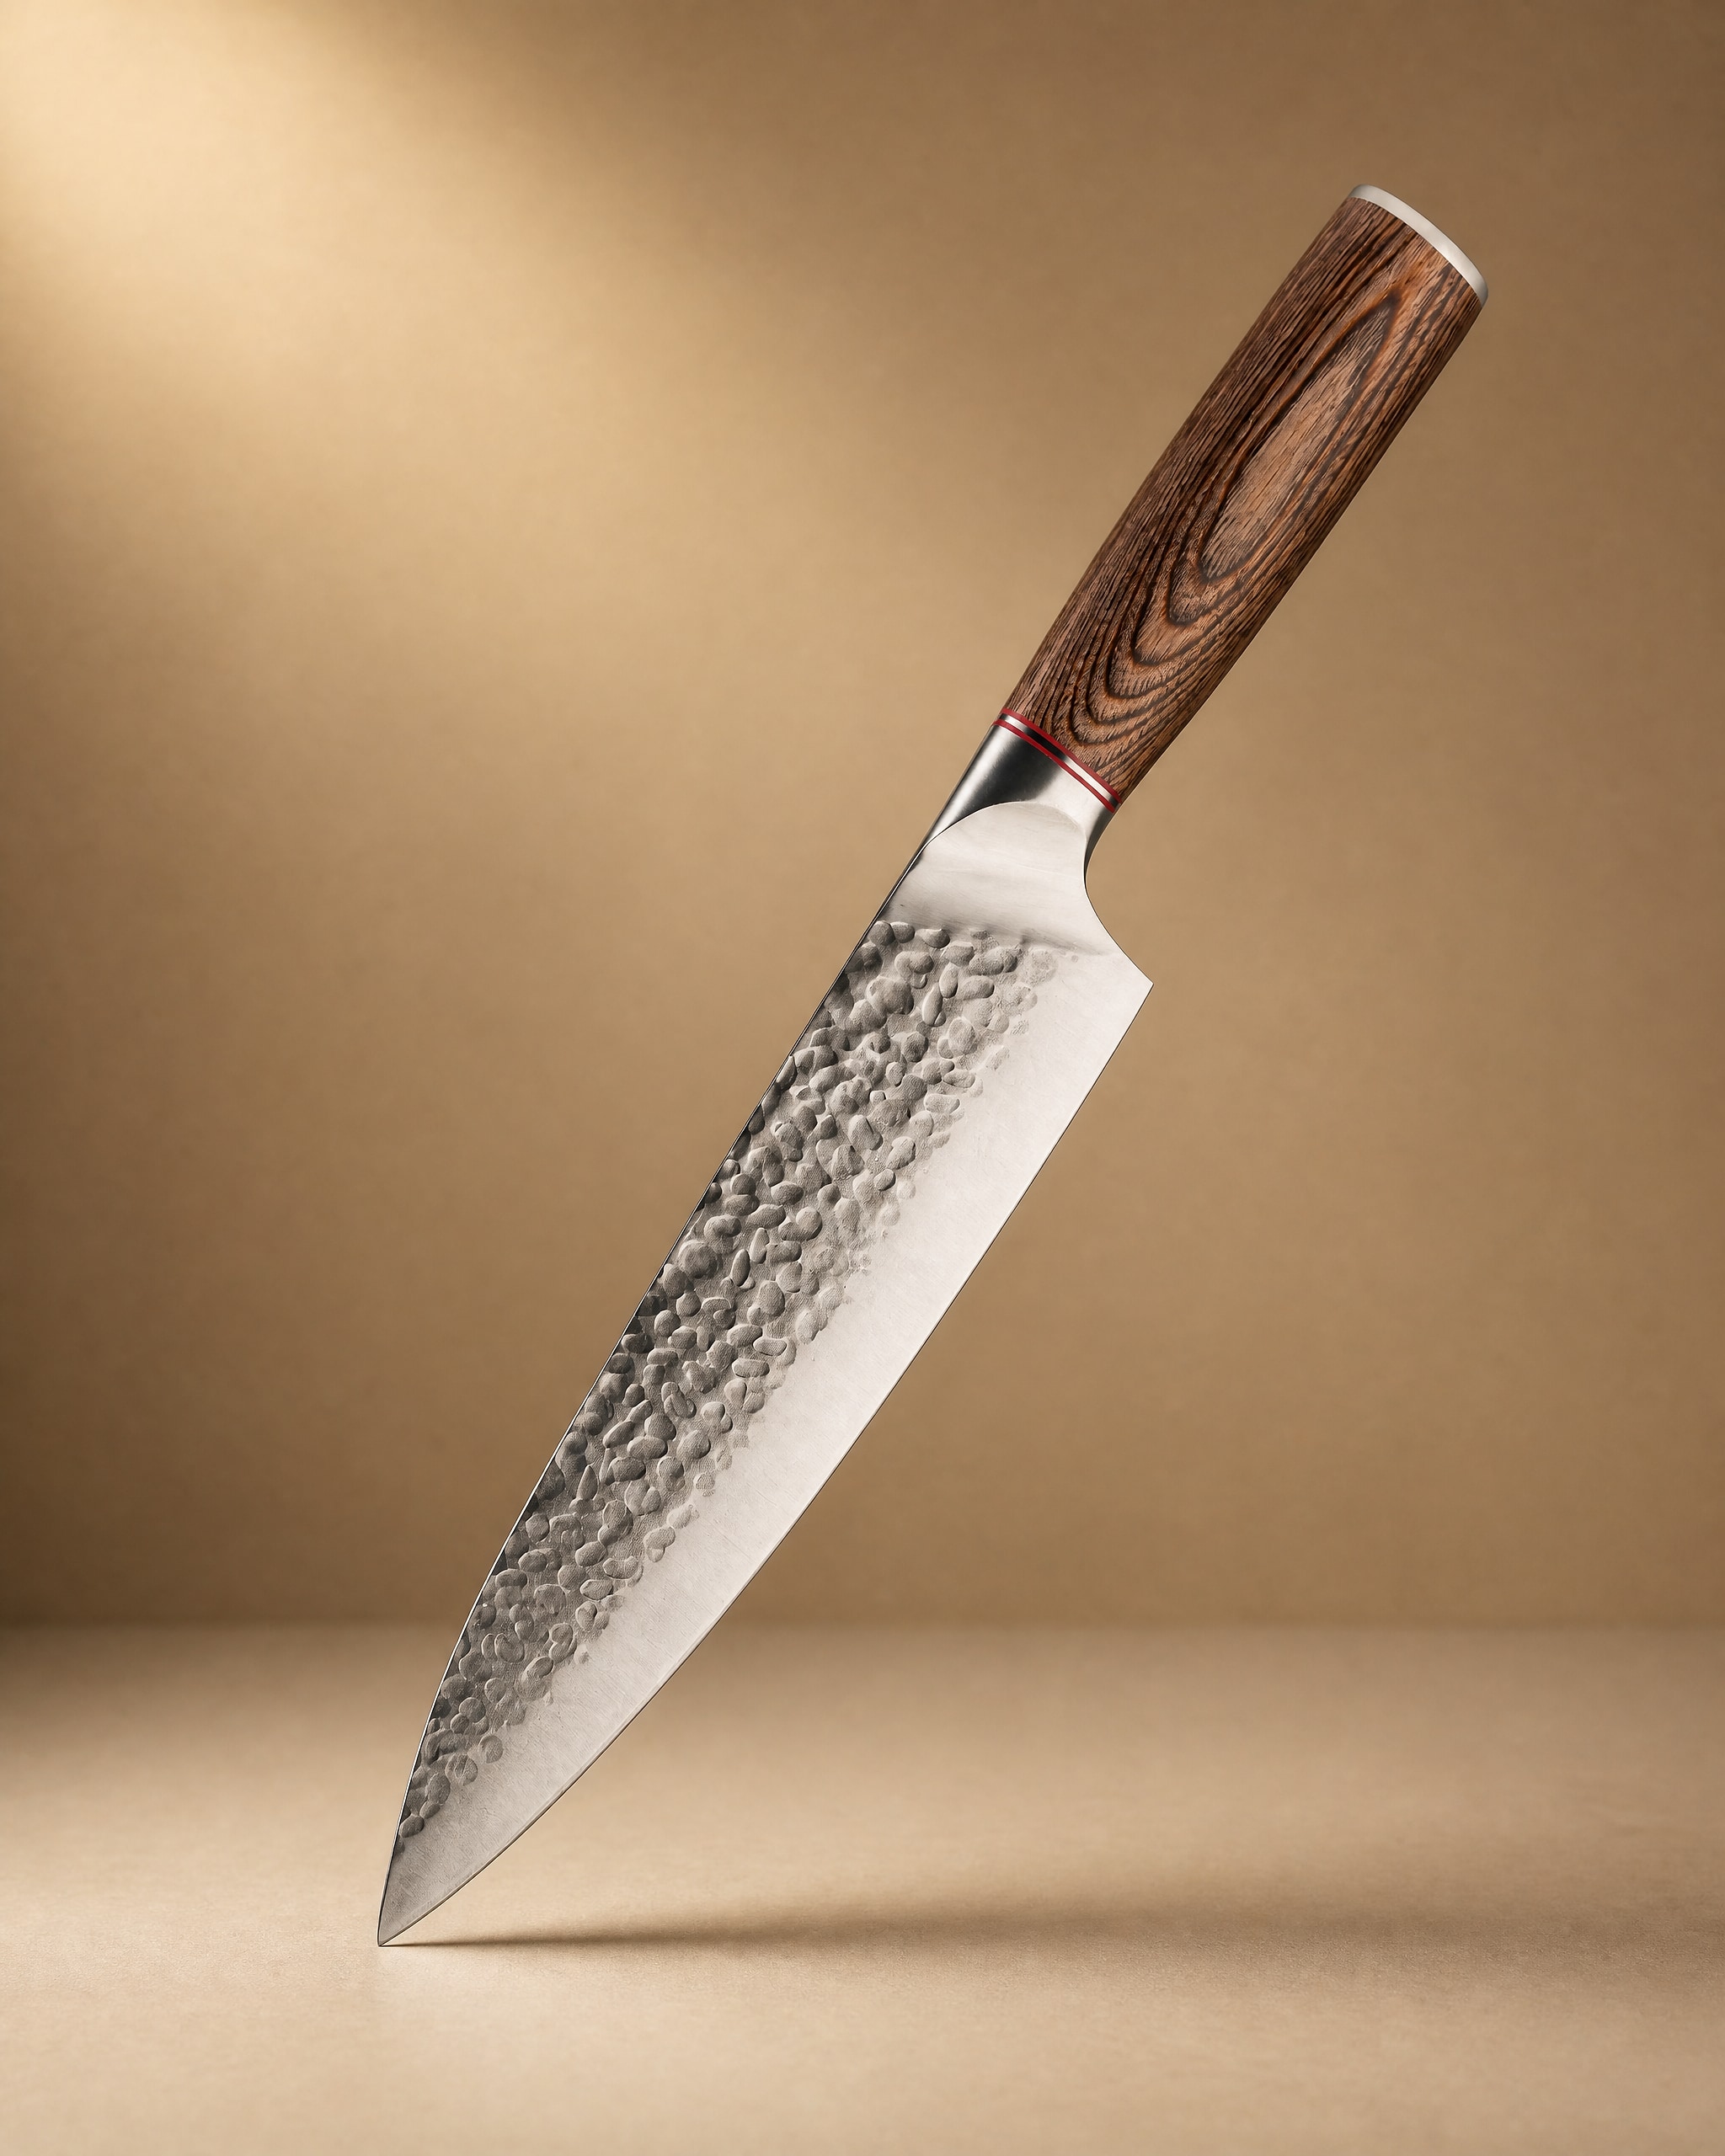 Akan 8'' Gyuto Knife 牛刀$49.99View product → is a sensible everyday gyuto for most home cooks. It handles vegetables, proteins, and general prep. If you prefer a different feel in the hand, the
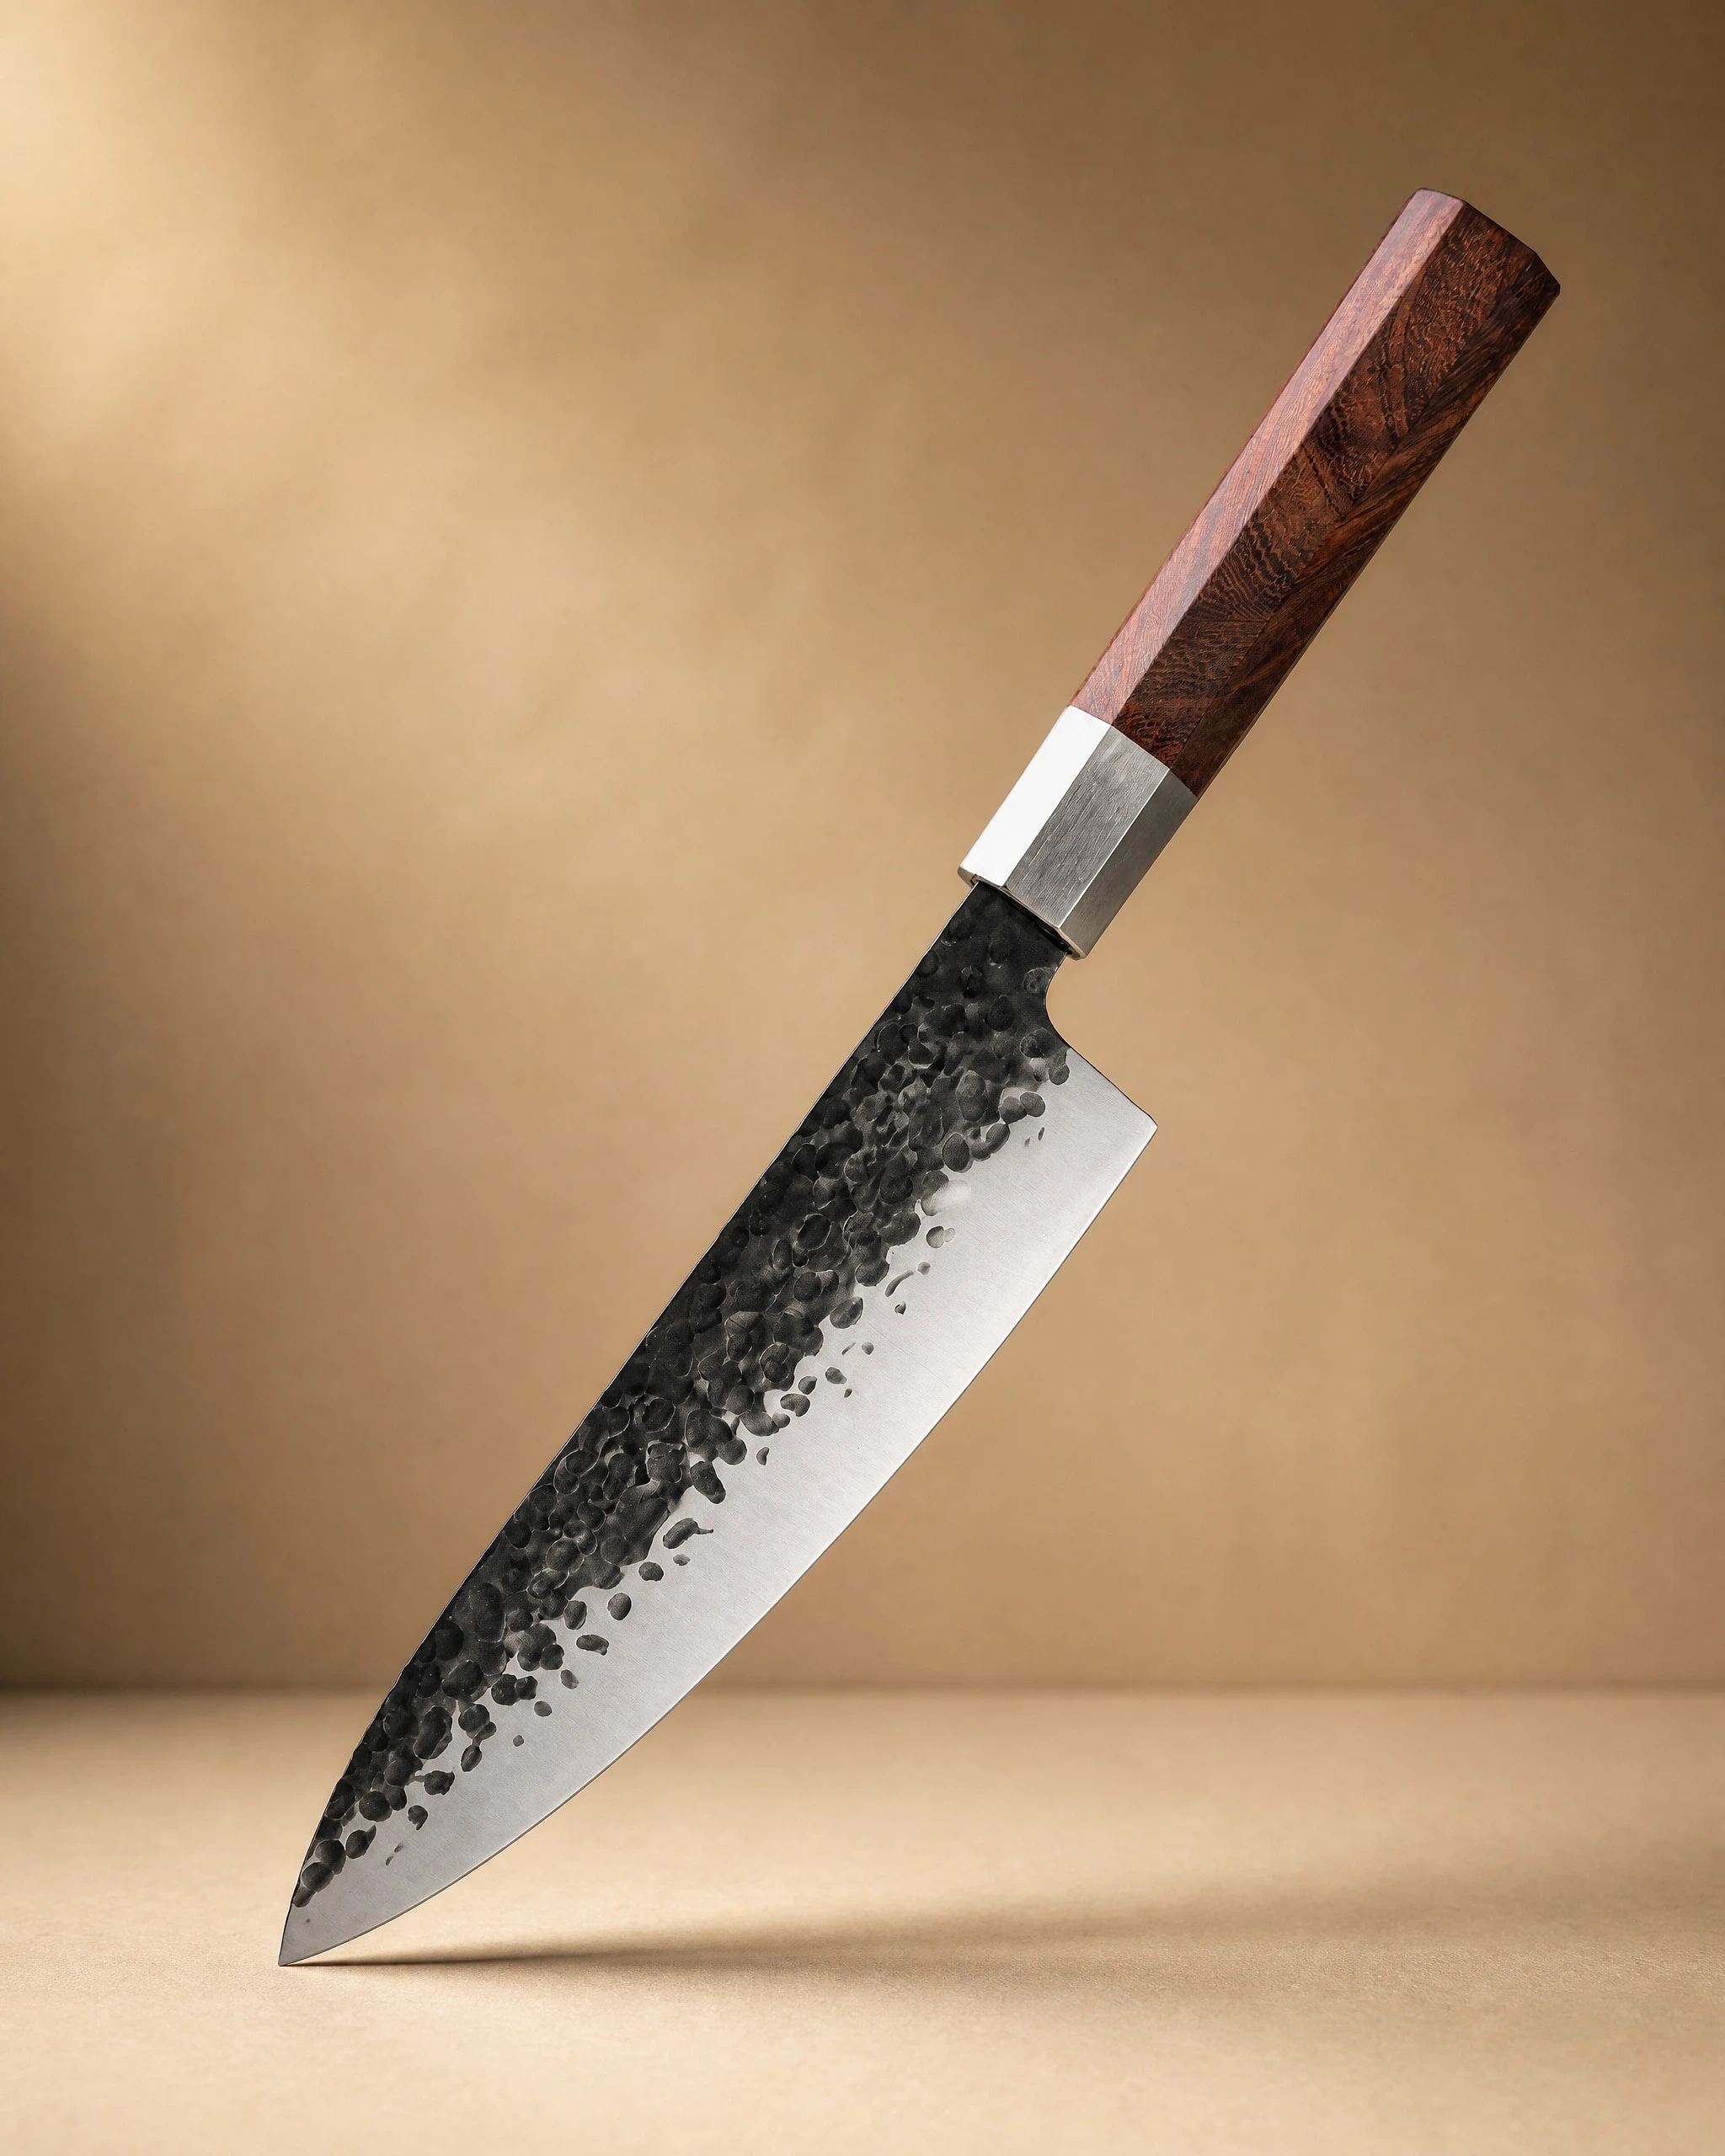 Sendai 8" Steel Gyuto Knife 牛刀$49.99View product → is another steel gyuto to consider. For a full kitchen reset, the
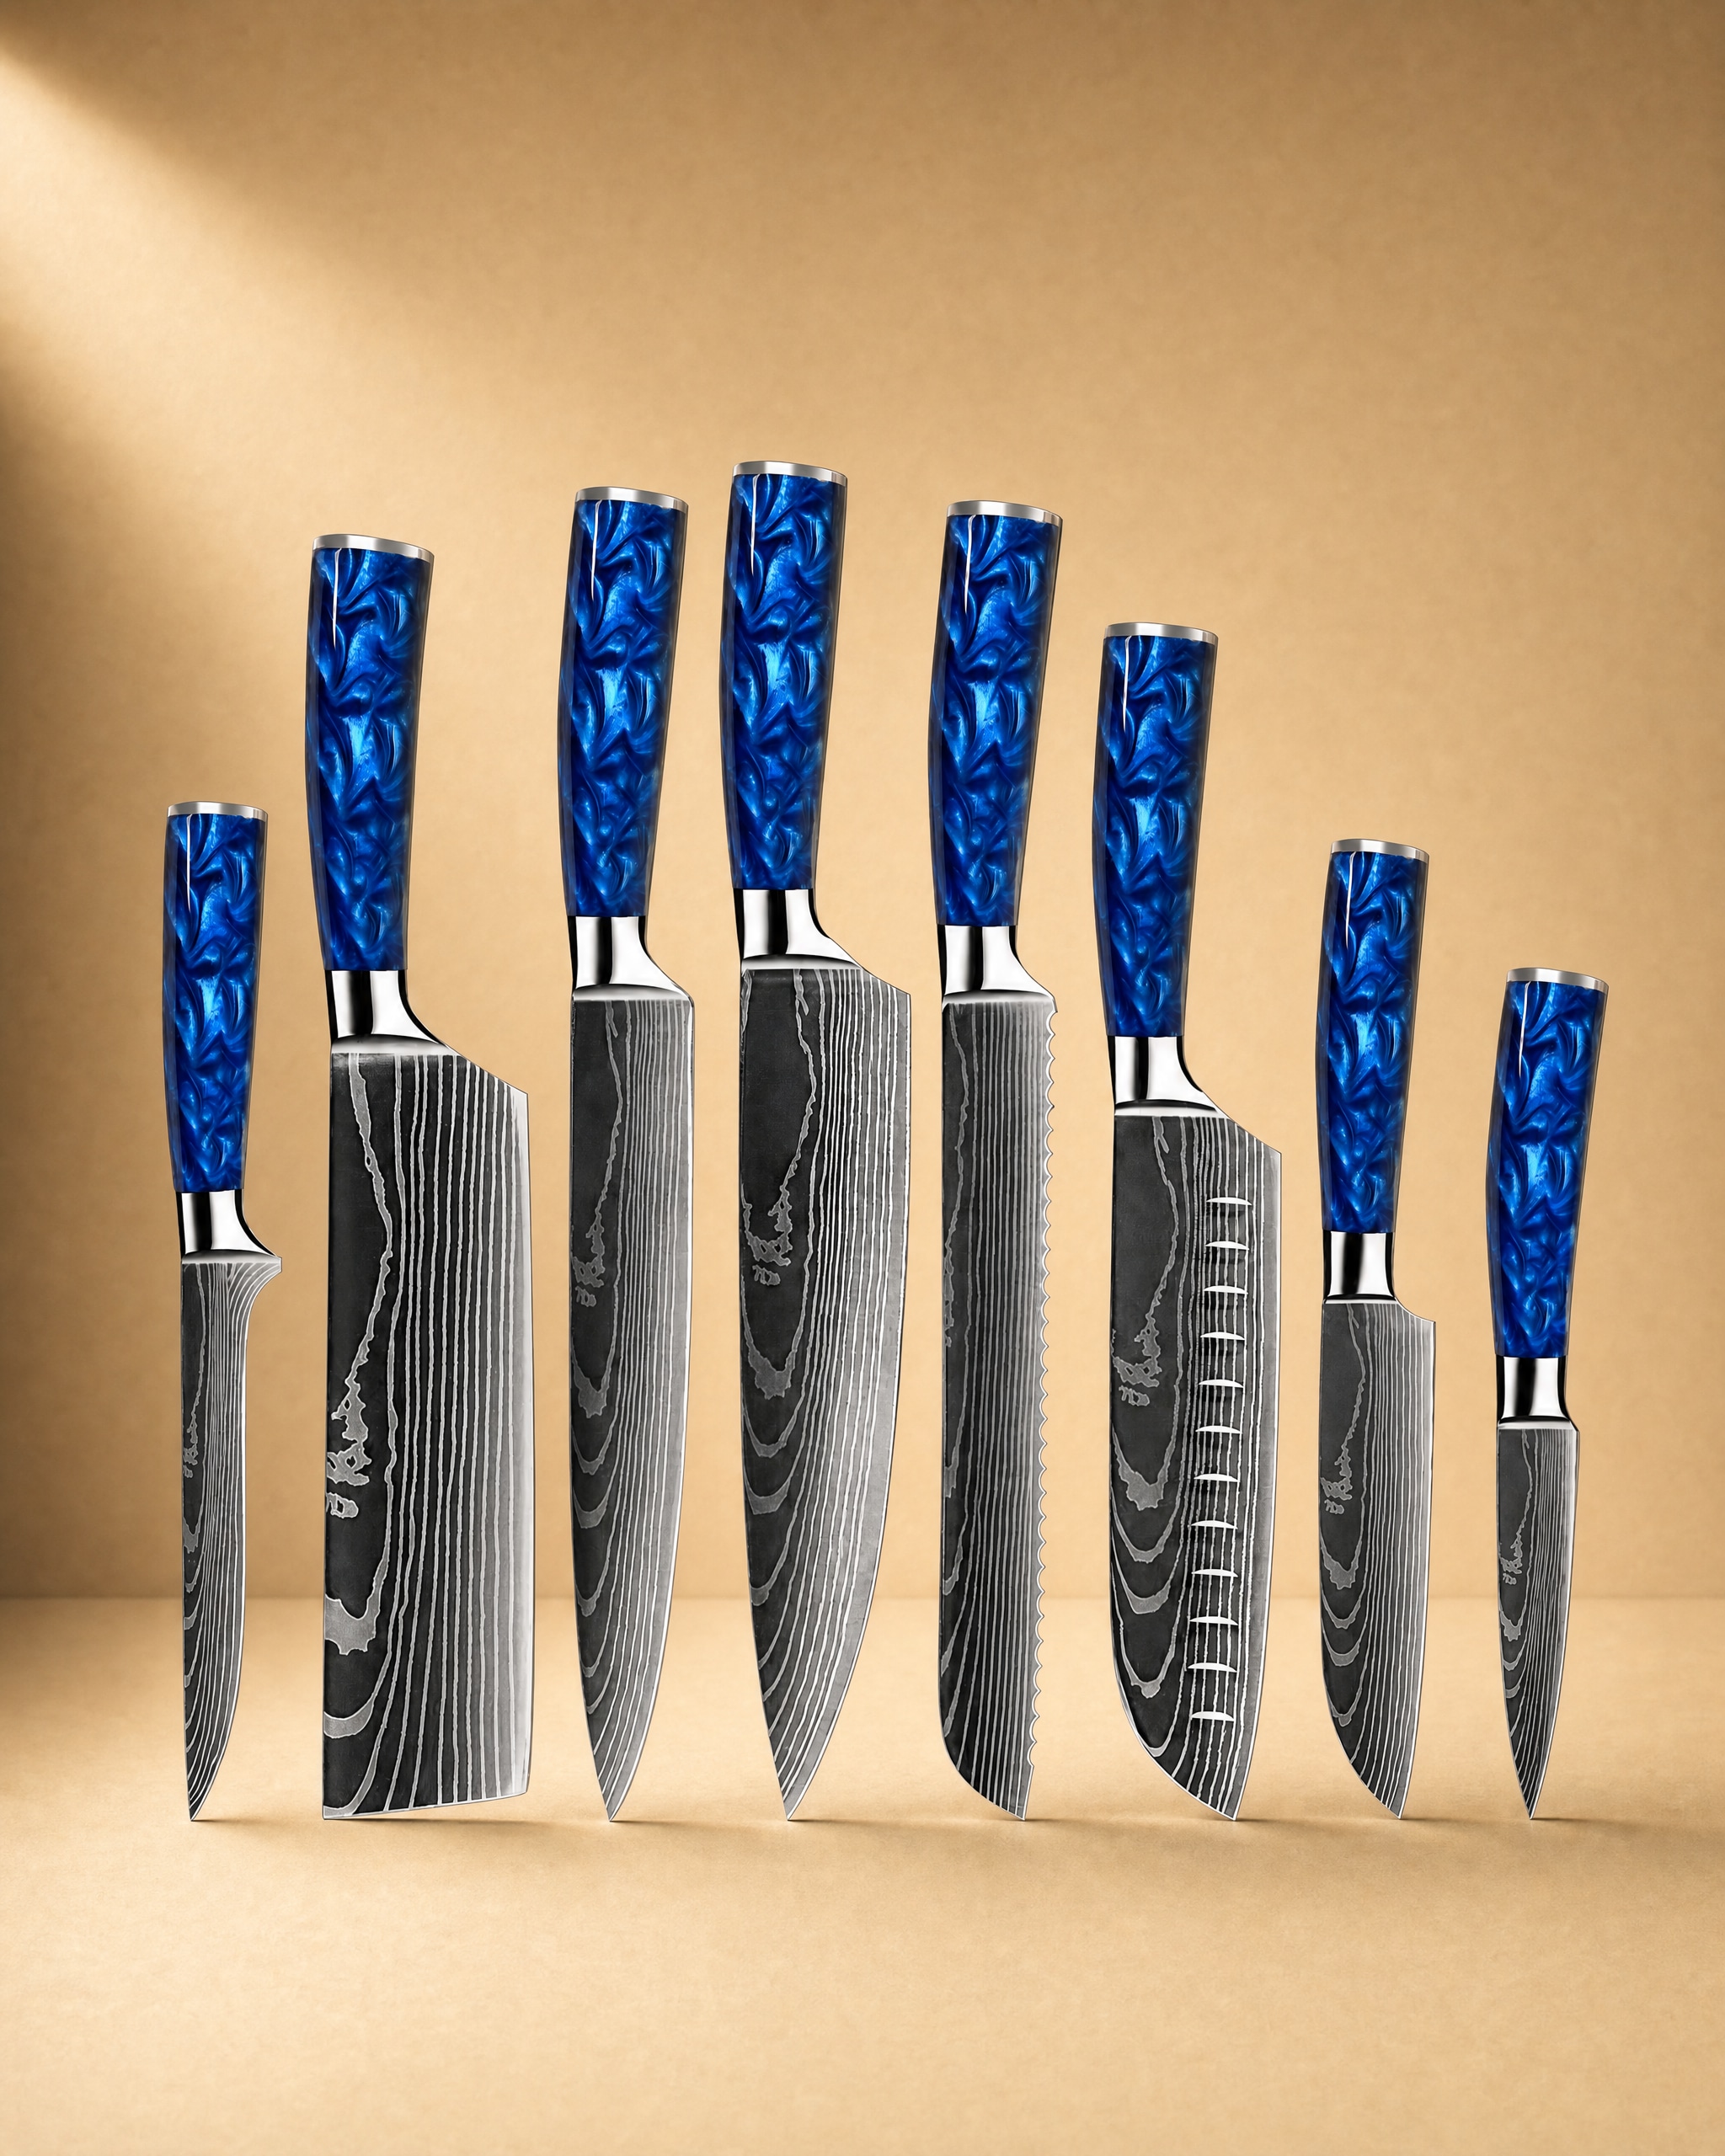 Shinano 信濃川 Damascus Pattern Stainless Steel Kitchen 8 Knife Set$149.99View product → covers the core tasks in one set.
Our knife guide explains how to choose a blade by task, steel, and handle. You can also browse the full knife shop to compare shapes. Buy the knife that fits your cooking, then learn to sharpen it. A simple knife used well will outperform a fancy knife that never gets maintained.
Keep It Simple
Using a knife sharpener is a skill you can learn in an afternoon. Pick a stable setup. Find your angle. Use light pressure. Alternate sides. Finish with a finer grit. Test the edge. Clean up. Repeat the next time the knife stops biting. The goal is not a mirror polish or a perfect bevel. The goal is a knife that cuts safely and predictably. That is what a sharpener is for.
Photography: BATCH by Wisconsin Hemp Scientific via Unsplash.


