
The Best Carving Boards for Roasts and Large Cuts

A roast deserves a board that can hold it still while you slice. A thin serving platter will slide, wobble, and send juice across the counter. A good carving board gives you room for the meat, a channel for the juices, and enough mass to keep the board planted. The best carving board is not the fanciest one. It is the one that fits your typical roast, stays put, and is easy enough to clean that you actually use it.
This guide covers size, wood, grain, juice grooves, and care. It also covers the knives that make carving cleaner, because a board and a blade work as a pair. If you are building your kitchen, start with the knife guide.
What a Carving Board Actually Does
A carving board has three jobs. First, it creates a stable work surface. A roast is heavy and uneven. If the board rocks, your knife can slip. Second, it captures liquid. A juice groove catches drippings so they do not run onto the counter or under the board. Third, it gives you clearance. You need enough surface to rest the roast, make a cut, and move the slices aside without stacking them on top of each other.
Thickness matters more than most shoppers expect. A board under one inch thick can flex or slide on a wet counter. A board between 1.25 and 2 inches thick feels solid and gives you room to add a groove without weakening the edge. If the board has small rubber feet, check that they are recessed or screwed in, not just glued on. Feet help with grip, but they also mean you cannot flip the board and use the other side unless the feet are removable.
Size and Shape: Buy Bigger Than You Think
For a whole chicken or a small pork loin, a board around 16 by 12 inches can work. For a standing rib roast, a leg of lamb, a brisket, or a holiday turkey, go larger. A board around 20 by 14 inches gives you room to carve without chasing the meat to the edge. If your counter is tight, measure first. A board that does not fit on the counter is a board that stays in the cabinet.
Shape is mostly personal. Rectangular boards maximize surface area. Boards with a rounded corner or a handhold are easier to lift when wet. A recessed well can hold a roast, but a deep well is harder to clean. Look for a groove that runs all the way around the carving side. A partial groove looks neat but lets juice escape at the corners.

End Grain, Edge Grain, and Bamboo
Wood carving boards come in two main grain constructions. Edge grain boards are made from strips of wood glued side by side, with the edge of the grain facing up. They are durable, less expensive, and lighter than end grain boards of the same size. End grain boards are made from short blocks glued together with the end of the grain facing up. The surface acts like a dense brush. Knives sink in slightly, which can be gentler on edges, and small cuts tend to close up. End grain boards are heavier, cost more, and need more careful oiling. They are not automatically better for every cook. A well made edge grain maple board can last for decades.
Bamboo is not a wood, though it is often sold next to wood boards. It is dense and affordable, and good bamboo boards can be useful. The tradeoff is that bamboo is hard and less forgiving on knife edges. Some bamboo boards are also made with adhesives that do not respond well to long soaking. If you choose bamboo, hand wash, dry promptly, and oil it occasionally. For heavy use, hard maple or beech is usually the more forgiving choice.
The Best Wood for Carving Boards
Hard maple is the standard for a reason. It is dense, closed grain, and resists scoring. It takes oil well and holds up to repeated washing if you dry it properly. Beech is another common choice. It is slightly softer than maple and often less expensive. Cherry and walnut are beautiful, but both are softer. They can make excellent serving boards and light carving boards, but they will show knife marks sooner. If you carve every week, maple or beech is the safer workhorse.
Whatever wood you choose, look for a food safe finish. Mineral oil or a mineral oil and beeswax blend is common and easy to refresh. Avoid boards finished with heavy polyurethane if you plan to cut on them. A film finish can crack and flake over time. Also check the glue lines. Tight, even seams are a sign of careful construction. Wide gaps or visible filler are a reason to pass.
Juice Groove and Board Details
A juice groove is useful, but it is not a substitute for resting meat properly. Rest the roast on the board for the recommended time, then carve. The groove catches what runs. It will not hold a flood. Look for a groove that is at least a quarter inch wide and deep enough to be cleaned with a brush. Very narrow grooves collect fat and are hard to scrub. If the board is reversible, one side with a groove and one side flat is a practical setup. The flat side works for bread, vegetables, and carving tasks where you want full surface contact.
What to Look For in the Best Carving Board for Meat
Use this checklist before you buy. It will keep you from paying for features you do not need.
- Thickness between 1.25 and 2 inches for stability and room for a groove.
- Footprint that fits your counter and your largest usual roast, with extra room for slices.
- Juice groove wide enough to clean, running around the carving area.
- Hard maple, beech, or another dense food safe wood with tight glue lines.
- Handhold or recessed grip if the board is large or heavy.
- Non-slip feet or a reversible design that lets you use both sides.
- Finish that can be refreshed with mineral oil or board wax.
Care That Keeps a Wood Carving Board Working
Wood boards do not need to be complicated, but they do need consistency. Wash with warm water and mild soap, then dry immediately with a towel. Do not leave the board soaking. Do not put it in the dishwasher. Do not dry it over a hot radiator. Let it dry flat or on edge with air on both sides. Once a month, or when the surface looks dry, apply a thin coat of mineral oil. Let it sit overnight, wipe off the excess, and buff. If the surface gets fuzzy or deeply scored, lightly sand with fine grit, clean off the dust, and re-oil.
Keep your knives clean and dry as well. The knife care guide covers daily cleaning, storage, and edge maintenance. A sharp knife needs less pressure, and less pressure means fewer deep marks in the board. A dull knife is harder on both the meat and the wood.
Knives for Carving and Serving
The board is half the setup. The other half is the blade. A long slicing knife is traditional for large roasts, but many home cooks do well with a rigid gyuto for trimming, portioning, and smaller cuts. The 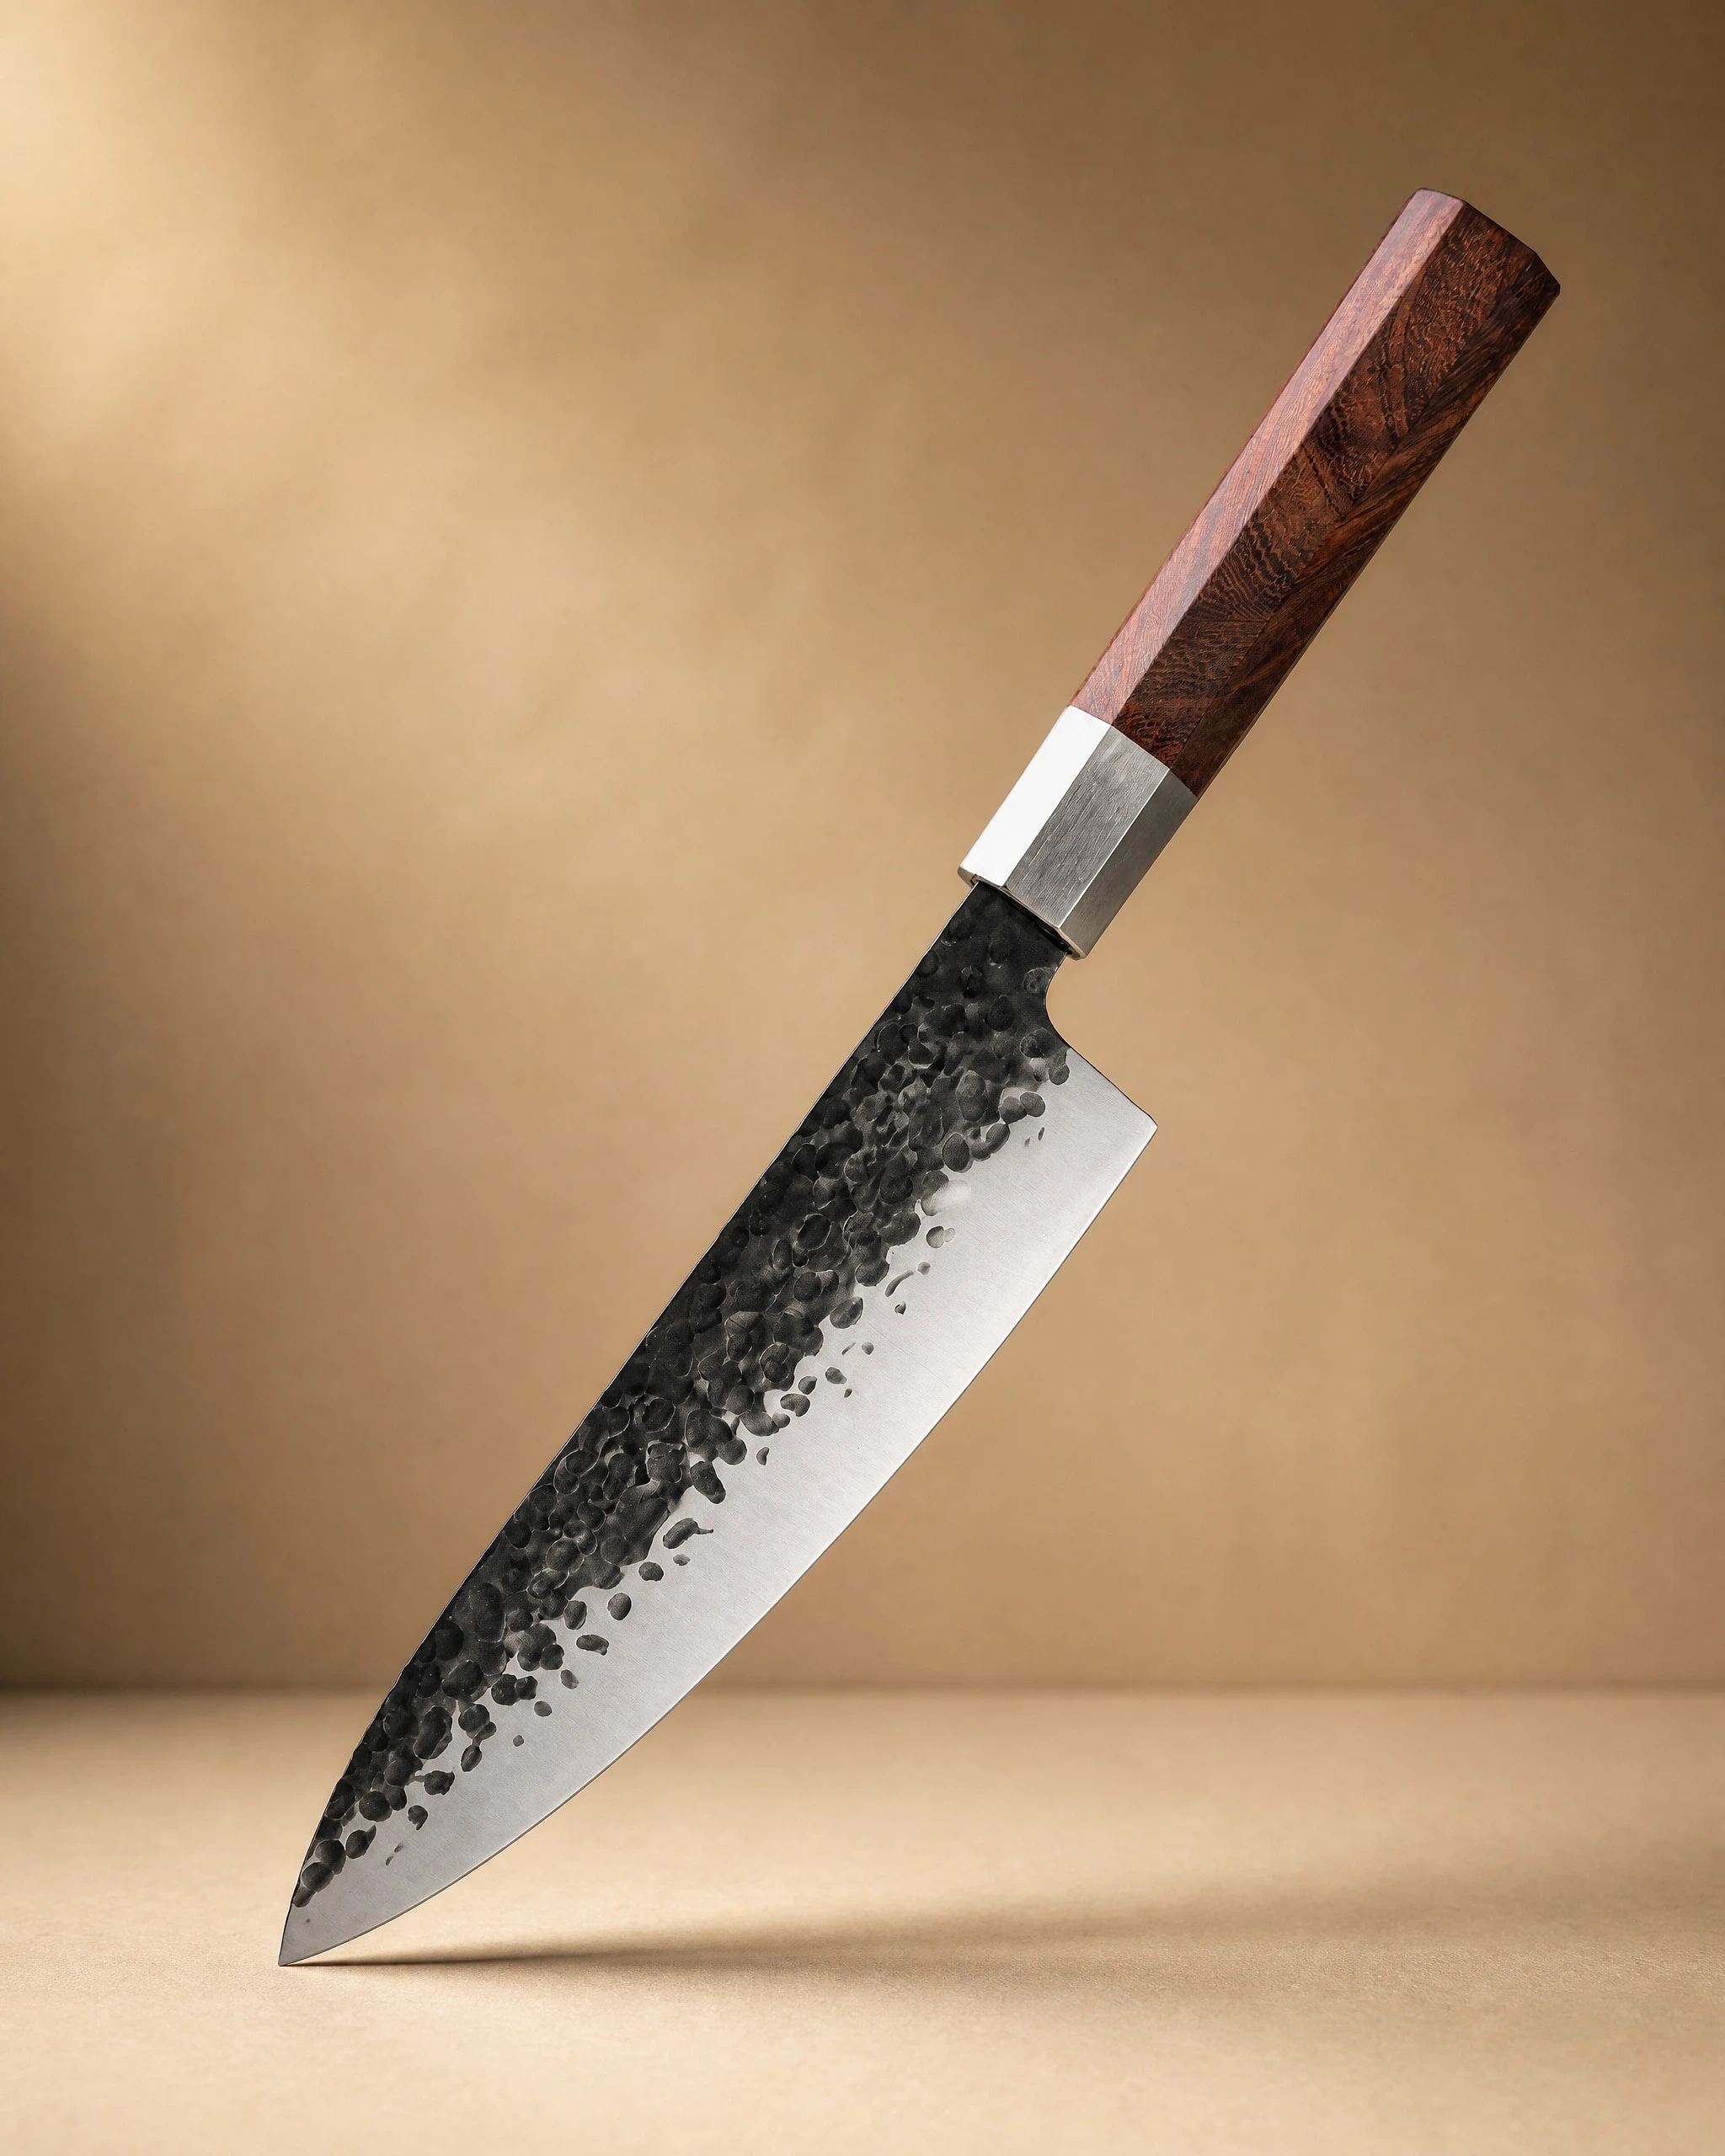 Sendai 8" Steel Gyuto Knife 牛刀$49.99View product → is a practical everyday prep knife that can handle trimming and slicing. The
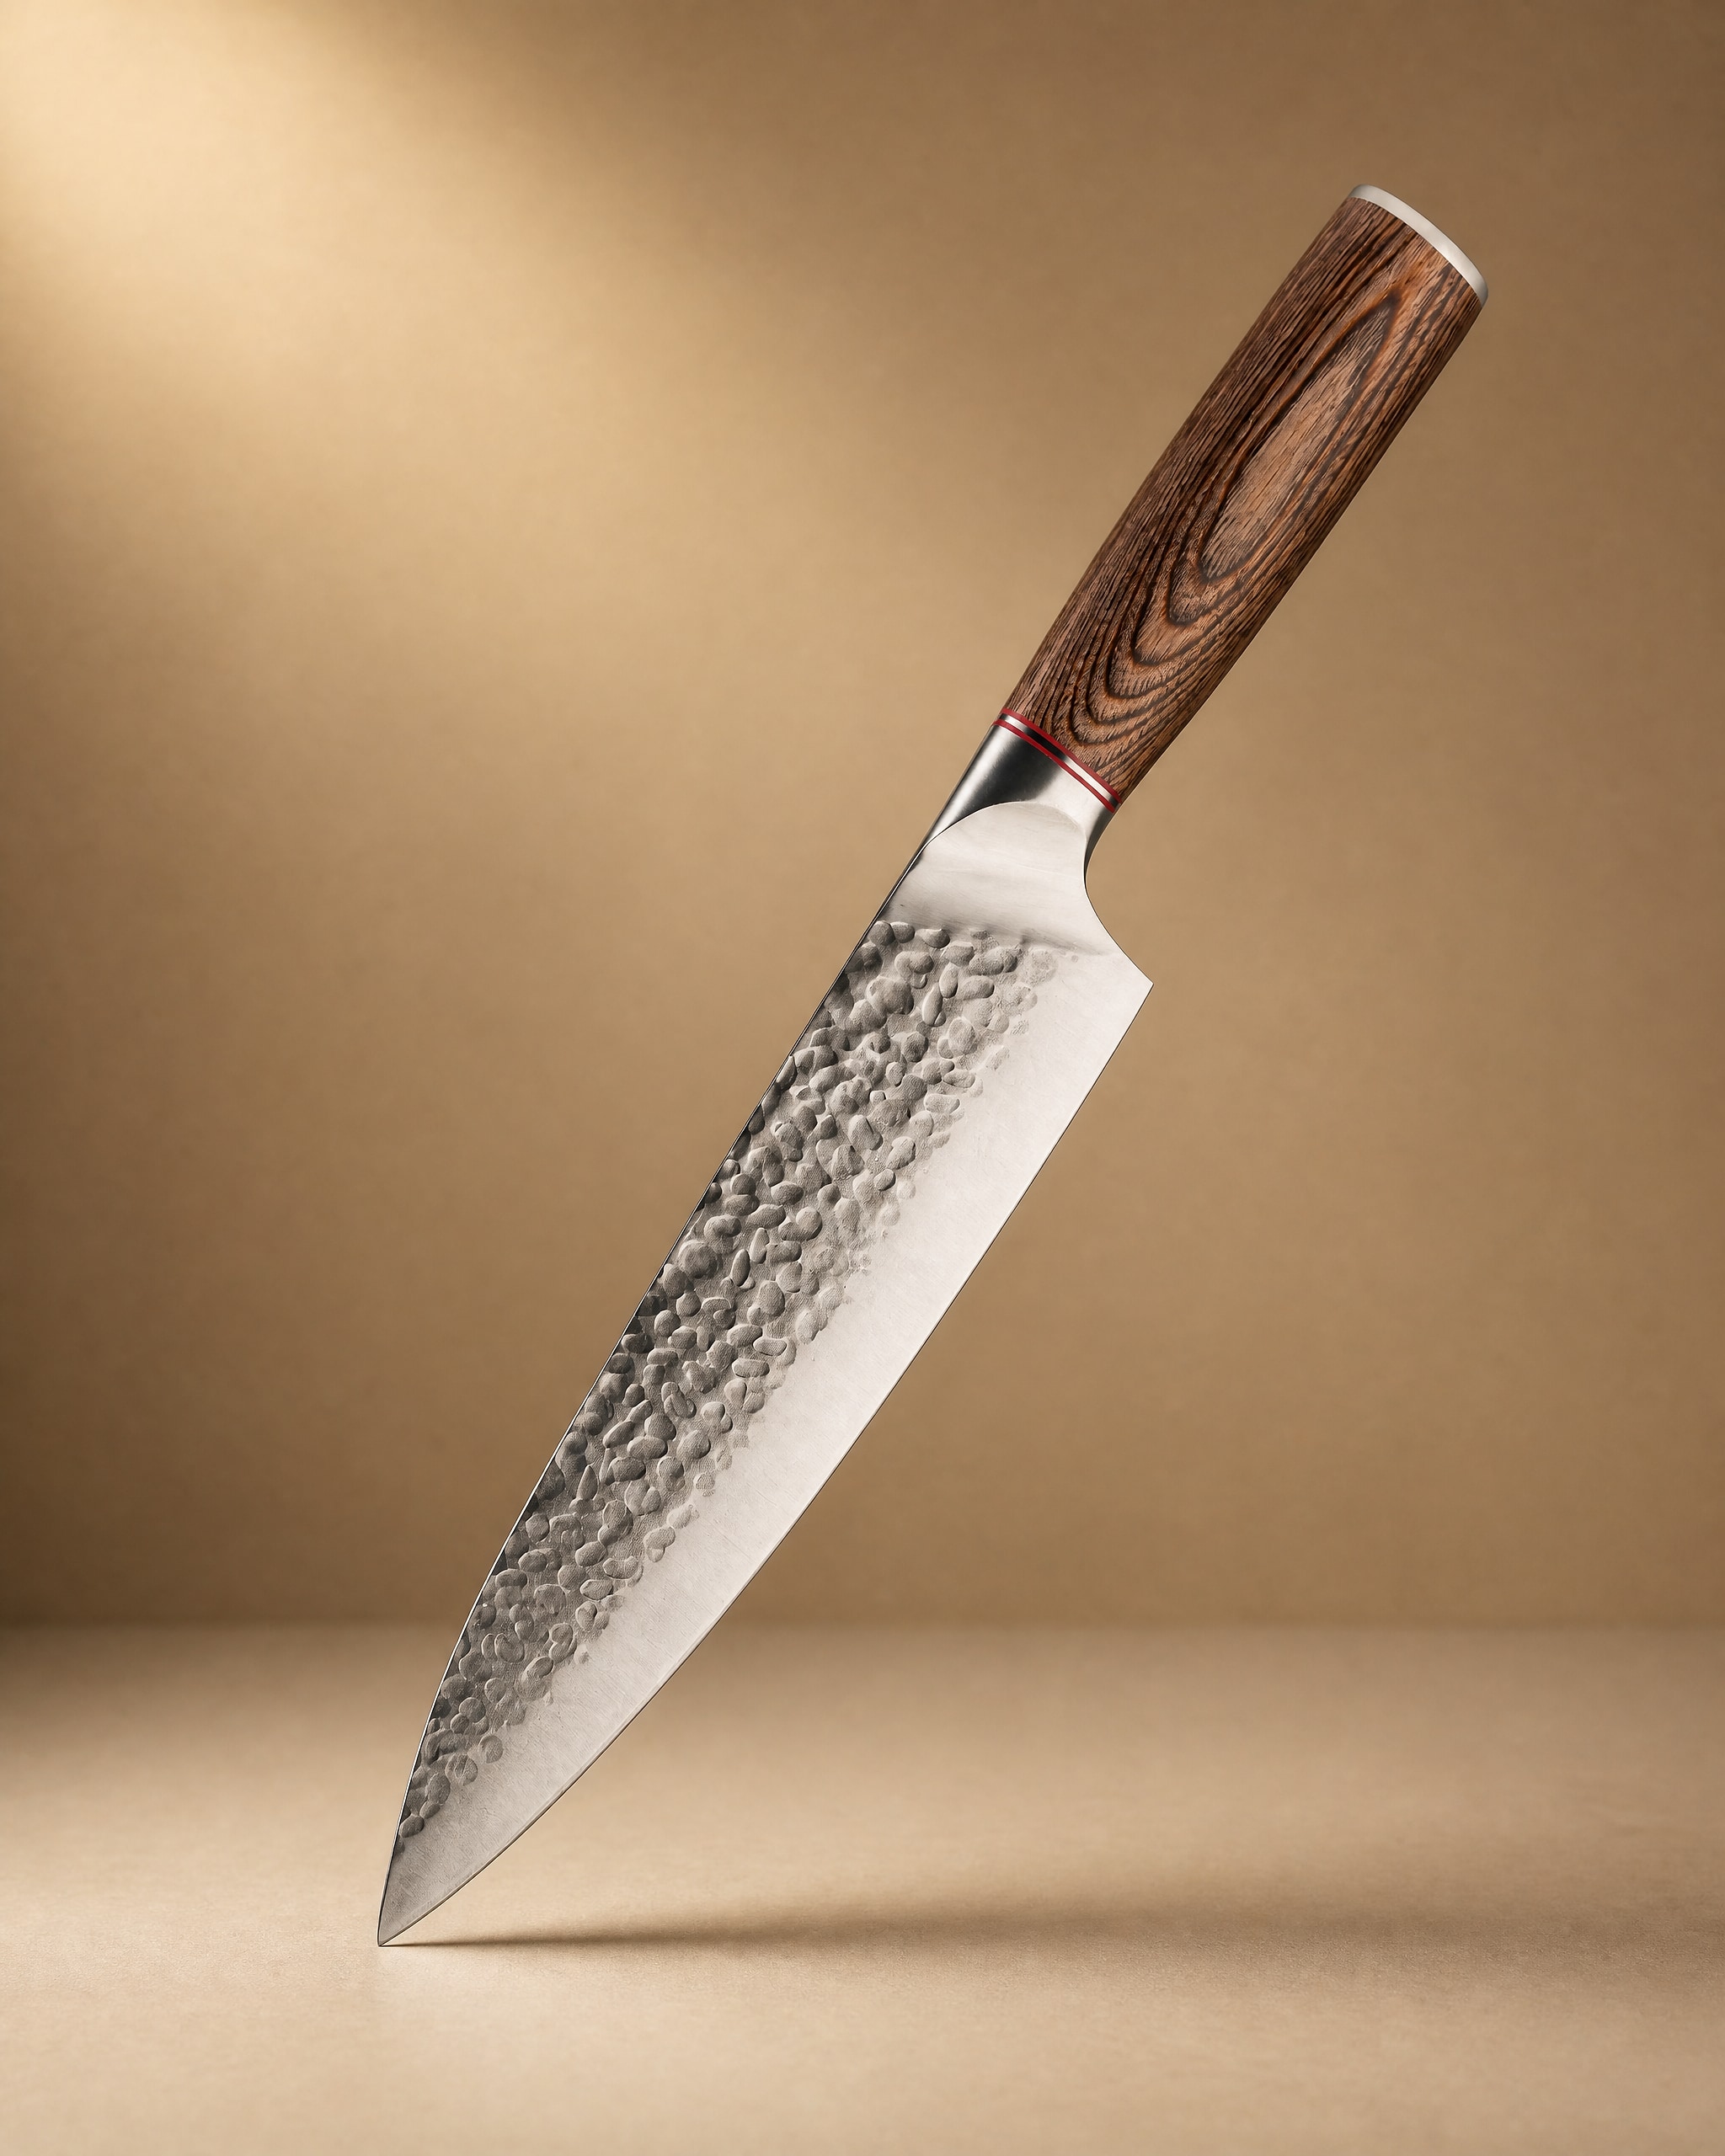 Akan 8'' Gyuto Knife 牛刀$49.99View product → is another gyuto with a similar role. If you already have a long slicer, either gyuto is useful for the rest of the meal: trimming vegetables or breaking down the leftover roast.
For crusty bread served with the roast, a serrated knife matters. The 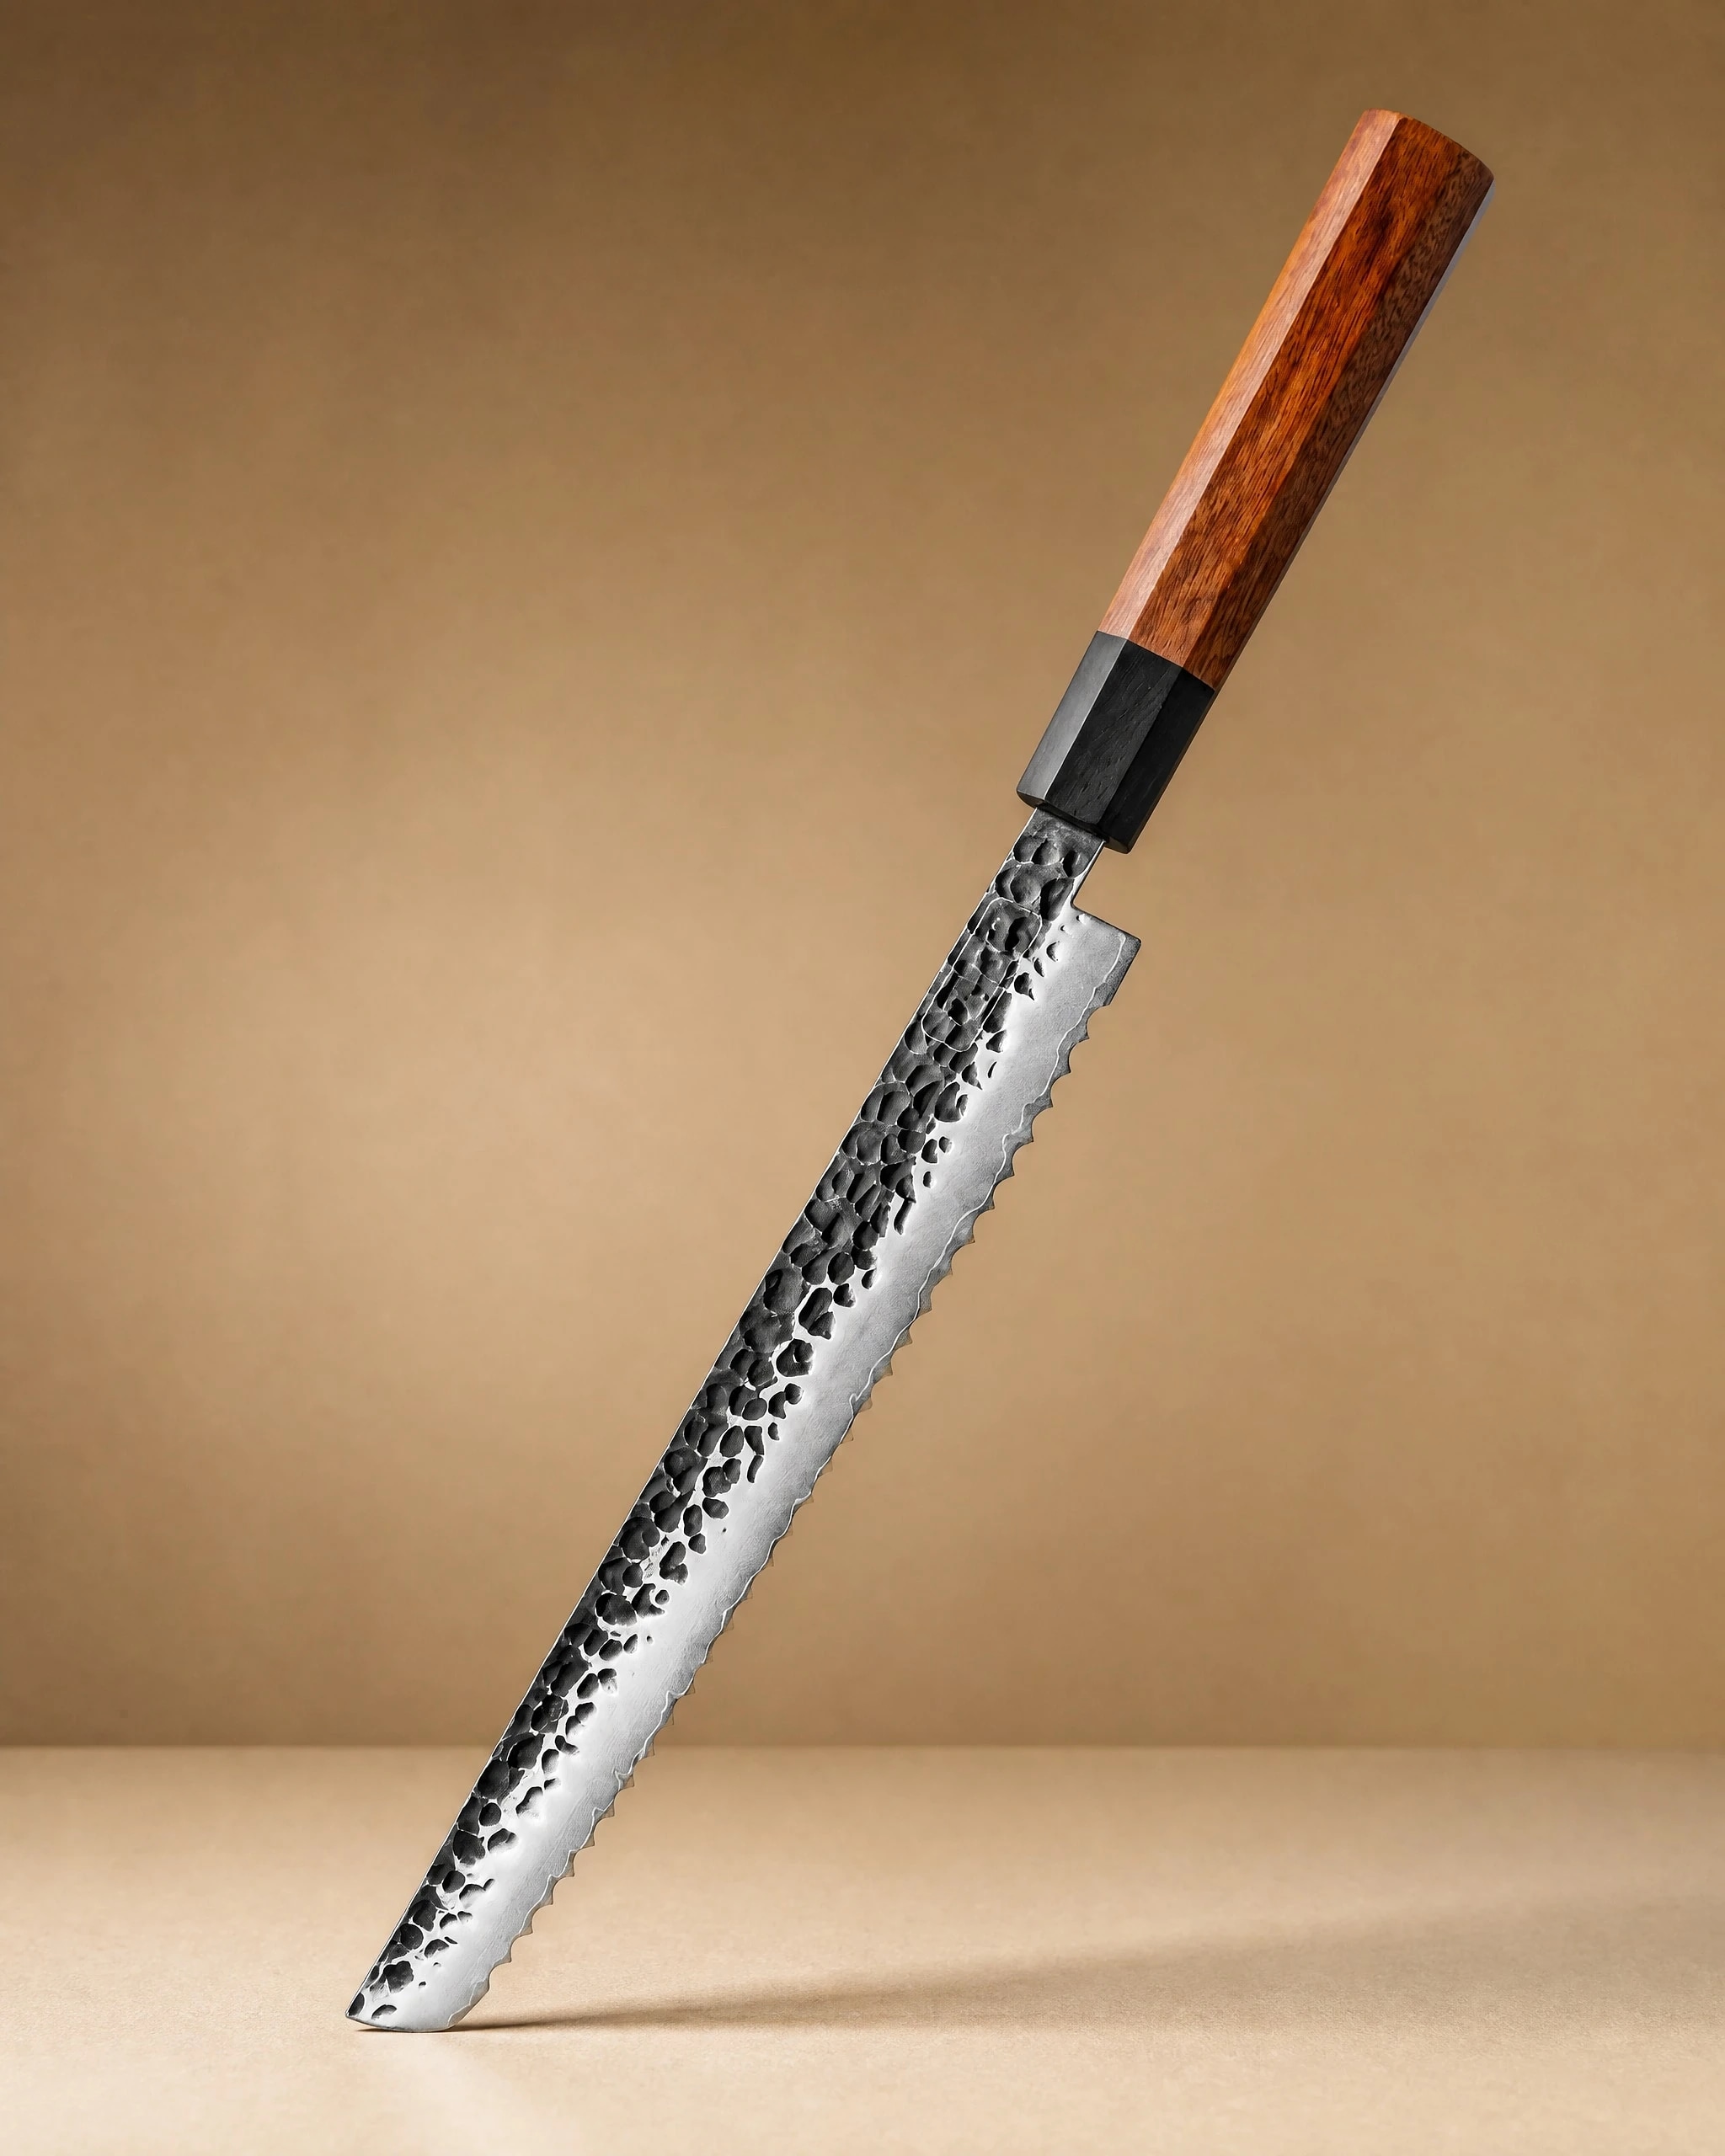 Rumoi 10" Japanese Bread Knife パン切りナイフ$59.99View product → is a long bread knife, and a serrated blade is the right tool for slicing through a hard crust without crushing the crumb. If you are outfitting a kitchen from scratch, the
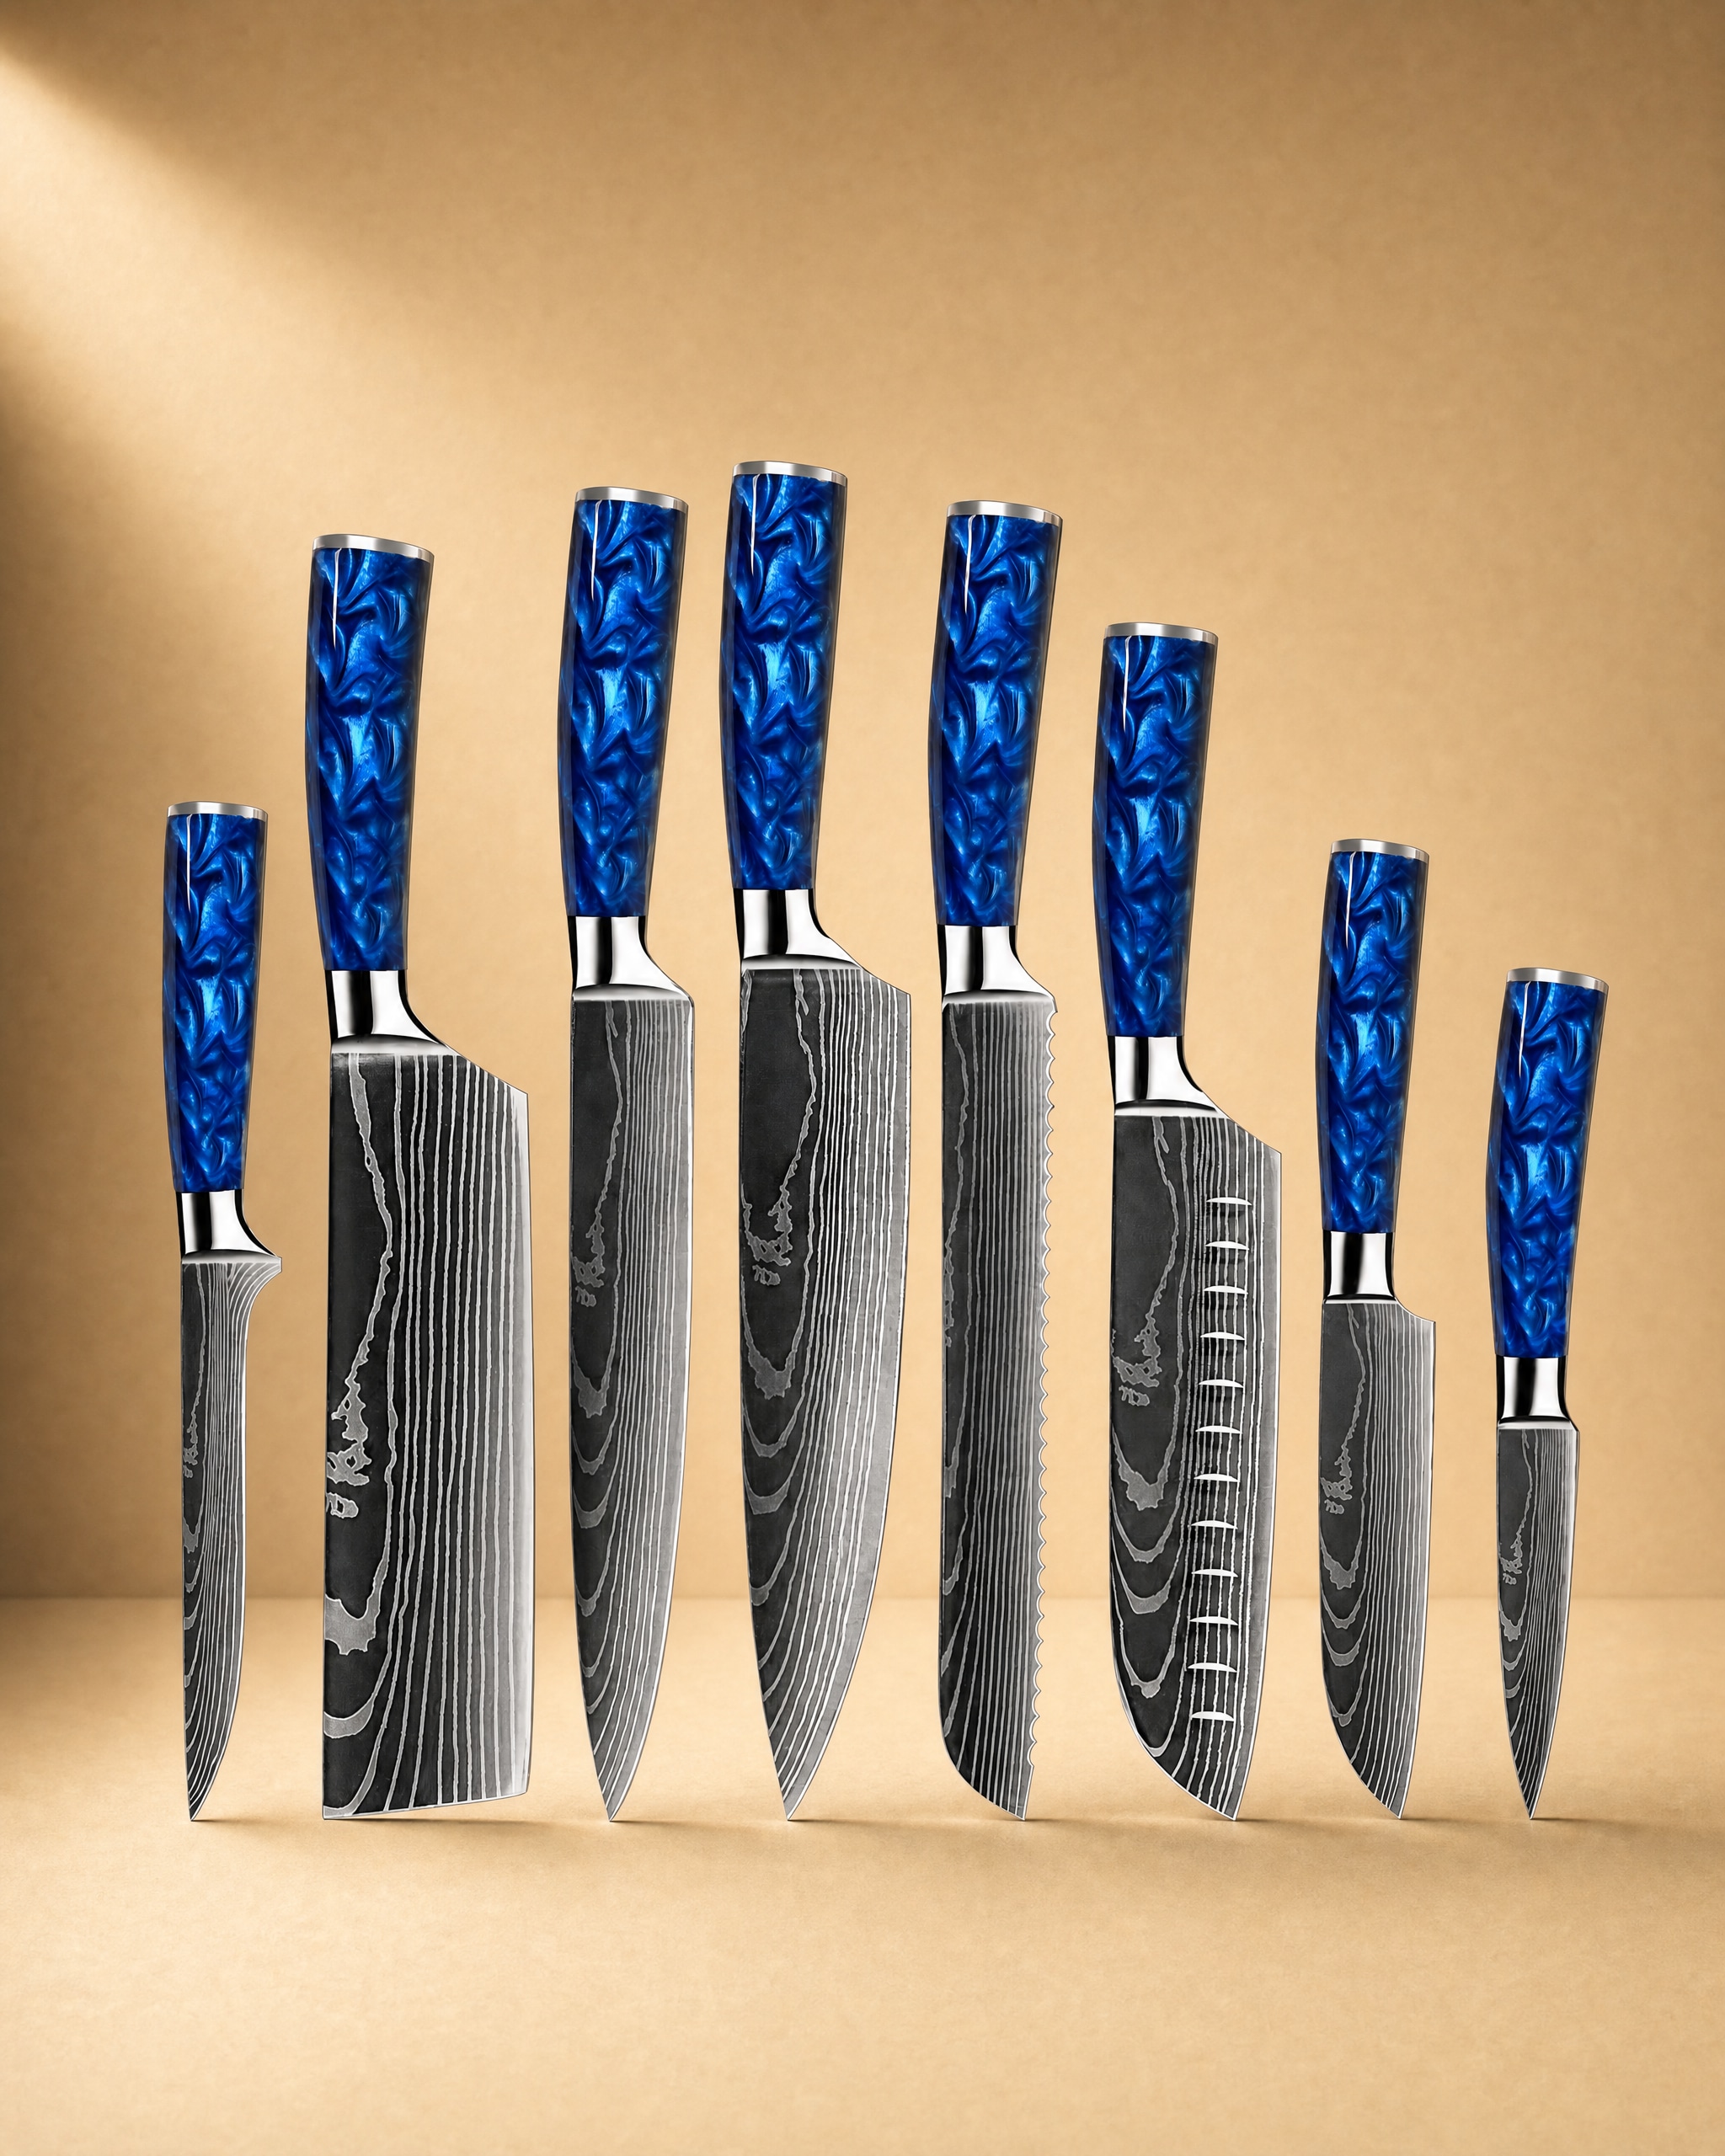 Shinano 信濃川 Damascus Pattern Stainless Steel Kitchen 8 Knife Set$149.99View product → bundles the core knives into one set. A set is not for everyone, but it can be a sensible starting point if you do not want to buy one knife at a time. You can see the full range in the knife shop.
One honest note: do not carve on a board that is too small for the roast, and do not use a knife that is too short for the cut. A short blade forces you to saw, which makes a wider cut and a messier slice. A board with a groove and a knife with a clean edge do more for a roast than any single accessory.
Matching the Board to Your Kitchen
If you carve a chicken once a week and a roast a few times a year, a 16 by 12 inch edge grain maple board with a groove is enough. If you host holidays and cook large cuts often, buy a larger end grain or thick edge grain board and store it where you can reach it. If counter space is limited, choose a lighter board with a handhold. The best wood carving board fits your counter, your roasts, and your willingness to care for it.
Do not buy a board for the life you wish you had. Buy for the meals you actually cook. A board that is too heavy stays in the closet. A board that is too small frustrates you every time. A board that is hard to clean becomes a chore. Choose the size and wood that match your kitchen, then keep it oiled and dry.
Photography: Sebastian Coman Photography via Unsplash.


