
Knife Sharpening Stone: How to Pick Your First Stone
Most dull knives do not need replacing. They need ten minutes on a stone. The problem is that the wall of sharpening stones online makes a simple purchase feel like a research project: grit numbers, soaking times, base sizes, diamond plates, ceramic rods, and prices that swing from fifteen dollars to three hundred.
This guide is for someone buying a first stone. Not a collection. One stone, maybe two, that will actually get a kitchen knife sharp and keep it that way.
Why a Stone Beats the Alternatives
A pull-through sharpener shaves metal off both sides of the edge with carbide blades. It works, briefly, and it leaves a ragged edge that dulls fast. An electric sharpener is faster still and removes more steel. A honing rod realigns an edge that is still sharp but does not remove metal, so it cannot restore a dull knife.
A water stone does one thing well: it cuts a fresh, even bevel at the angle you choose. You control the result. The edge lasts longer because it is formed rather than scraped, and you remove only the steel you need to. Learning to sharpen a knife with a stone is a weekend skill, not a craft you need years to master.
Grit: The Only Number That Really Matters
Grit describes how coarse the abrasive is. Low numbers cut fast and leave scratches. High numbers polish. For kitchen knives, the useful range is narrower than the marketing suggests.
A 1000 grit stone is the workhorse. It is coarse enough to reset a dull edge in a few minutes and fine enough to leave a toothy edge that bites into tomato skin and chicken breast. There is no single stone that sharpens knives perfectly in every situation, but a 1000 grit comes closest, and it is the one most experienced sharpeners would hand you first.
Why most beginners should stop at two stones
Later, if you want more polish, add a 3000 to 6000 grit finishing stone. It refines the edge and leaves a cleaner cut on soft vegetables and raw fish. A coarse 220 to 400 grit stone makes sense only if you repair chips or thin knives regularly. Buying a 6000 before you can hold a consistent angle on a 1000 is a common and expensive mistake.
Combination stones, usually 1000 on one side and 3000 or 6000 on the other, are a reasonable first purchase if you want both in one block. They save money and counter space. They also wear unevenly, so expect to replace one sooner than a pair of separate stones.

Soaking or Splash and Go
Water stones fall into two families. Soaking stones are softer, often made of alumina abrasive, and need five to fifteen minutes underwater before use. They feel smooth, cut predictably, and are forgiving of imperfect angle control. They also dish, meaning the surface hollows out with use, so you will need a flattening plate eventually.
Splash and go stones are harder and denser. A quick splash and they are ready. They stay flat longer and are convenient for a two minute touch up. They feel glassier and punish a wobbly wrist a bit more. Many people who sharpen often keep both: a soaker for real work and a hard stone for quick maintenance.
Size, Thickness, and the Base
Buy a stone at least 8 inches long and about 2.75 inches wide. A short stone forces cramped strokes and makes long knives hard to sharpen evenly. Thickness matters for lifespan. A stone under an inch thick will dish and wear out quickly with regular use, so one inch or more is the practical minimum.
A base is not decoration. A stone that shifts mid stroke is dangerous and ruins your angle. Buy a stone with a rubber base, or set it on a damp towel. A stone holder with a lip is better still, and a sink bridge is genuinely useful because it holds the stone at a comfortable height over the sink where the slurry can drain.
The Accessories You Actually Need
- A flattening plate or coarse diamond plate, so your stone stays flat.
- A stone holder or a nonslip mat.
- A towel you do not care about.
- A marking pen, for checking that you are actually hitting the edge.
Everything else can wait. Angle guides help some people at the start, and there is no shame in using one. Nagura stones, rust erasers, and polishing powders are for later.
Match the Stone to the Knives You Own
Steel type changes the recommendation. Most Japanese kitchen knives in the 58 to 62 HRC range, including our Akan gyuto 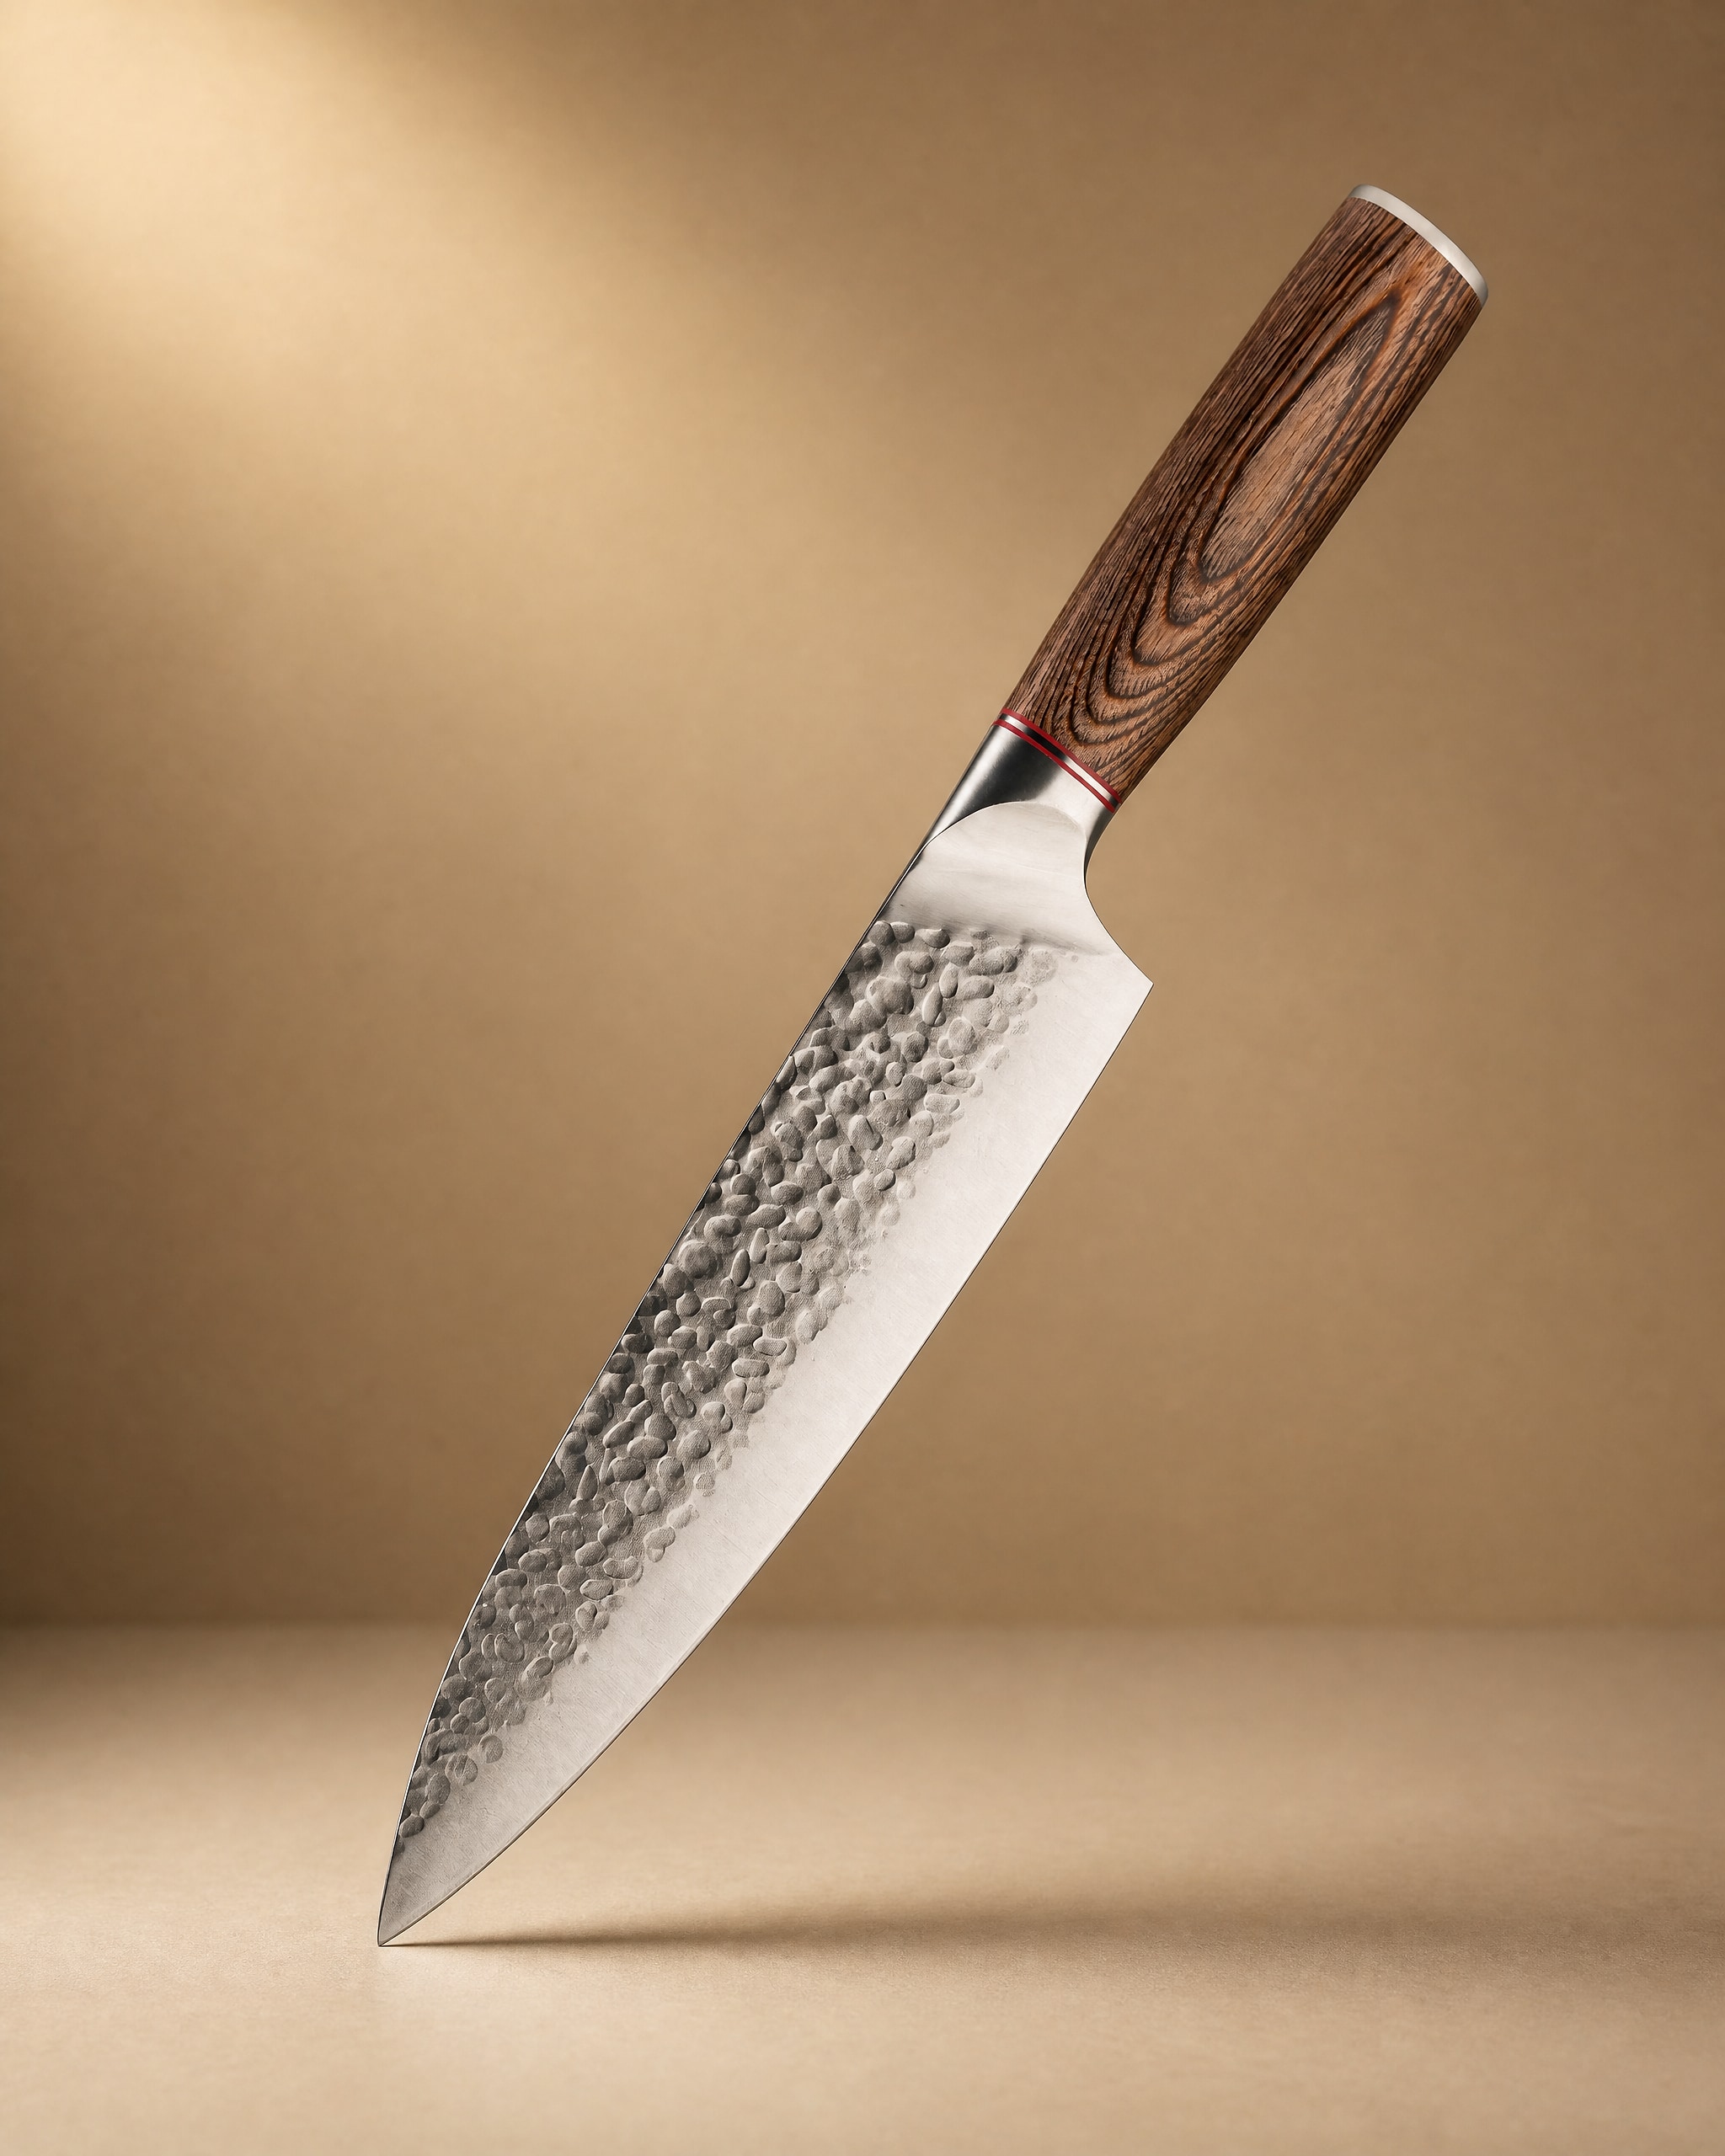 Akan 8'' Gyuto Knife 牛刀$49.99View product →, respond well to a 1000 grit water stone followed by a finer finishing stone. The gyuto is the knife most people sharpen most often, so it is the one your first stone should be judged against.
Softer Western steel and bread knives need different handling. A serrated bread knife such as the Rumoi 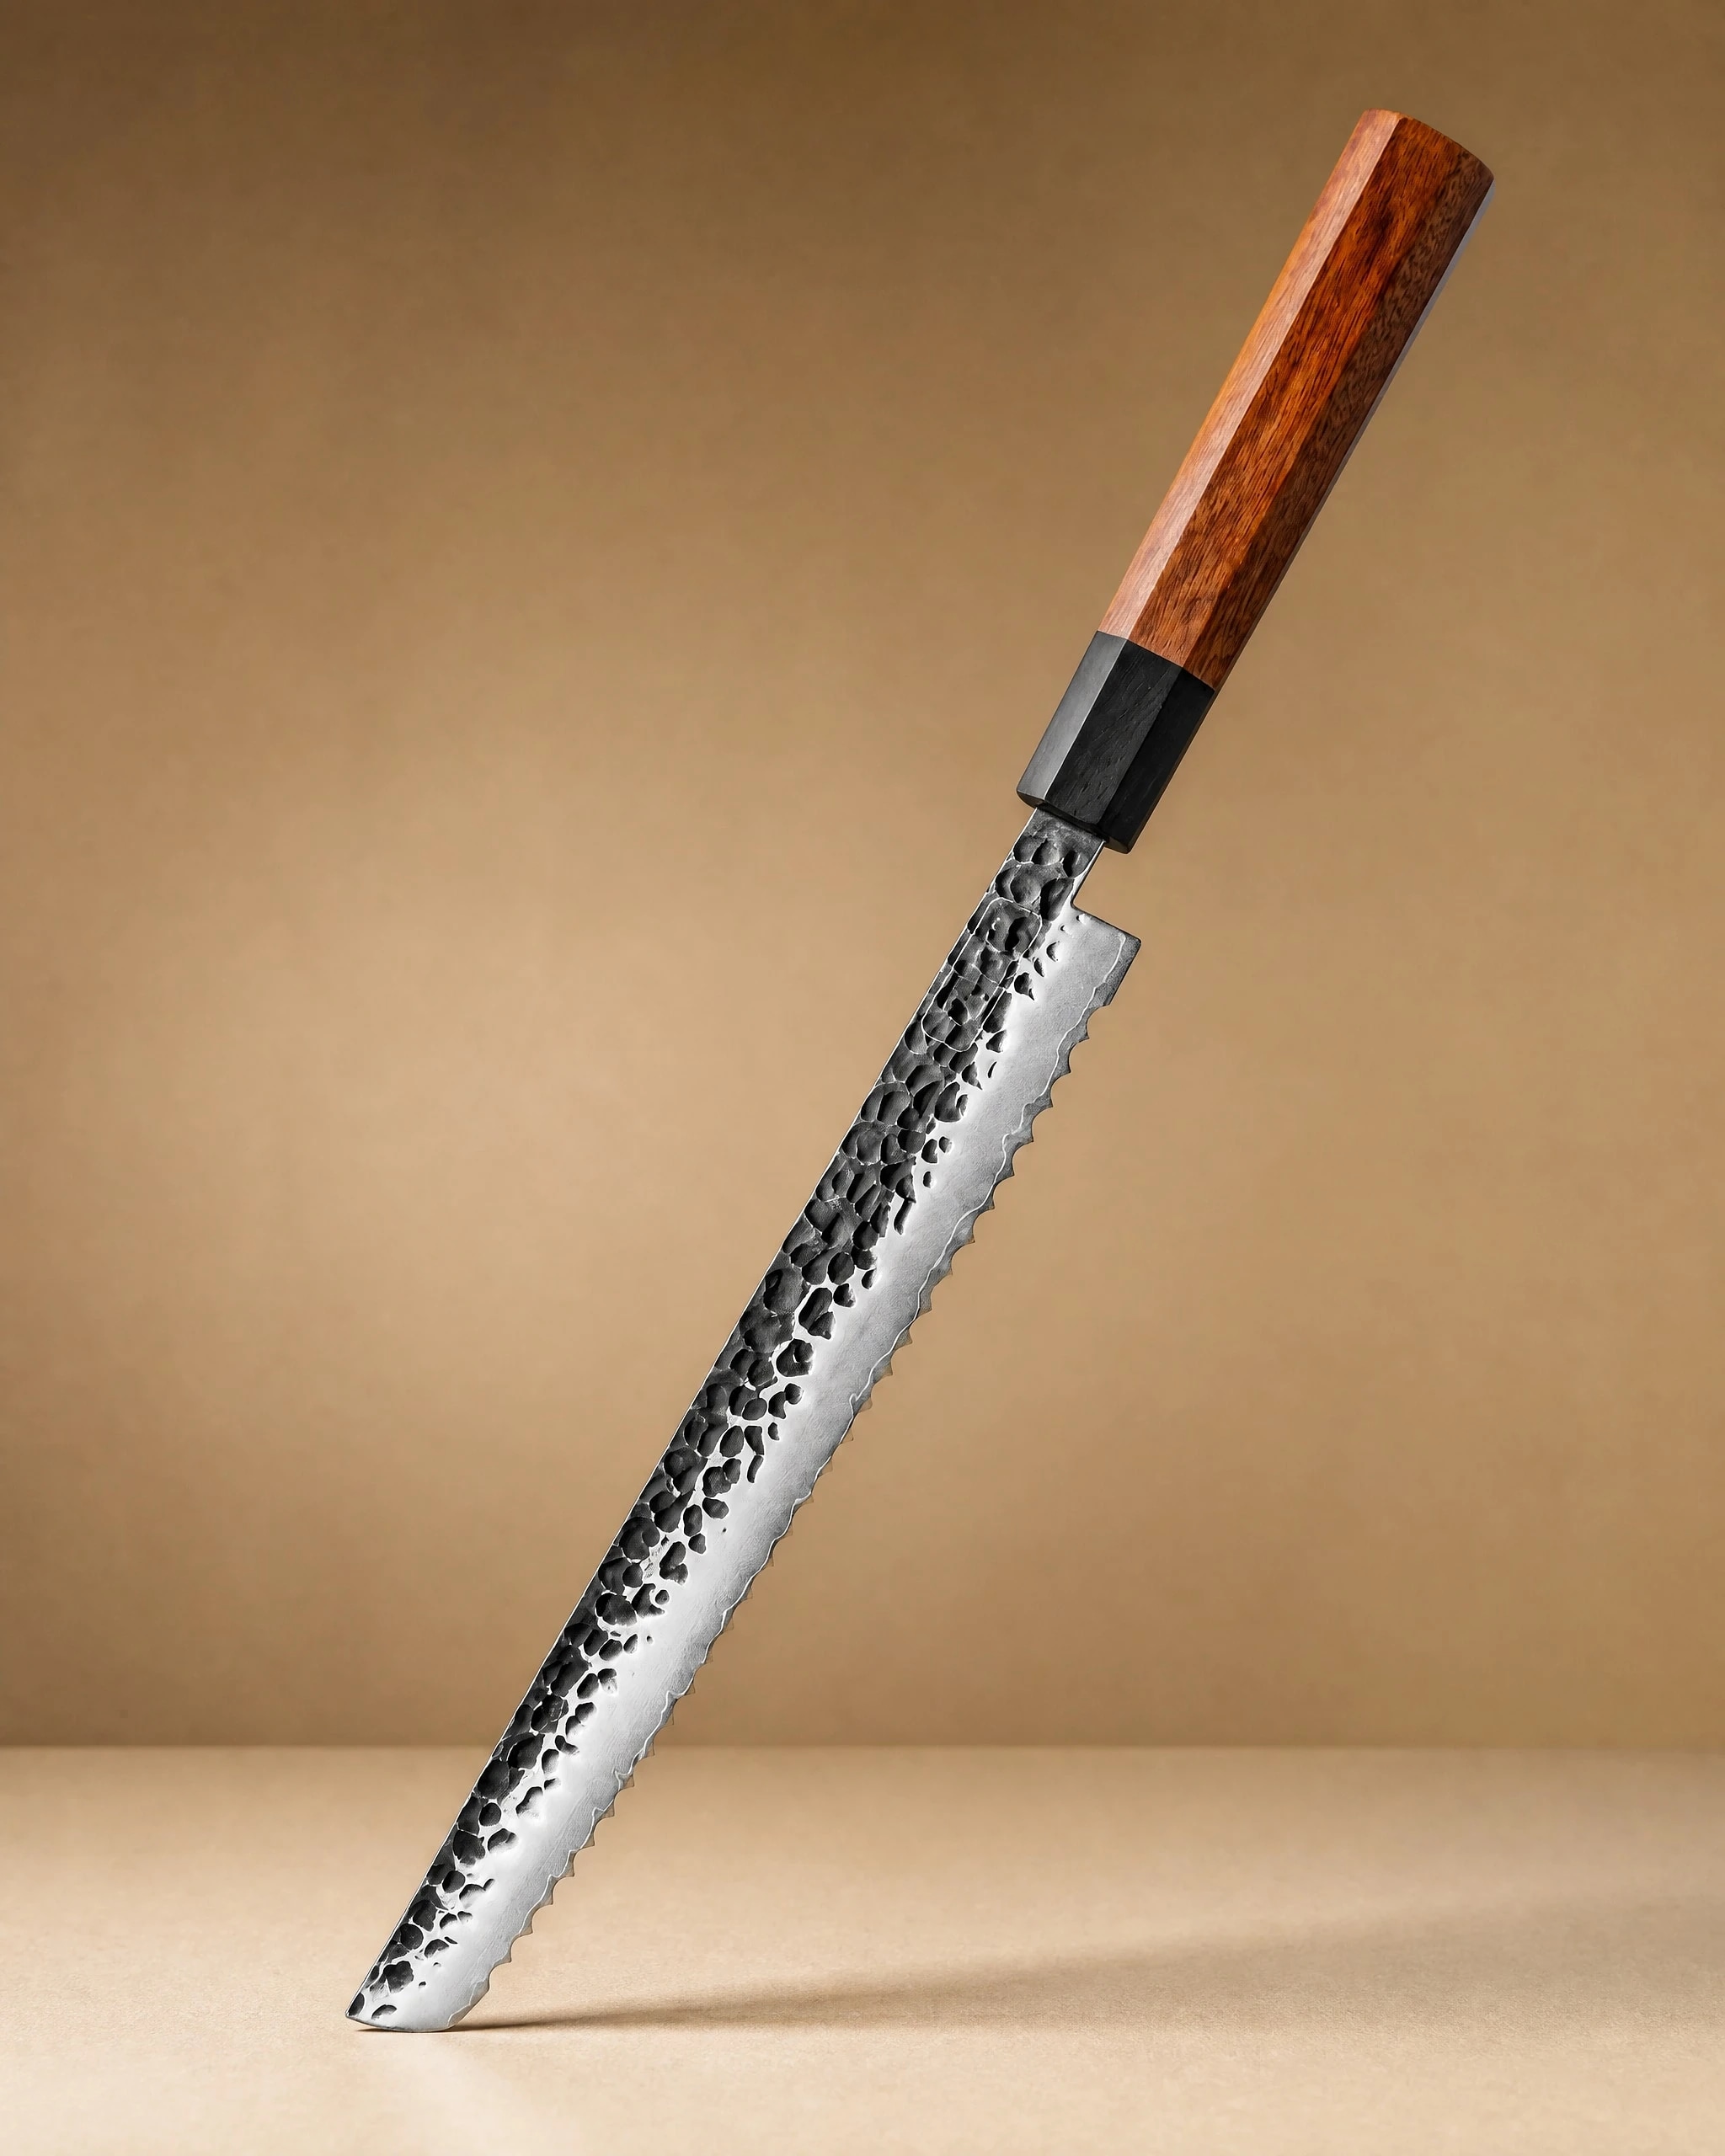 Rumoi 10" Japanese Bread Knife パン切りナイフ$59.99View product → should not go on a flat stone at all. Serrations are sharpened one scallop at a time with a tapered rod, or left to a professional. Knowing which knives to keep away from the stone is as important as knowing how to use it.
If you are sharpening for a household with several cooks, a set like the Shinano Damascus pattern set 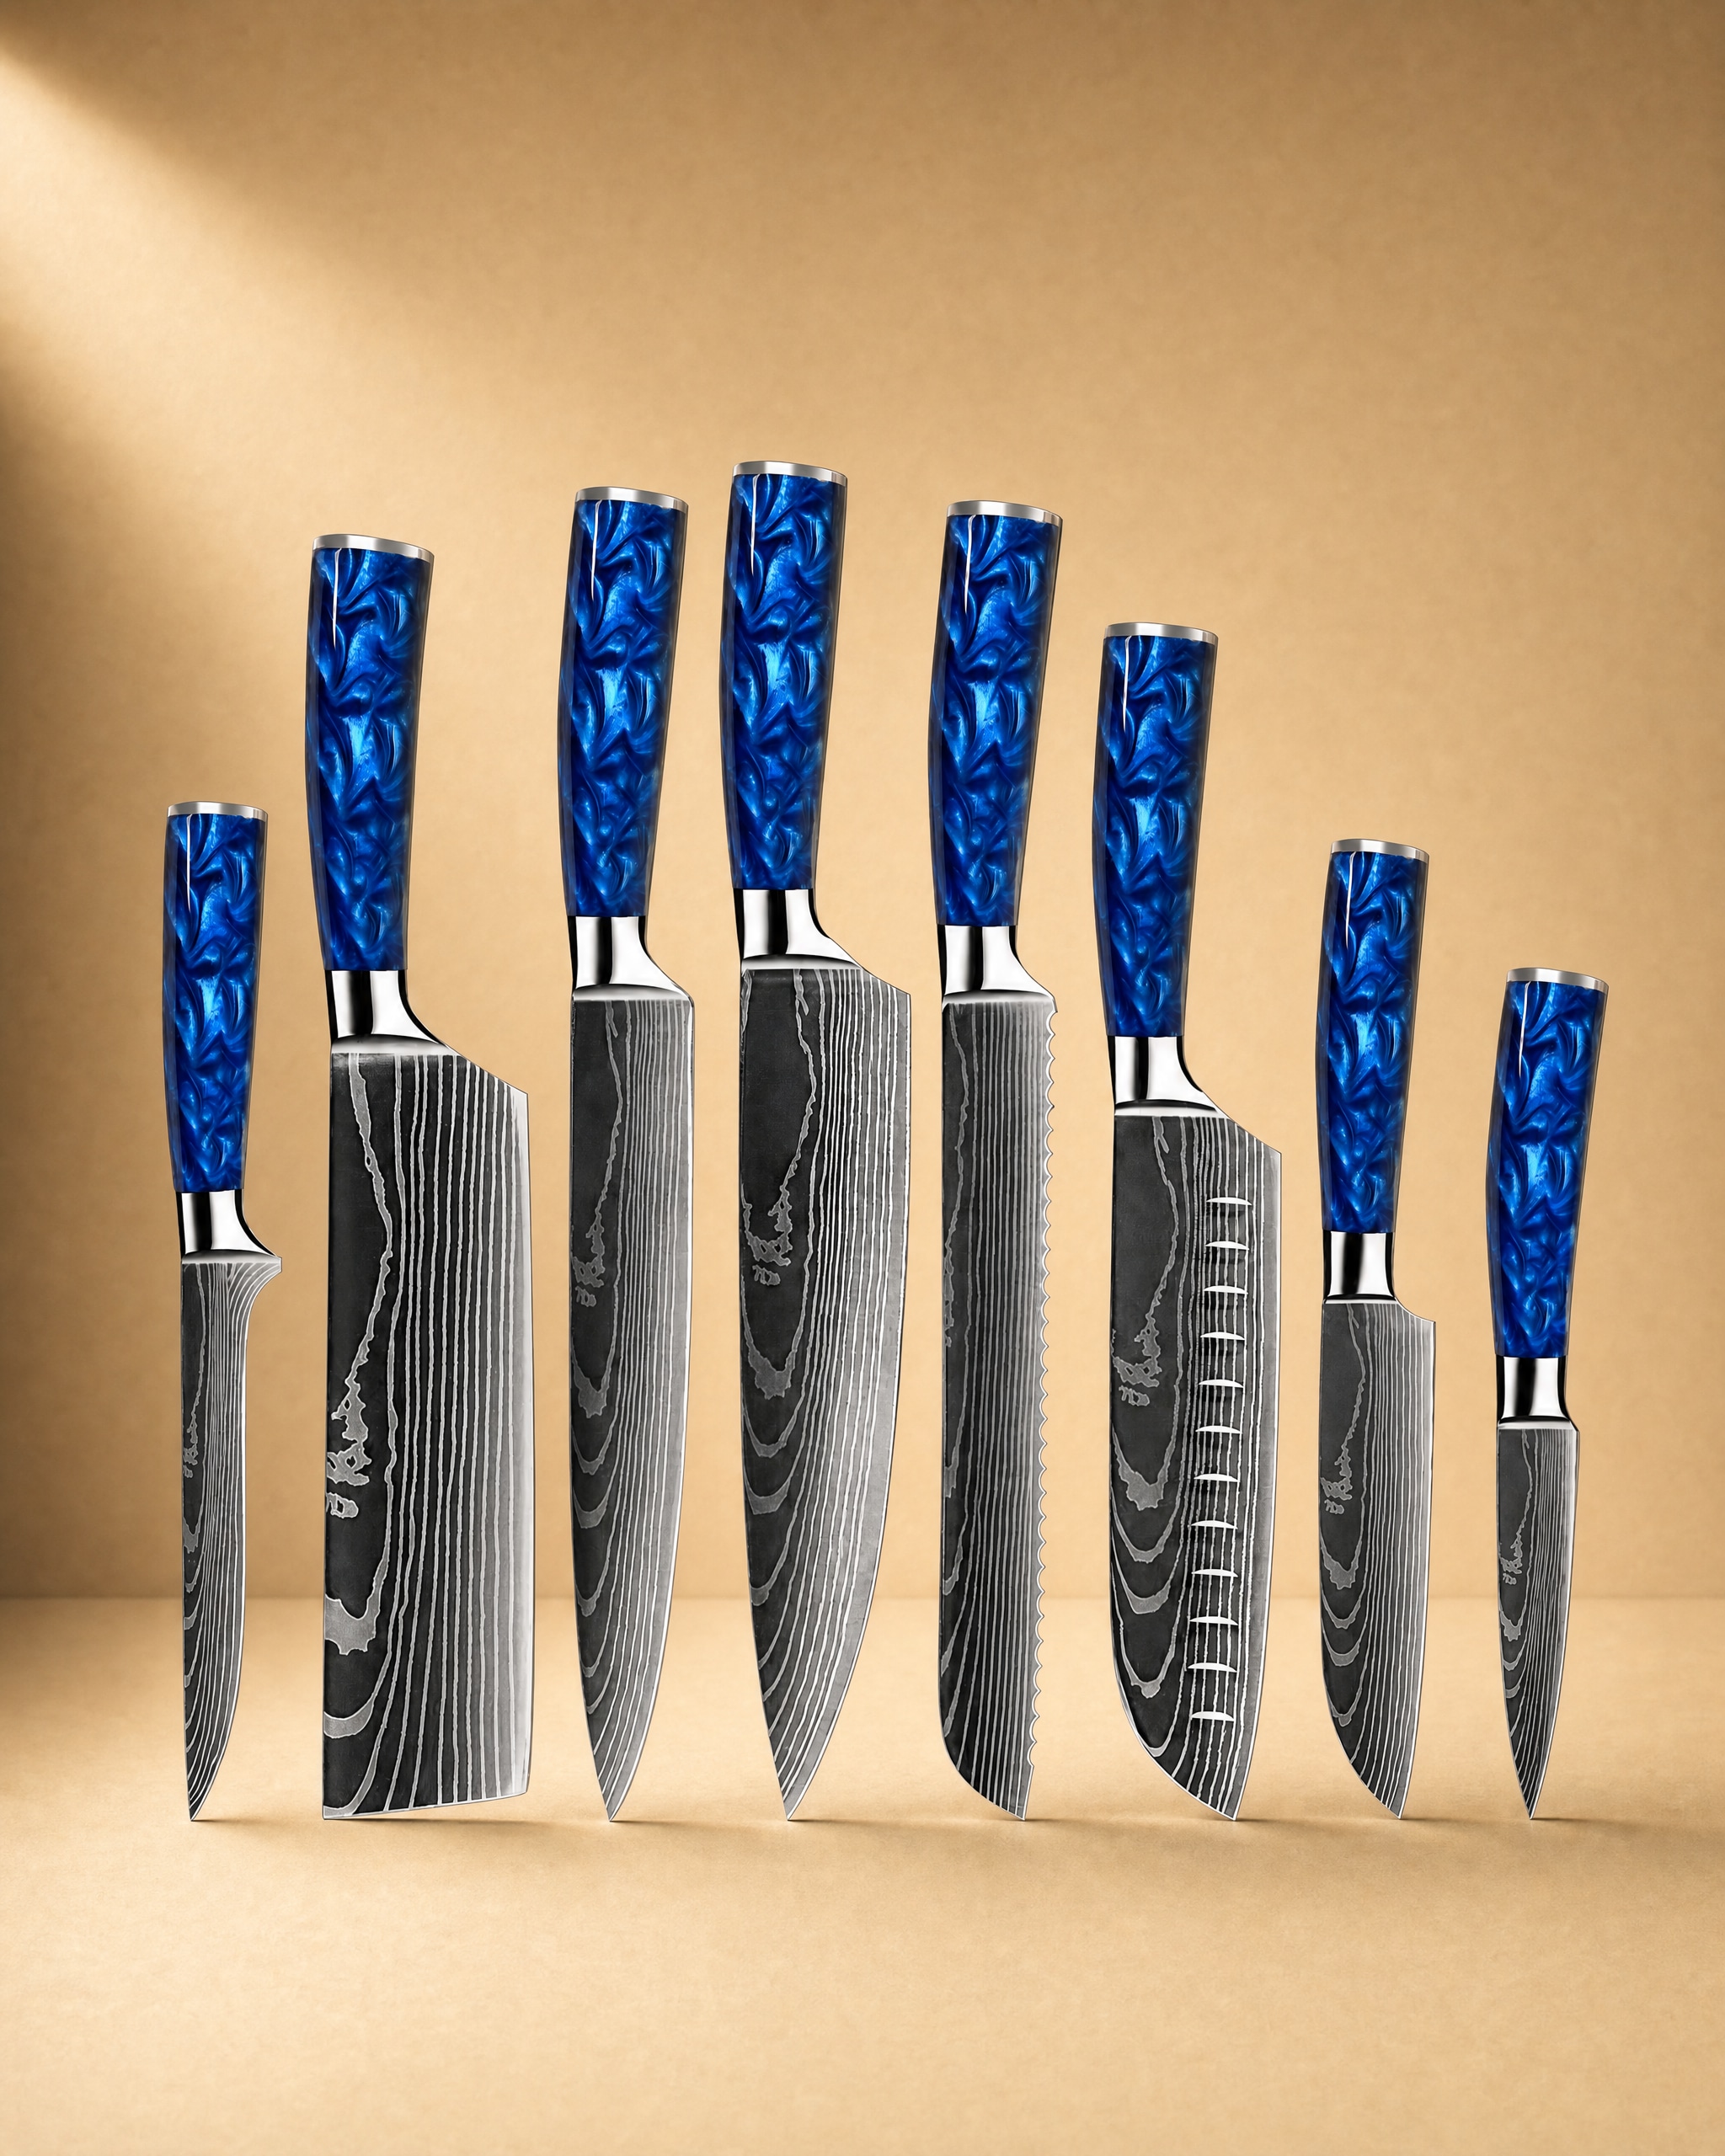 Shinano 信濃川 Damascus Pattern Stainless Steel Kitchen 8 Knife Set$149.99View product → means a mix of blade shapes: gyuto, santoku, utility, paring. A 1000 grit stone handles all of them. The santoku shape, as on the Hikari
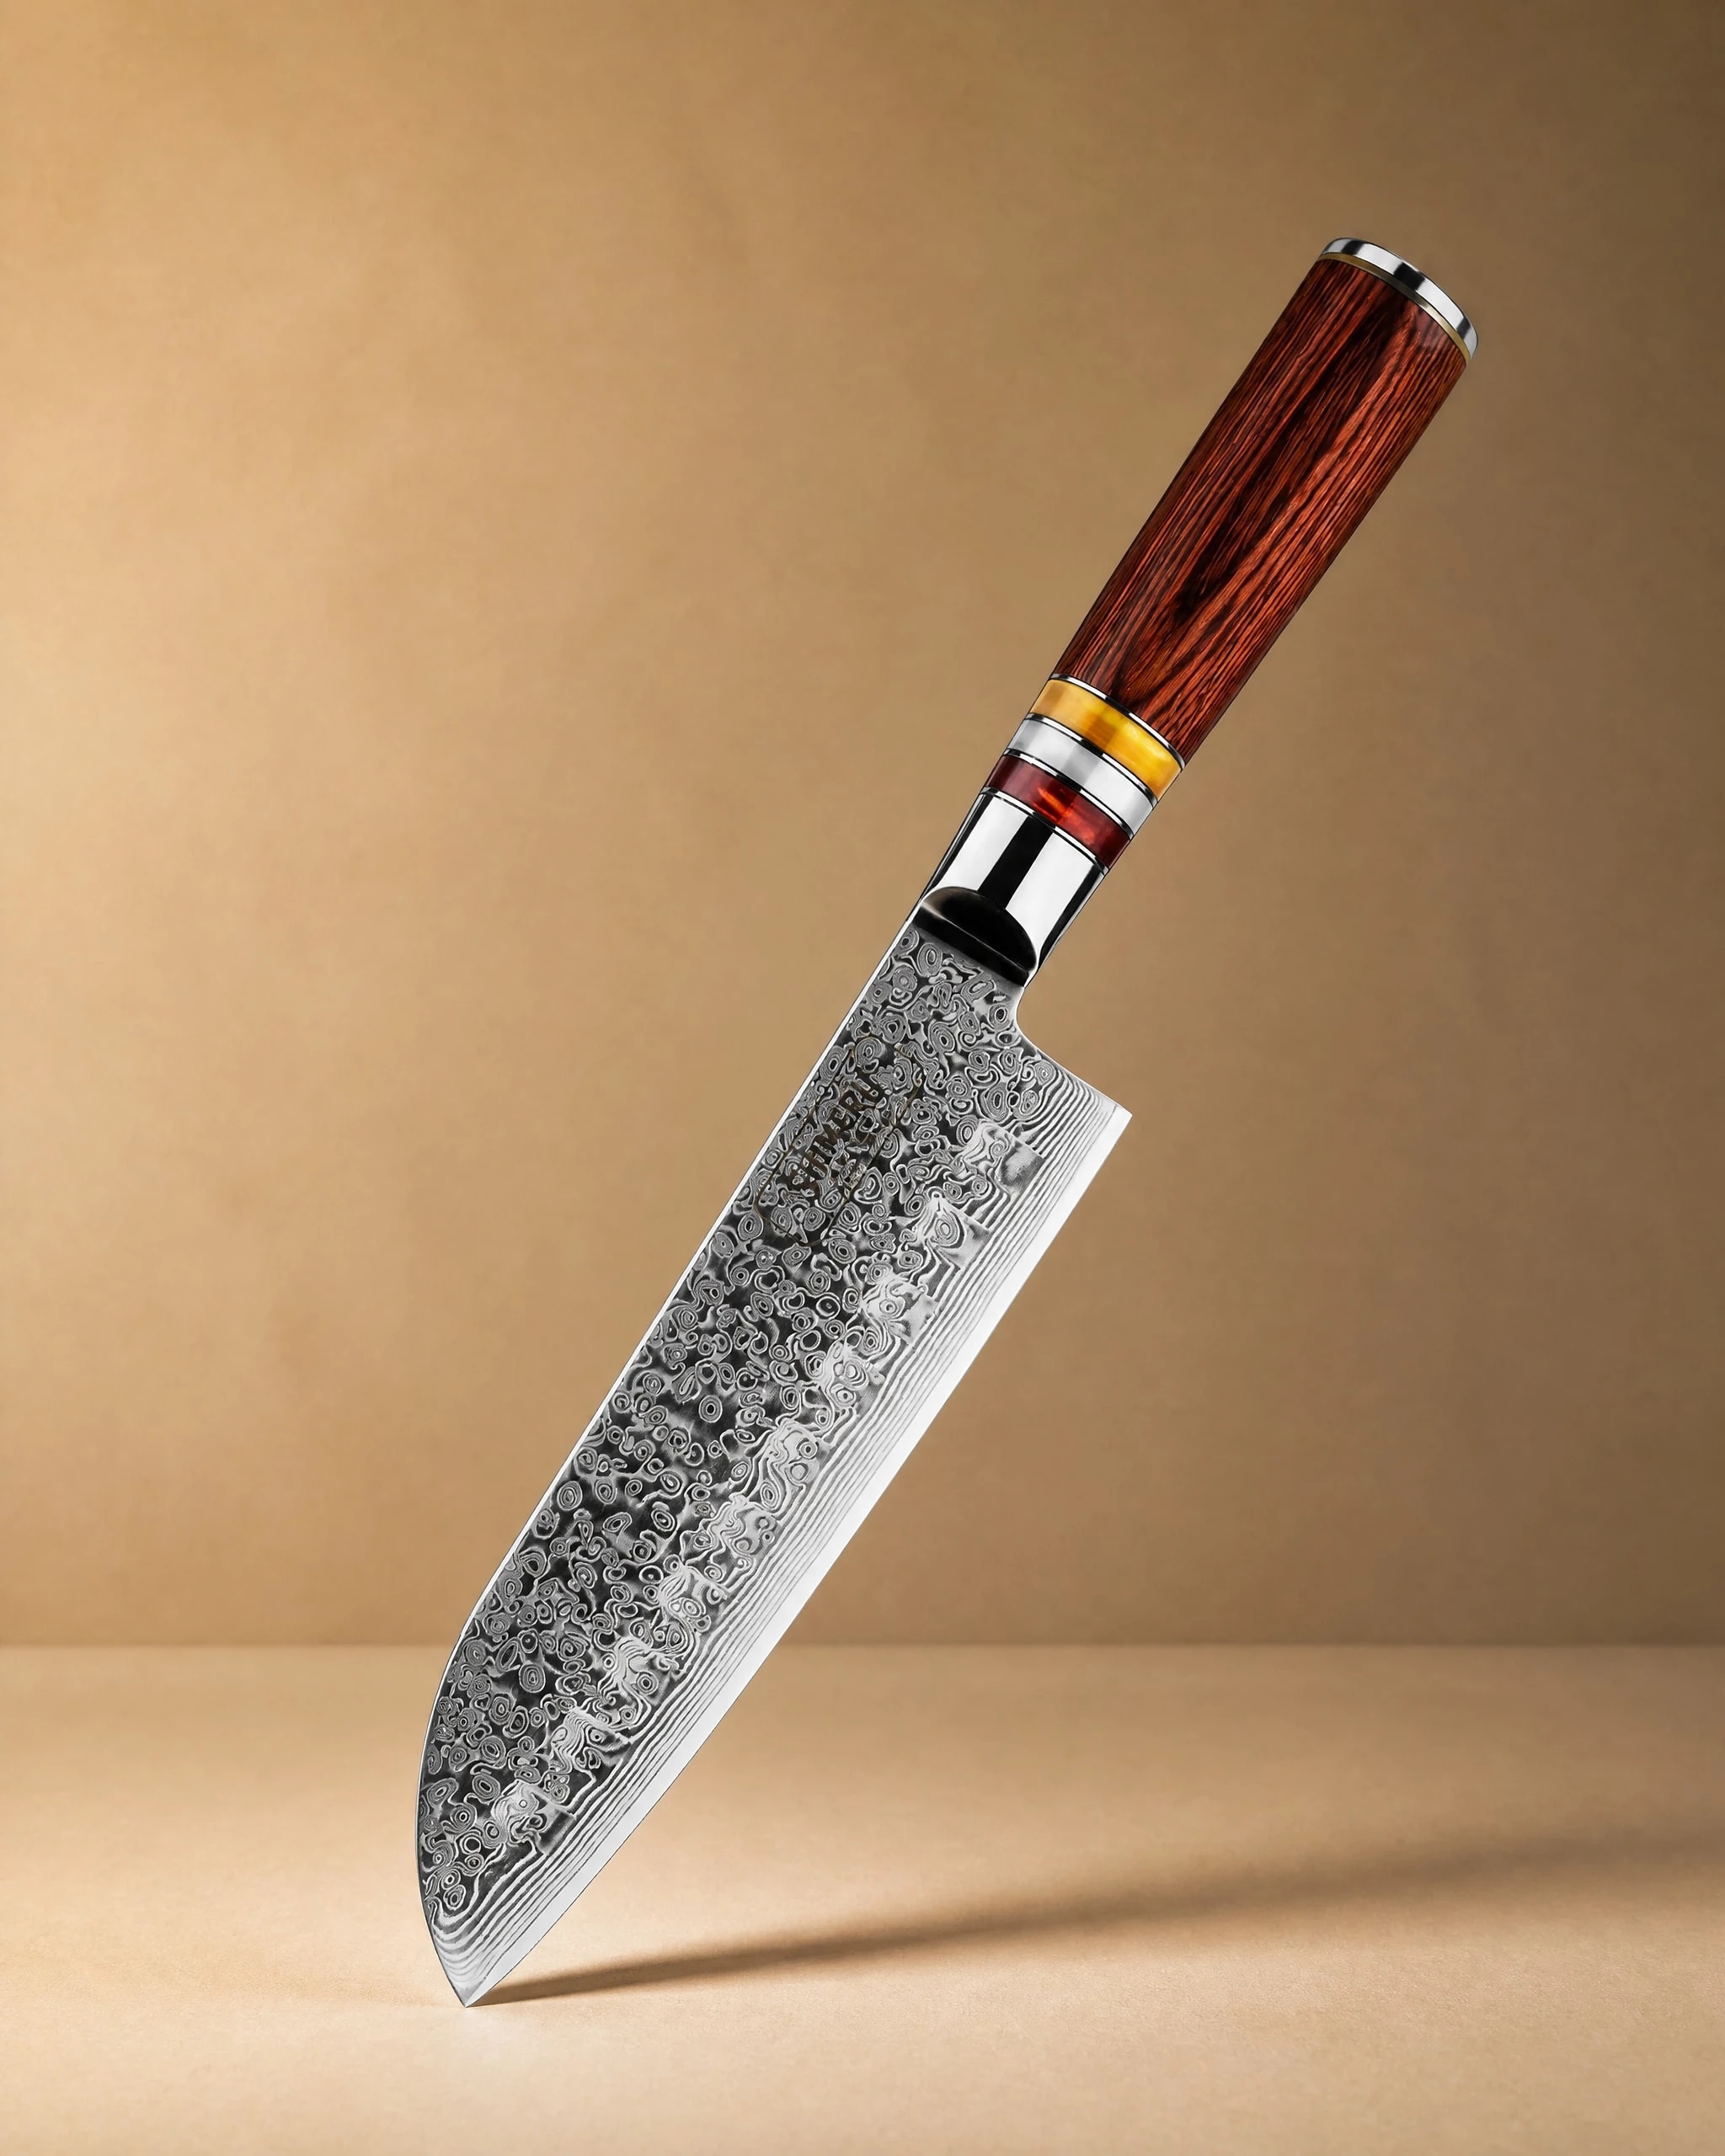 Hikari 光 7" Damacus Steel Professional Santoku Knife 三徳包丁$74.99View product →, has a flatter edge profile, which many beginners find easier to keep flat on the stone.
Whatever you own, the principle holds: one medium stone does the real work. Good steel does not require fancy stones. It requires consistent angles and a flat stone.
A First Sharpening Session, Start to Finish
Soak the stone if it needs it and set it on a stable surface. Place the knife on the stone with the edge facing away from you and find the angle by lifting the spine roughly two coin thicknesses off the surface. Lock your wrist. Use light pressure and sweep the whole edge across the stone, heel to tip, covering the full blade length in each stroke.
Most kitchen knives sharpen well somewhere between 15 and 20 degrees per side. Pick one angle and stay with it rather than chasing a number, because a consistent 18 degrees beats a wandering 15 every time.
Work one side until you feel a burr along the opposite edge, then flip. The burr is the proof you reached the apex. Keep the pressure light, let the stone do the cutting, and check the bevel with the marking pen if it looks uneven.
Finish with a few very light alternating strokes to remove the burr, then test on a sheet of paper or a tomato. If it drags, go back to the stone rather than reaching for a rod. For more on keeping edges and handles in good shape between sharpenings, see our knife care guide.
What a First Stone Should Cost
You do not need to spend much, but you do need to avoid the bottom of the market. A decent 1000 grit water stone from a known Japanese or American maker usually costs less than a mid range chef knife, and it will last years if you flatten it regularly. Budget for the stone, a holder, and a flattening plate together, because those three items are the real starting kit.
The cheapest stones on the large marketplaces are usually soft, inconsistent, and labeled with grit numbers they cannot deliver. They can still teach you the motion, but they will frustrate you. Spending a little more on one good medium stone is the better trade, because the stone is the tool and your skill is built on the tool being predictable.
What to Skip on a First Purchase
Skip diamond stones as a first stone. They cut fast but feel harsh, wear out, and teach bad habits because they remove steel so quickly. Skip very high grit stones, natural stones, and anything sold mainly on grit claims with no stated abrasive type.
Skip no name stones with exaggerated grit labels. A stone advertised as 3000 that behaves like 800 is common at low prices. An honest mid range stone from a known maker will outlast and outperform it.
Also skip the idea that you need a full progression before you can sharpen. One 1000 grit stone, kept flat, used with a steady hand, will outperform a five stone set used badly.
Where to Start
Buy a 1000 grit water stone, eight inches or longer, with a base and a way to keep it flat. Practice on your least favorite knife first. Expect your first edges to be uneven and your second edges to be better. That is the normal path for anyone learning how to sharpen a knife using a stone, and it is much shorter than most people fear.
If you are still choosing which knives deserve the stone, our knife buying guide covers blade shapes and steel types, and you can browse the full knife shop to see what fits your kitchen. The stone is the cheaper purchase and the one that changes how everything else performs.


