
How to Sharpen Knives with a Knife Sharpener

A dull kitchen knife makes prep harder and less safe. It slides off tomato skins, crushes herbs, and makes you push harder than you should. A sharp knife bites into food and follows your hand. Learning how to sharpen a knife with a knife sharpener is a practical skill for any home cook. You do not need to become a whetstone purist. You need to understand what your sharpener does and use it with a steady angle.
This guide covers sharpener types, setup, strokes, angle control, and maintenance, plus knives that pair well with a simple routine.
Sharpening Versus Honing
Decide what your edge needs before you sharpen. A honing rod does not remove much metal. It realigns an edge that has rolled during cutting. If your knife feels tired but still has a basic edge, a few light honing passes can bring it back.
A sharpener removes metal and grinds a new edge. If your knife is truly dull, if the edge reflects light, or if it will not catch a tomato skin, honing will not fix it. You need to sharpen. Confusing these tasks leads to worn knives or wasted effort.
The Main Types of Knife Sharpeners
Most home sharpeners fall into three groups. Each has a place, and each asks something different from you.
Pull-through sharpeners
These have fixed slots, usually carbide or diamond cutters plus ceramic finishing slots. You draw the blade through from heel to tip. They are fast and simple for softer Western knives. They can remove a lot of metal, so use light pressure and keep the blade seated.
Electric sharpeners
Electric models do the work for you. You guide the blade through stages. They require less hand skill, but heat and over-grinding are real risks. Do not press hard or linger in one spot.
Manual V-style and ceramic sharpeners
Manual V-style sharpeners are compact and inexpensive. Many combine a coarse carbide slot with ceramic. They work for quick touch-ups on budget knives. They are not ideal for thin, hard Japanese blades because the fixed angle may not match the geometry. Ceramic rods alone are better for finishing than rebuilding a dull edge.
Before You Sharpen: Check the Blade
Look at the edge in good light. A sharp edge disappears. A dull edge shows a bright line. Run a finger gently across the edge, never along it, or use a thumbnail. If it feels smooth or slides, it needs sharpening. Deep chips may need professional repair, especially on hard Japanese steel.
Wash and dry the blade. Set a towel or non-slip mat under the sharpener. A stable sharpener is safer and gives a more consistent angle.
Consider the blade type. A thin Japanese gyuto rewards light pressure. A soft Western chef knife can take more aggressive sharpening, but carbide cutters can harm thin Japanese edges.
How to Sharpen a Knife with a Knife Sharpener, Step by Step
Step 1: Read the instructions. Every sharpener has its own slot layout, angle, and stroke direction. Follow the maker's directions first.
Step 2: Secure the sharpener. Use a suction base or clamp if it has one. Press down firmly if it has rubber feet. You want both hands free to control the knife.
Step 3: Start at the heel. Place the rear part of the edge into the slot. Rest the blade flat against the guide. Keep it perpendicular unless the instructions say otherwise.
Step 4: Draw through in one smooth motion. Pull from heel to tip with light, even pressure. Do not stop in the middle or saw back and forth.
Step 5: Alternate sides. Count your strokes so both sides get equal work. Uneven strokes create an uneven edge.
Step 6: Move to the finer slot. Start with the coarse slot only if the knife is very dull. Finish with the ceramic or fine slot to refine the edge and reduce the burr.
Step 7: Check for a burr. A burr is a tiny folded lip of metal. Feel for it lightly from the side of the blade toward the edge. A few finishing passes reduce it.
Step 8: Test the edge. Cut paper or a ripe tomato. If the knife skids, keep going. If it bites and cuts, you are done.
Step 9: Wash and dry. Sharpening leaves metal dust. Wash with warm water and mild soap, then dry completely.

Angle and Pressure: The Details That Matter
Angle is the difference between a sharp edge and a ruined one. Most Western kitchen knives are sharpened around 15 to 20 degrees per side. Many Japanese knives are thinner and often sharpened around 10 to 15 degrees per side. Your sharpener has a fixed angle, so keep the blade seated against the guide. If you lift the spine, you round the edge.
Use light pressure. Let the abrasive cut. On a pull-through sharpener, you need only enough pressure to keep the blade in the slot. On an electric sharpener, even less. Listen for a steady, even sound. A scraping or jumping sound means you are pressing too hard or tilting the blade.
How Many Strokes Do You Need?
There is no universal number. It depends on steel, dullness, and the sharpener. A very dull knife may need five to ten strokes per side in the coarse slot, then three to five per side in the fine slot. A lightly dull knife may need only three to five light passes per side in the fine slot. Stop and test often. You can always sharpen more. You cannot put metal back.
For hard Japanese steel, fewer strokes are better. Thin edges can chip if overworked. For soft Western steel, you may need more strokes, but the edge rolls more easily, so hone regularly.
How Often Should You Sharpen?
A home cook who prepares a few meals a day may need a full sharpening every one to three months. A heavy user may need it every few weeks. Between sessions, use a honing rod or fine ceramic rod to realign the edge. If you cut on glass or stone, you will need to sharpen far more often.
Do not wait until the knife is completely dull. Maintaining an edge is easier than rebuilding one.
Common Sharpening Mistakes
- Using too much pressure and removing more metal than needed.
- Tilting the blade out of the sharpener's guide angle.
- Sharpening only one side and creating an uneven edge.
- Skipping the fine slot and leaving a rough, burred edge.
- Using a carbide pull-through sharpener on a thin, hard Japanese knife.
- Forgetting to wash and dry the blade after sharpening.
- Cutting on glass, ceramic, or stone boards that dull the edge fast.
Choosing a Sharpener for Your Kitchen
The best sharpener is the one you will use correctly. If you want speed, a pull-through or electric sharpener can work well for Western knives. If you own thin Japanese knives, look for ceramic or diamond abrasives and an angle that matches the blade. A manual sharpener with adjustable angle settings gives you more control than a fixed V-slot.
If you are shopping, browse the sharpener collection to compare styles. Match the sharpener to your knives, not to a trend. A tool that is too aggressive for your blade will shorten its life.
Keeping an Edge Between Sharpening
Sharpening is only part of knife care. Store knives on a magnetic strip, in a block, or in a saya. Do not toss them loose in a drawer. Use wood or plastic cutting boards. Wash by hand and dry immediately. Avoid the dishwasher.
Hone lightly before or after use. A few passes on a honing rod can keep an edge aligned for days or weeks. When honing stops helping, it is time to sharpen. The knife care guide covers storage, cleaning, and daily habits in more detail.
Matching the Knife to the Sharpening Routine
Different knives ask for different care. A daily prep knife should be easy to maintain and comfortable for long sessions. A gyuto like 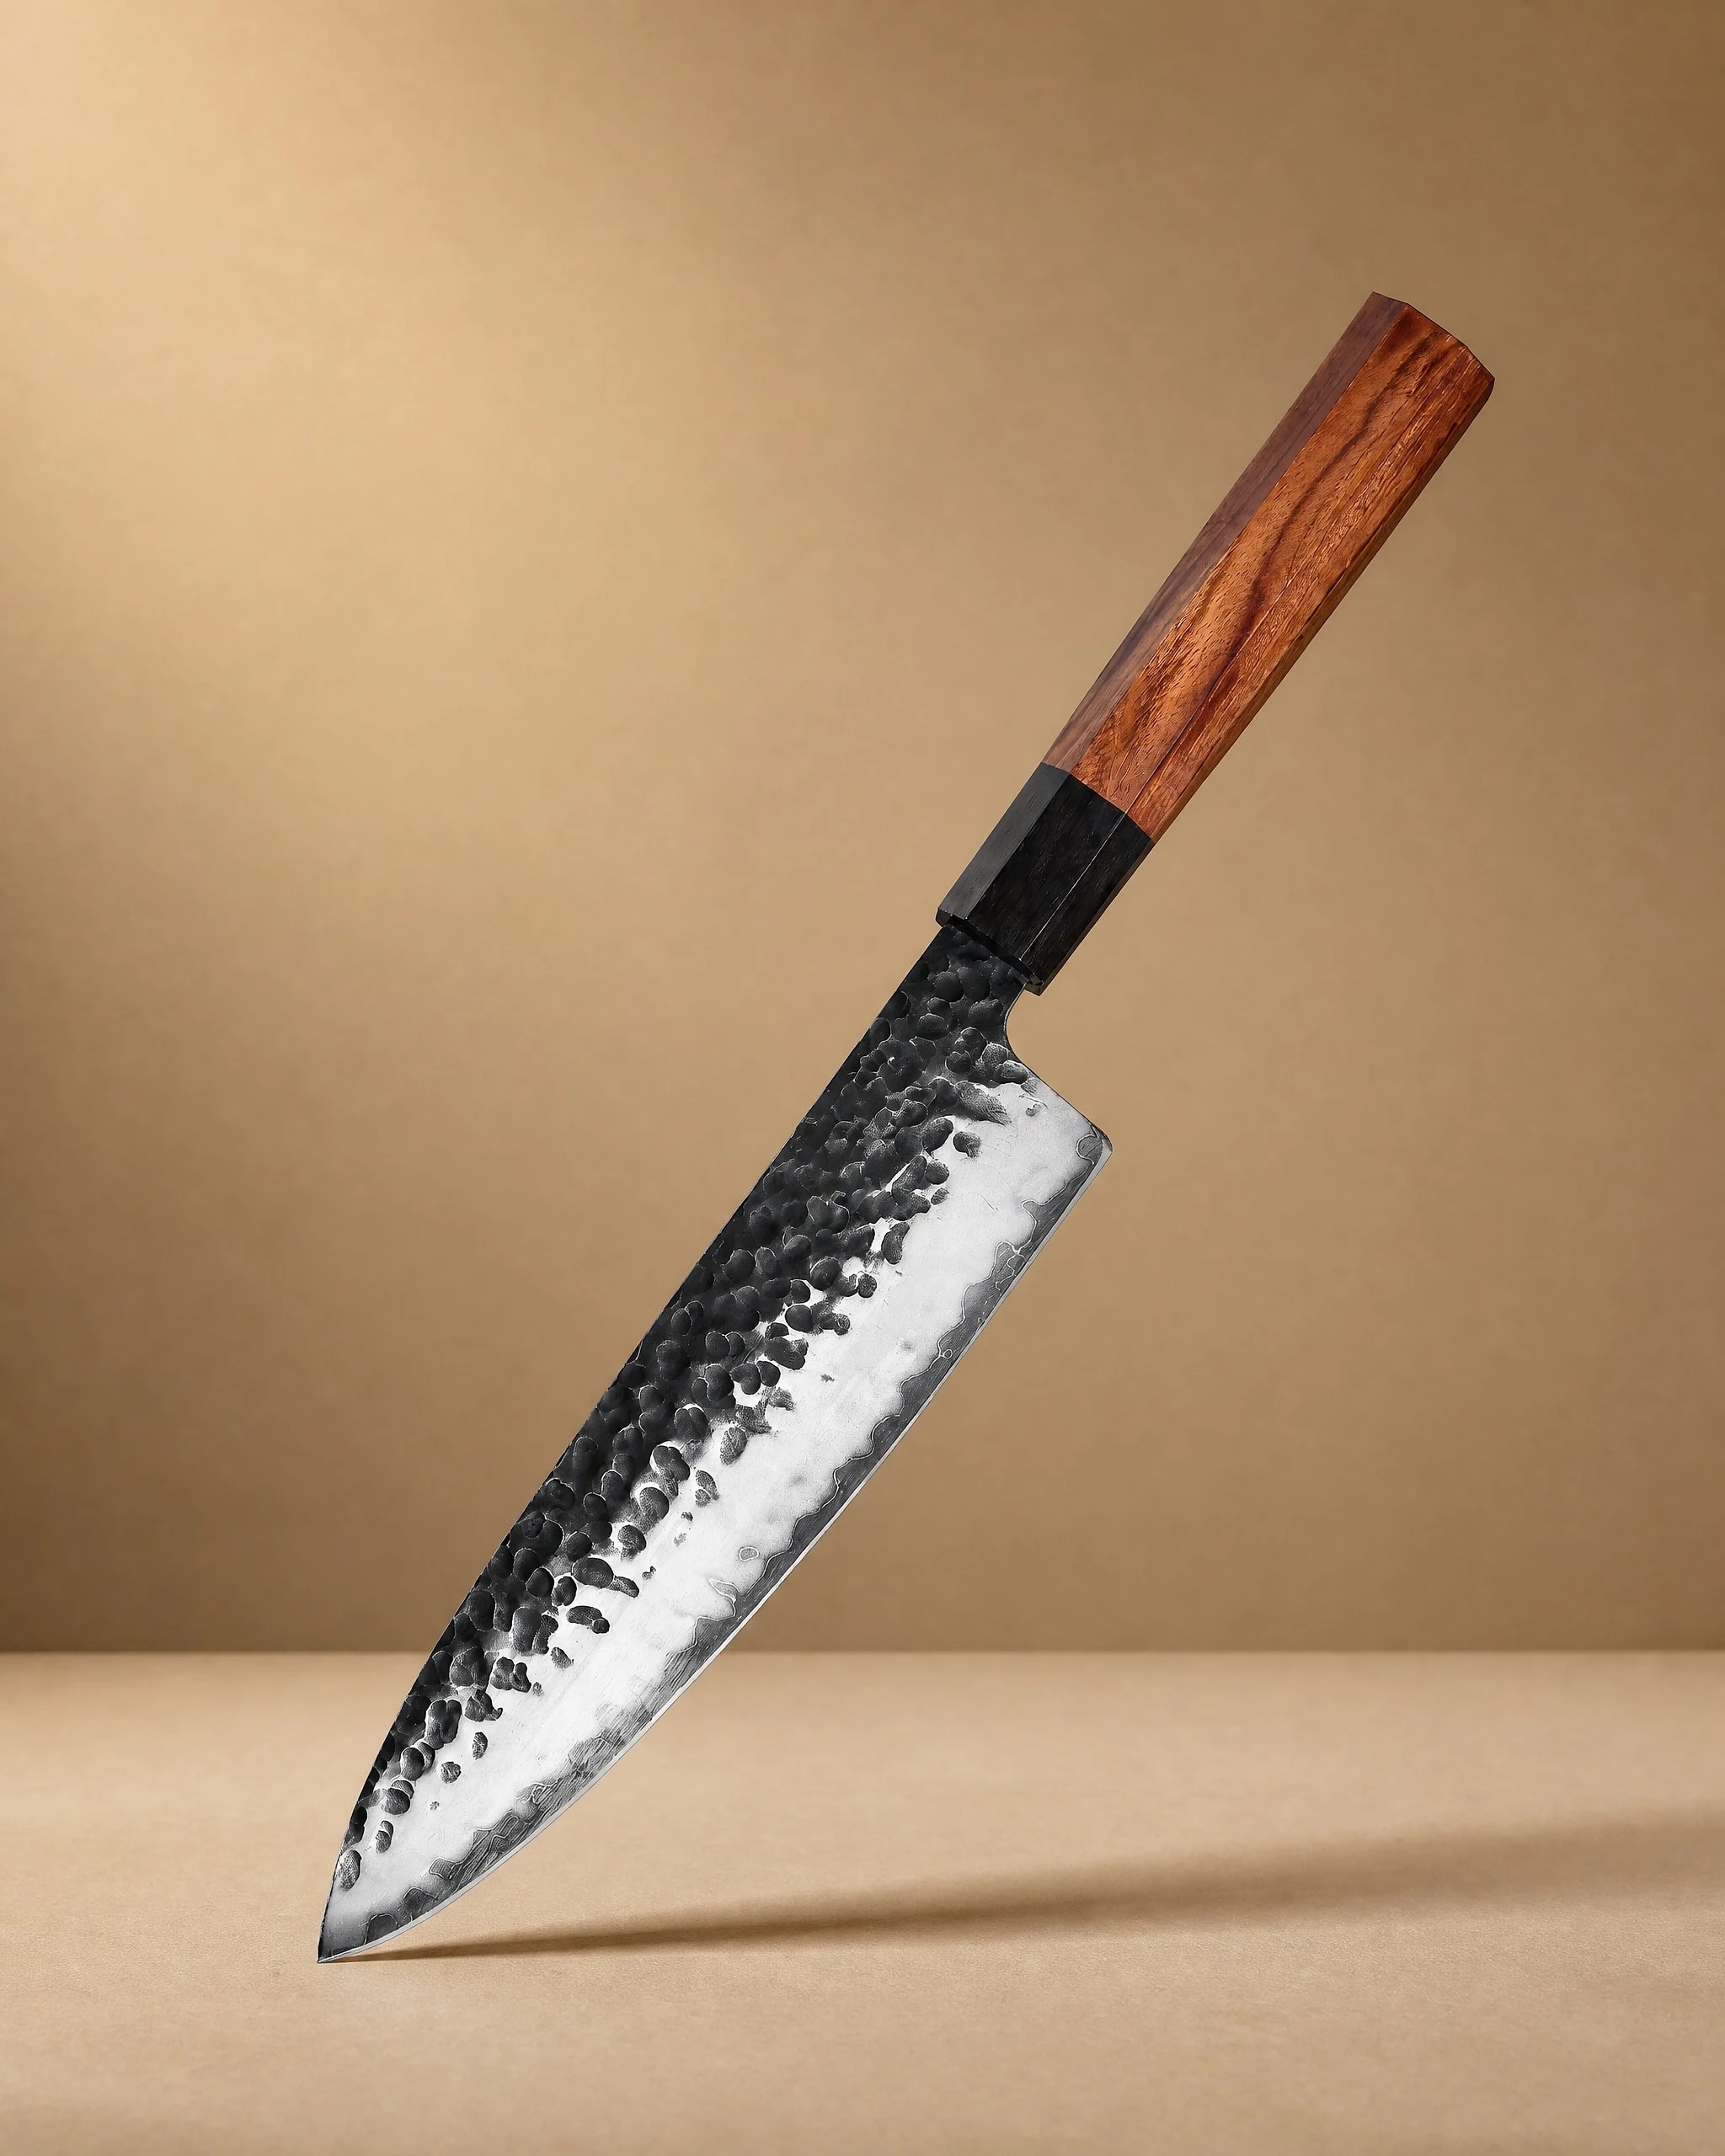 Tenjin 8" Stainless Steel Gyuto Knife 牛刀$69.99View product → is a strong choice for general cutting, and it fits a simple sharpening routine. Another everyday option is the
 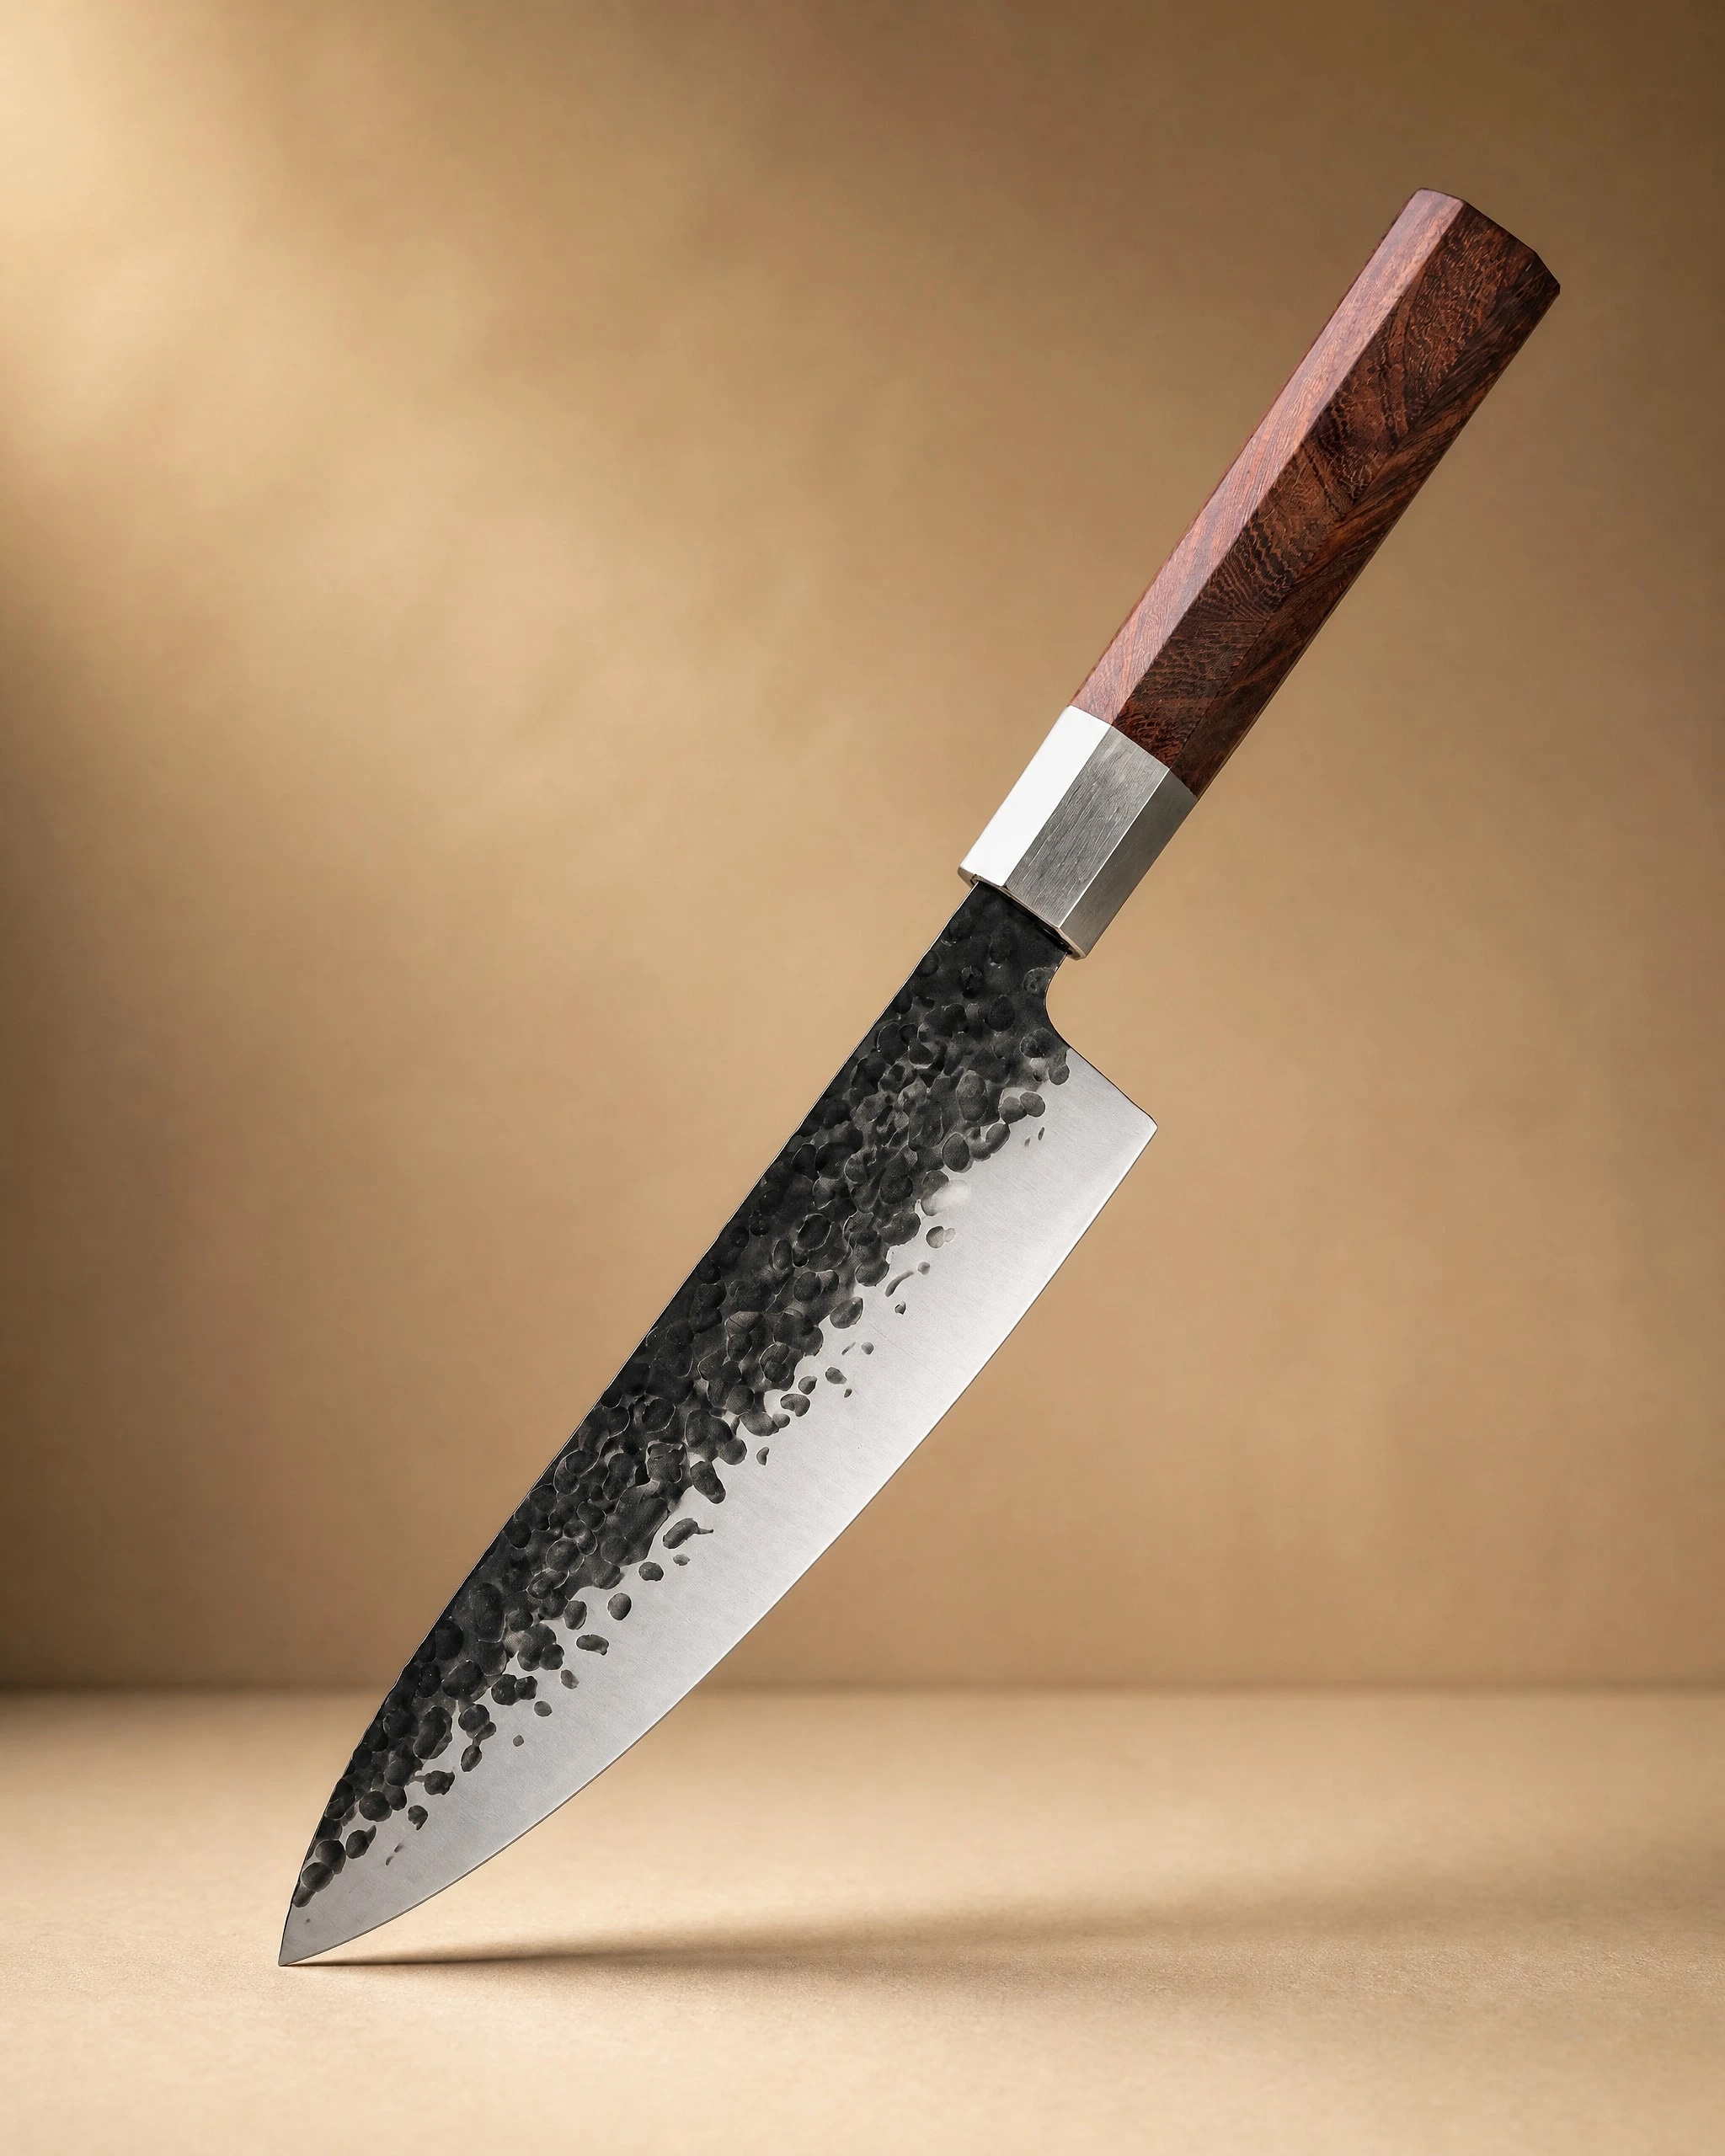 Sendai 8" Steel Gyuto Knife 牛刀$54.99View product →, built for the same kind of work.
If you want a blade with a more distinctive look, the 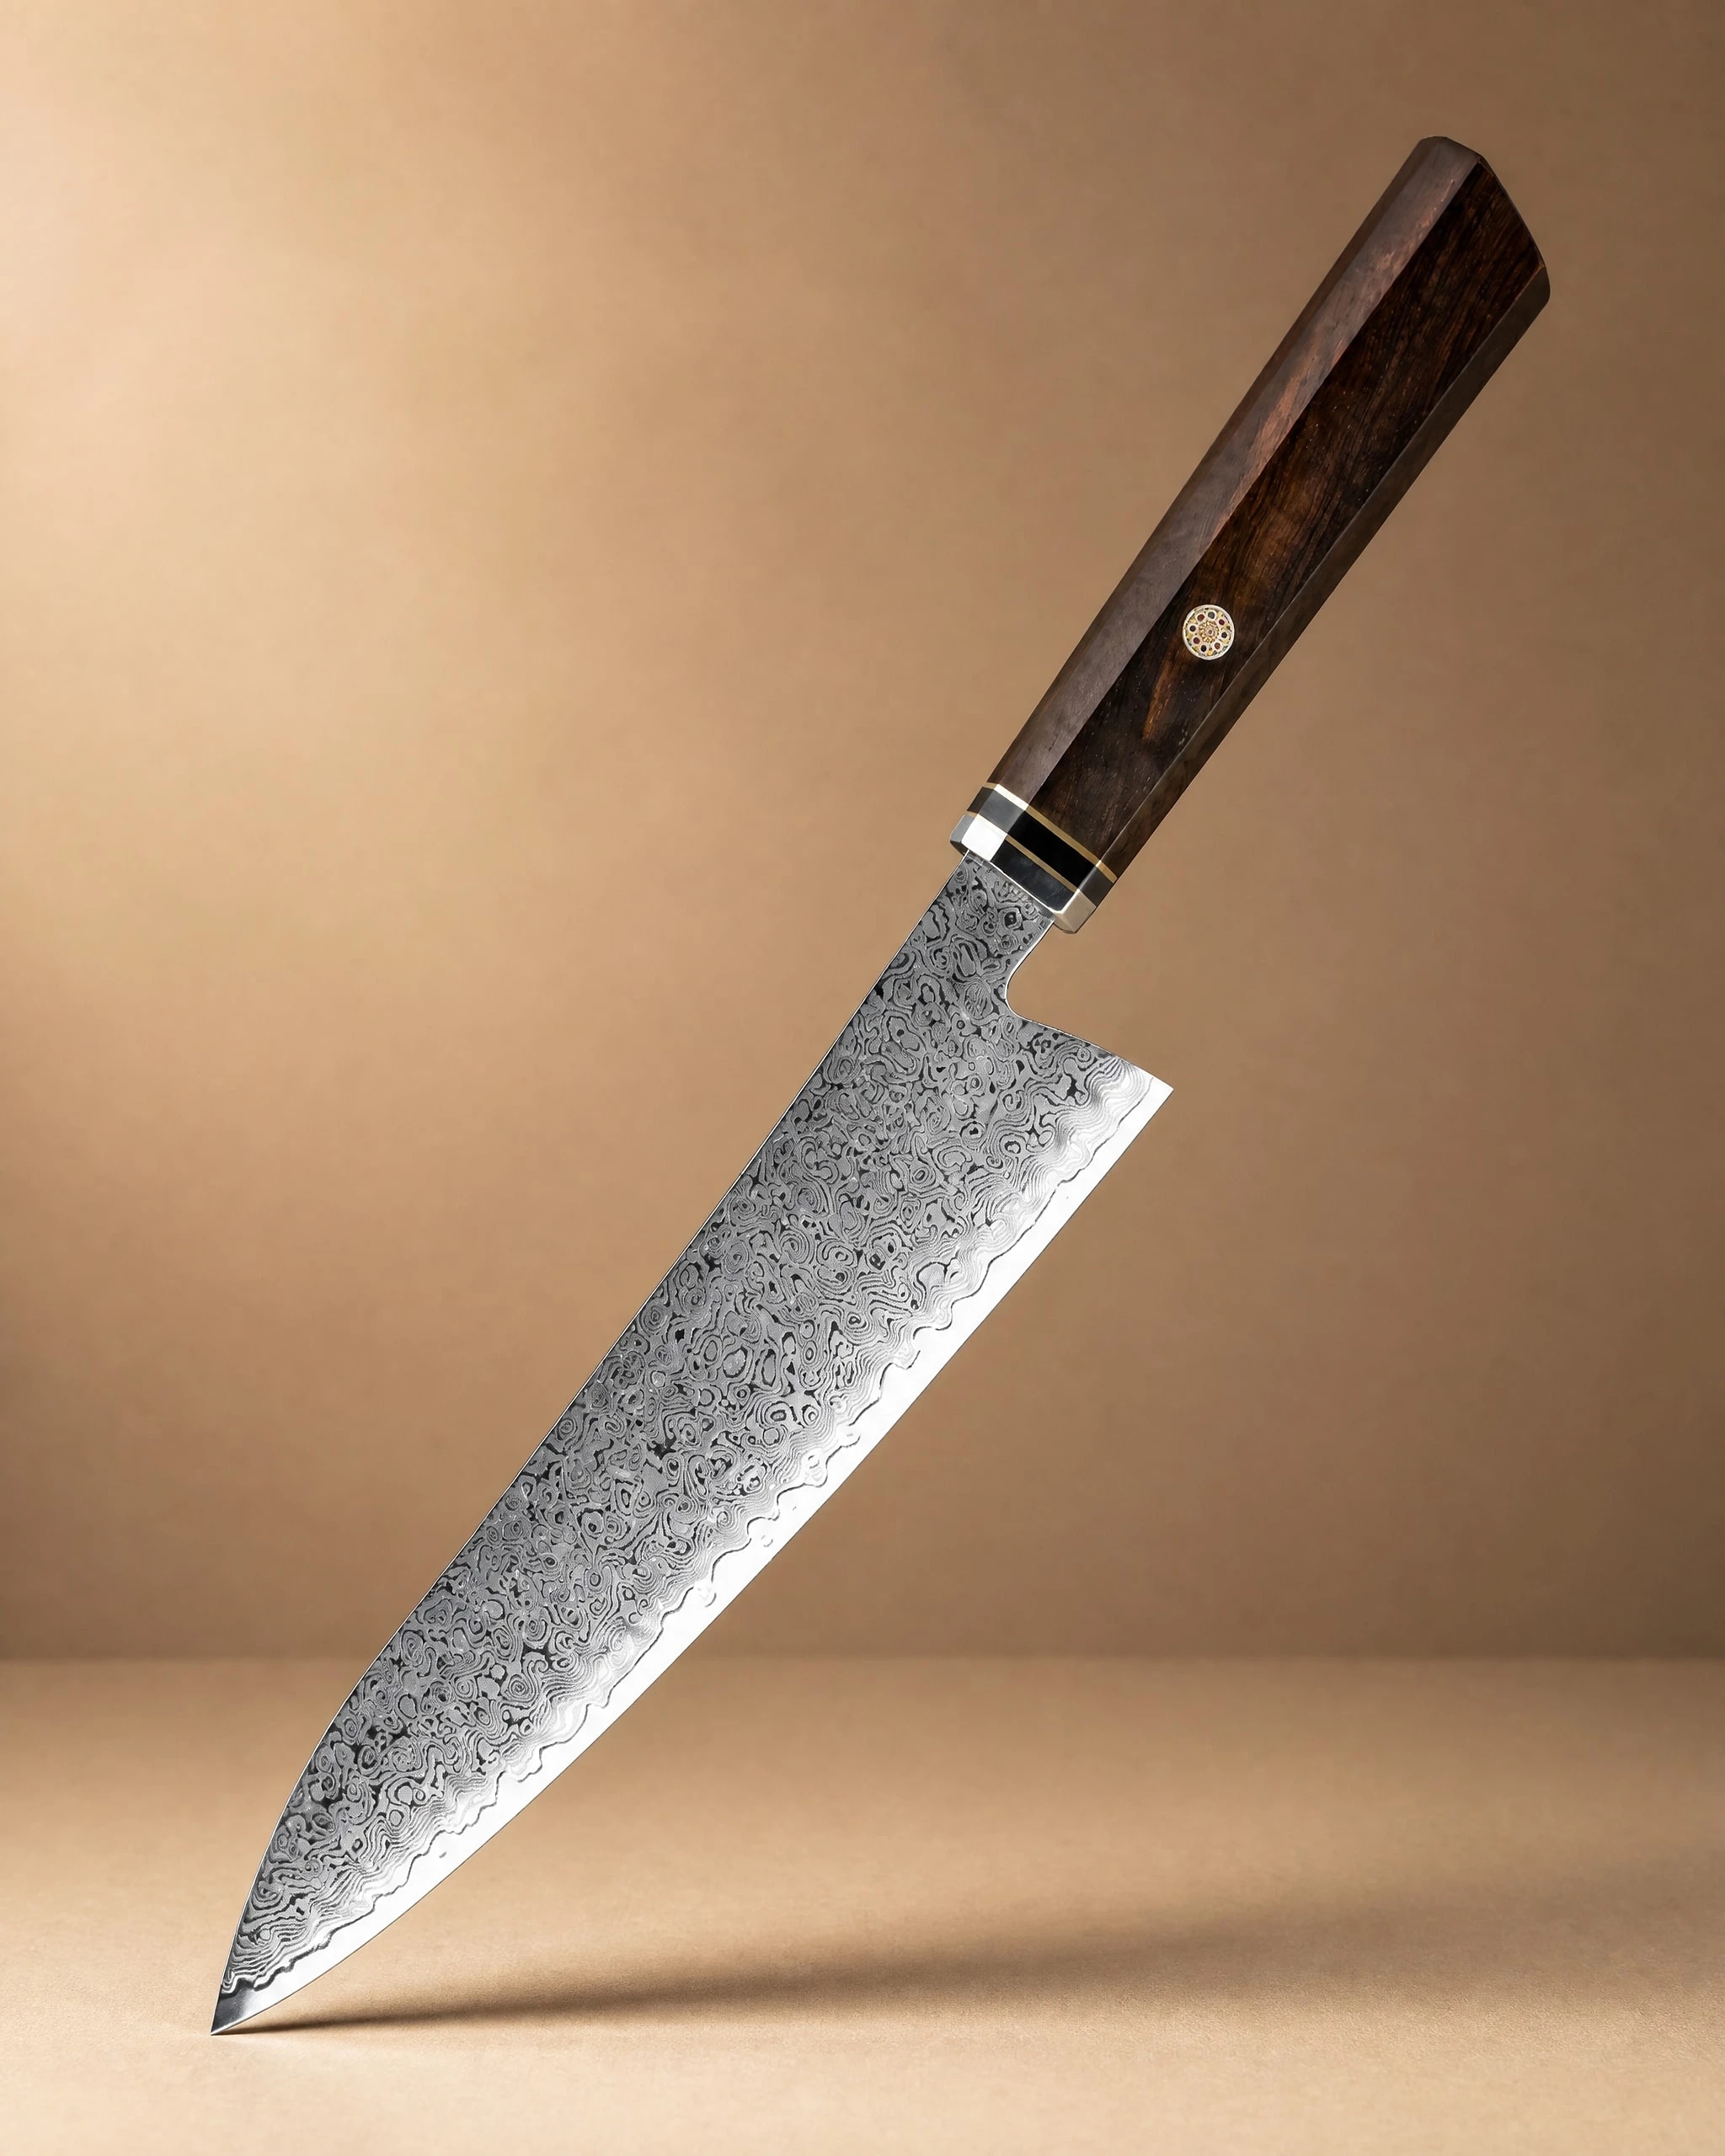 Sakawa 8.5" Damascus Steel Gyuto Knife 牛刀$94.99View product → is a Damascus-clad gyuto. Damascus steel can still be sharpened at home, but treat it gently and avoid aggressive carbide sharpeners. For smaller tasks, the
 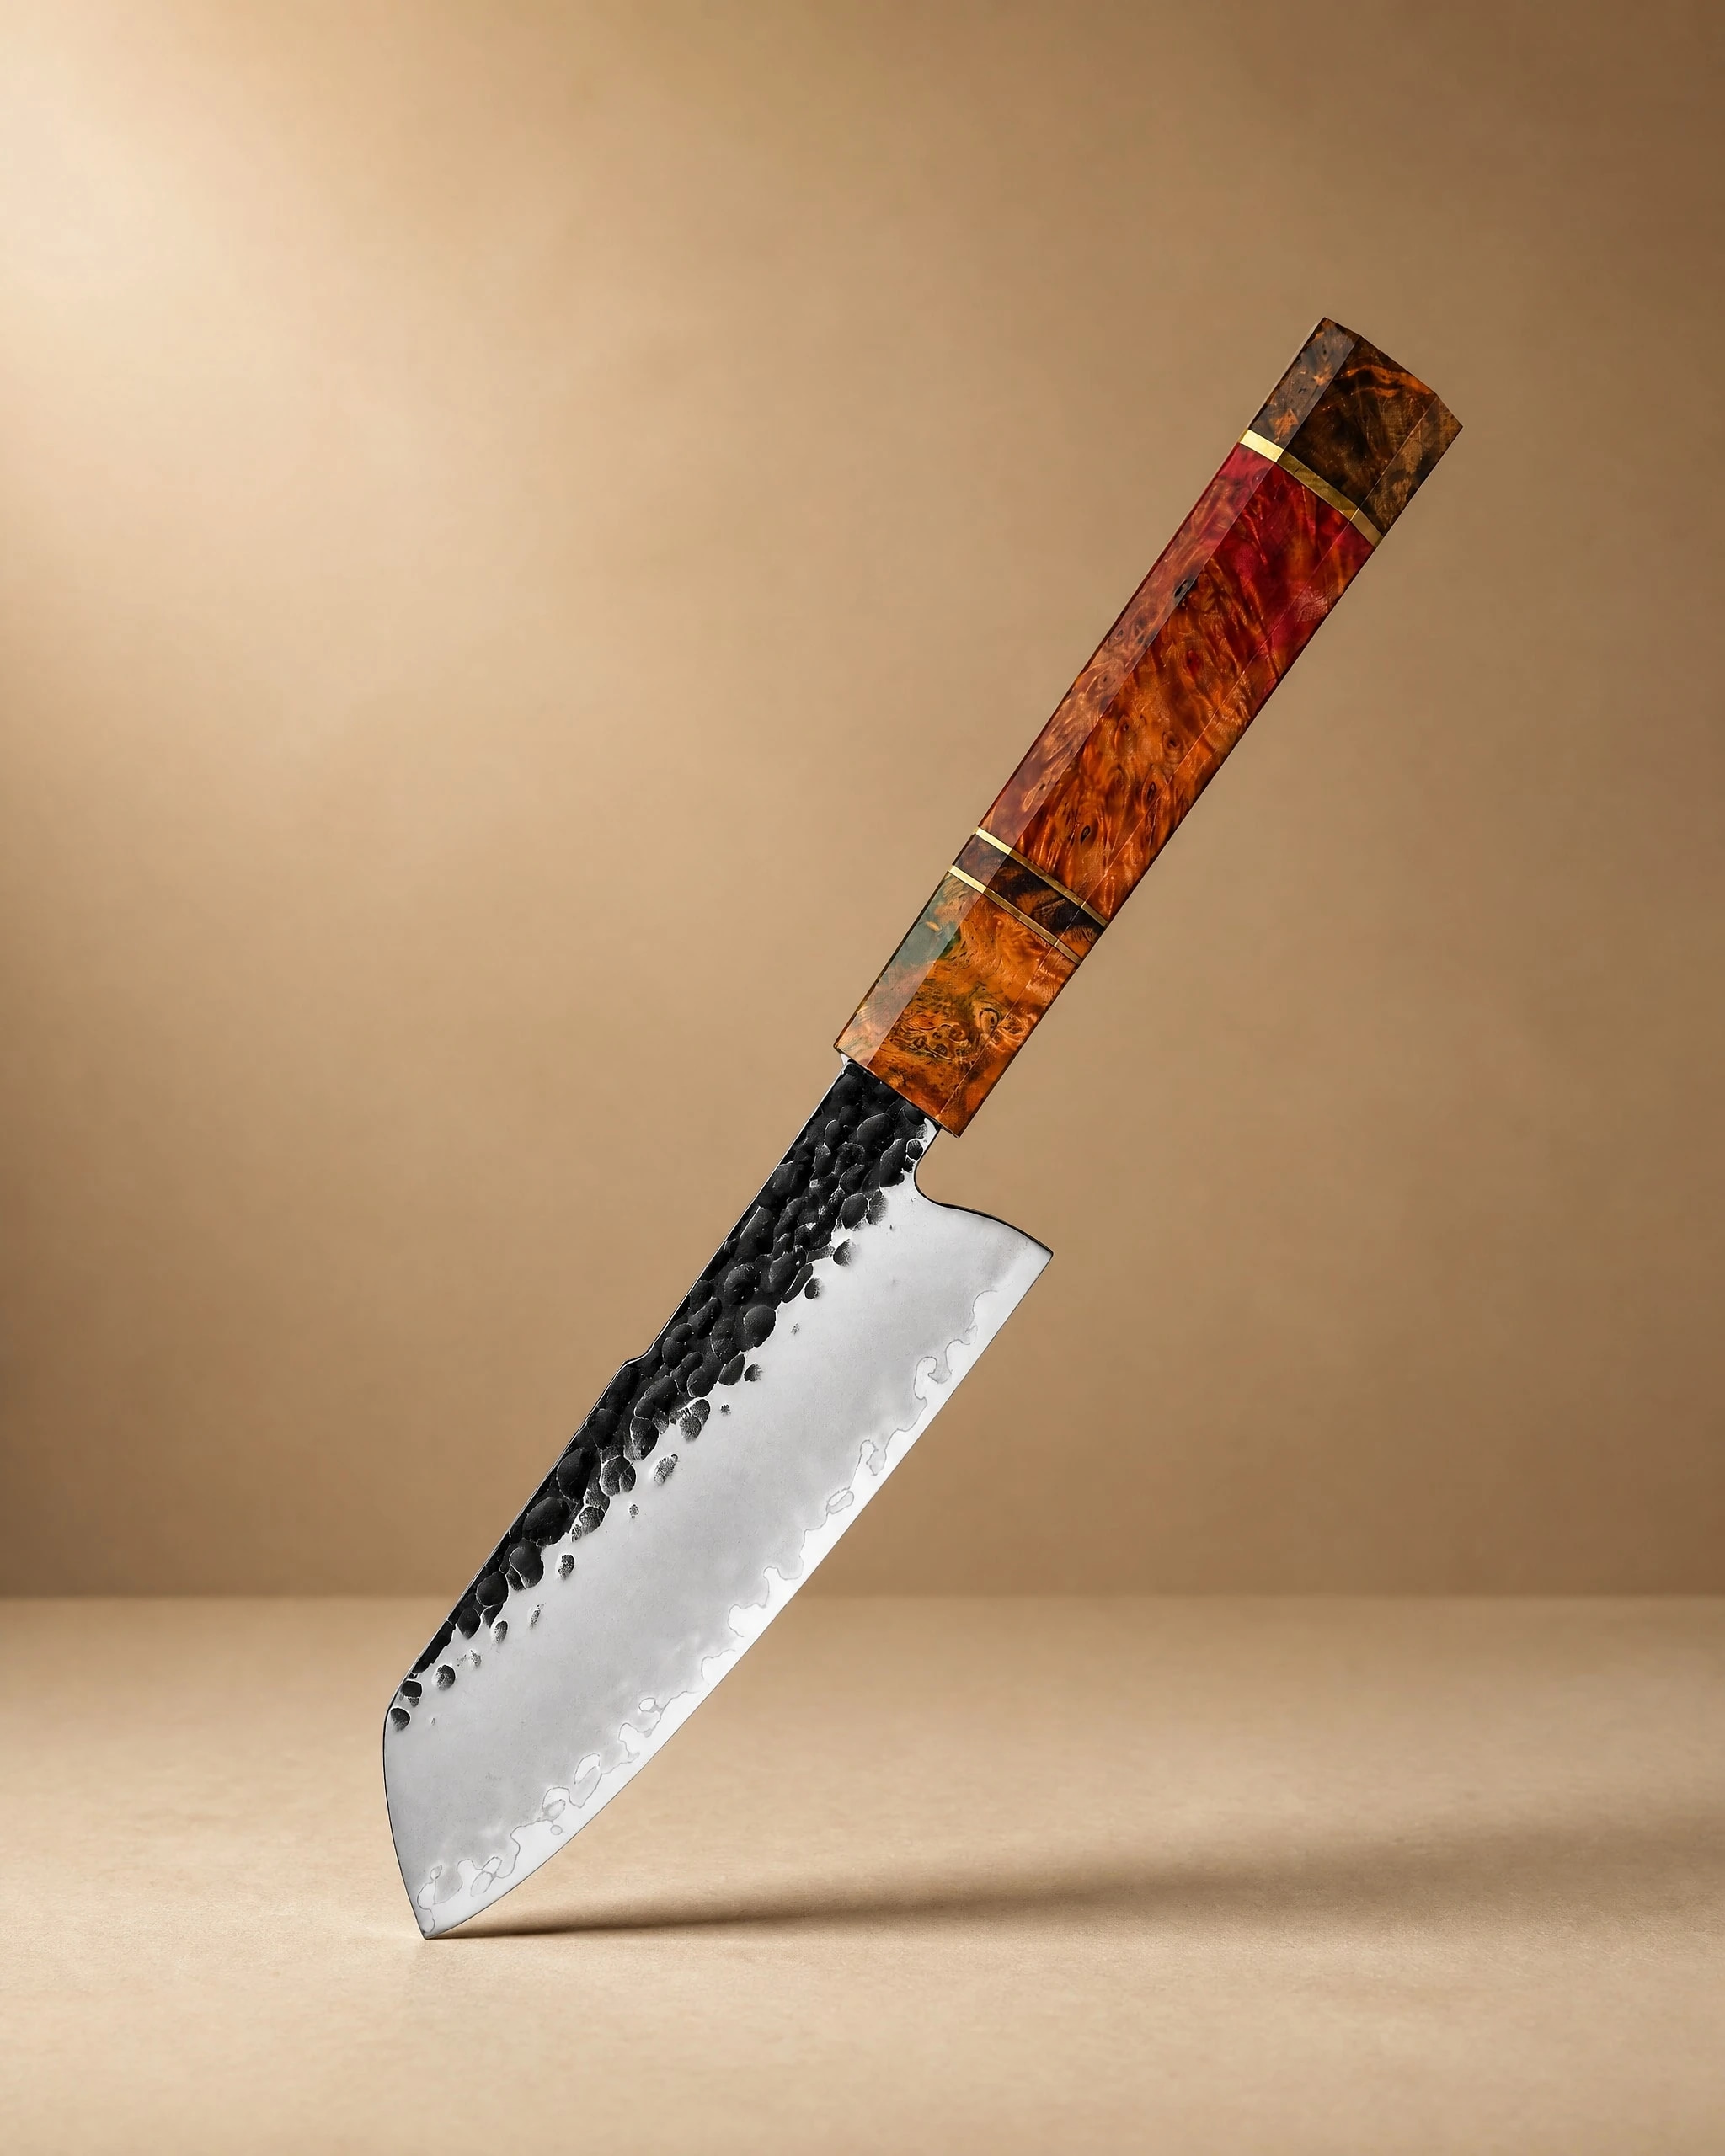 Ishikari 5" Santoku Knife 三徳包丁$79.99View product → is a santoku that works well for vegetables, cheese, and quick prep.
If you are deciding which knife shape fits your cooking, the knife guide can help. You can also see the full range at all products.
A Simple Routine That Works
Week to week: hone lightly, wash by hand, dry fully, store safely.
Month to month: check the edge in good light. If it reflects or slides, sharpen with your knife sharpener. Use light pressure, equal strokes, and finish in the fine slot.
Year to year: assess the blade for chips or thinning. If the knife has been sharpened many times, it may need professional thinning to restore geometry.
Learning how to sharpen knives with a knife sharpener is not about force. It is about consistency. Keep the angle steady, use light pressure, alternate sides, and stop when the edge cuts. Your knives will stay sharper and last longer.
Photography: Manki Kim via Unsplash.


