
How to Sharpen Kitchen Knives with a Honing Rod

Most home cooks own a honing rod. Very few use it correctly. The tool gets called a sharpener, dragged across a blade at whatever angle feels natural, then tossed back in the drawer, and people wonder why their tomatoes still bruise. A rod is genuinely useful, but it does one narrow job. Once you know what that job is, it stops being kitchen decoration and starts keeping your edges alive between real sharpenings.
What a honing rod actually does
A knife edge is thin steel, and thin steel bends. Every cut pushes the apex of the edge microscopically sideways. After a few meals the edge is still there, but it is leaning, and a leaning edge skates across food instead of biting into it.
A smooth steel rod pushes that leaning steel back toward center. It realigns the apex. It removes so little metal that you can hone a good knife for years without changing its geometry, which is why a cook can hone nightly and still need a stone only a few times a year.
Rods are not all the same tool. A fine, smooth steel is a straightening tool. A coarse steel, a diamond rod or a ceramic rod is a light abrasive, so it cuts a small amount of steel and does some real sharpening. Both kinds are useful. Confusing the two is where trouble starts, because a coarse rod used with heavy pressure every day wears a blade down faster than a stone used properly once a month.
Honing rod sharpening: when it helps and when it does not
The honest limit of rod sharpening is this: it only works on an edge that still has its shape. If the apex is worn flat, rounded over or chipped, there is nothing left to realign. You can drag the knife across the rod all evening and it will stay dull, and you will have added wear for nothing.
Two quick checks tell you where you stand. First, look at the edge under a bright light. If you see a white line or glints of reflection along the apex, the edge has folded or flattened and needs abrasive work, meaning a stone or a guided sharpener rather than a rod. Second, try a ripe tomato or a sheet of paper. A knife that hesitates on the skin, or tears rather than slices, is past honing.
If the knife still slices cleanly but feels a little vague, a few light passes on a rod will bring it right back. That is the sweet spot, and it is a wide one. Most home knives live there.
Choosing a rod worth keeping on the counter
Length matters more than branding. The rod should be at least as long as the blade you are honing, so a typical 8-inch gyuto wants a rod of 10 to 12 inches. A short rod forces you into a chopped, uneven stroke that changes angle halfway through.
For a home kitchen, a fine steel or a fine ceramic rod covers most needs. Ceramic leaves a slightly toothier edge that feels sharp on tomatoes and peppers. A smooth steel is gentler and suits someone who hones every day. Diamond rods cut fast and are best saved for inexpensive knives or occasional heavy work, since they remove material quickly.
Check the handle fit and the guard. You want a solid bolster between your hand and the steel, and a handle that does not flex under pressure. Store the rod where it will not knock against other metal, because a nicked rod will scratch the face of a blade.
How to sharpen kitchen knives with a rod, step by step
Set a folded towel on a stable counter. Hold the rod vertically, either tip down with the handle up or tip up with the handle down. Tip down is the safer choice for beginners, since your hand stays above the rod and away from the stroke.
Find your angle
Most Japanese kitchen knives are sharpened at roughly 15 degrees per side, and most European knives at about 20. If you do not know your knife, use the lower angle. A slight under-angle is far more forgiving than an over-angle, which rounds the edge over time.
To find 15 degrees, lay the blade flat on the rod and lift the spine about the height of two stacked coins. For 20 degrees, lift it roughly the height of a finger joint. Lock your wrist at that angle and keep it locked. The angle must not change during the stroke. That is the entire skill.
The stroke
Place the heel of the blade against the rod near the handle, with the edge angled slightly down and the tip angled up. Draw the knife down and toward you while sliding the edge along the rod, so the contact point travels from heel to tip at a steady speed. Use light pressure, roughly the weight of the knife itself. Six to eight passes per side is plenty for routine maintenance.
Repeat on the other side with the same angle and the same count. Test the edge on paper. If it still feels vague, add a few more passes rather than pressing harder. Pressure is the enemy here, not insufficient effort.

The mistakes that quietly ruin edges
- Using a rod as a sharpener. If the knife is dull, honing does nothing and you need a stone.
- Sawing fast. Speed does not sharpen. A slow, even stroke at a consistent angle does.
- Pressing hard. Heavy pressure folds the edge instead of aligning it.
- Honing one side only. Both bevels need the same treatment or the edge drifts off center.
- Honing a serrated or chipped edge. Serrations need a tapered rod or a file, and chips need a stone.
One more habit to break: honing a knife that is still wet or dirty. Wipe the blade, dry it, then work. Grit and moisture on a rod do nothing good for an edge.
Which knives belong in the honing routine
Plain-edge kitchen knives are the candidates. Your everyday gyuto does most of the work and takes most of the wear, so it deserves a few passes before a long prep session. A knife like 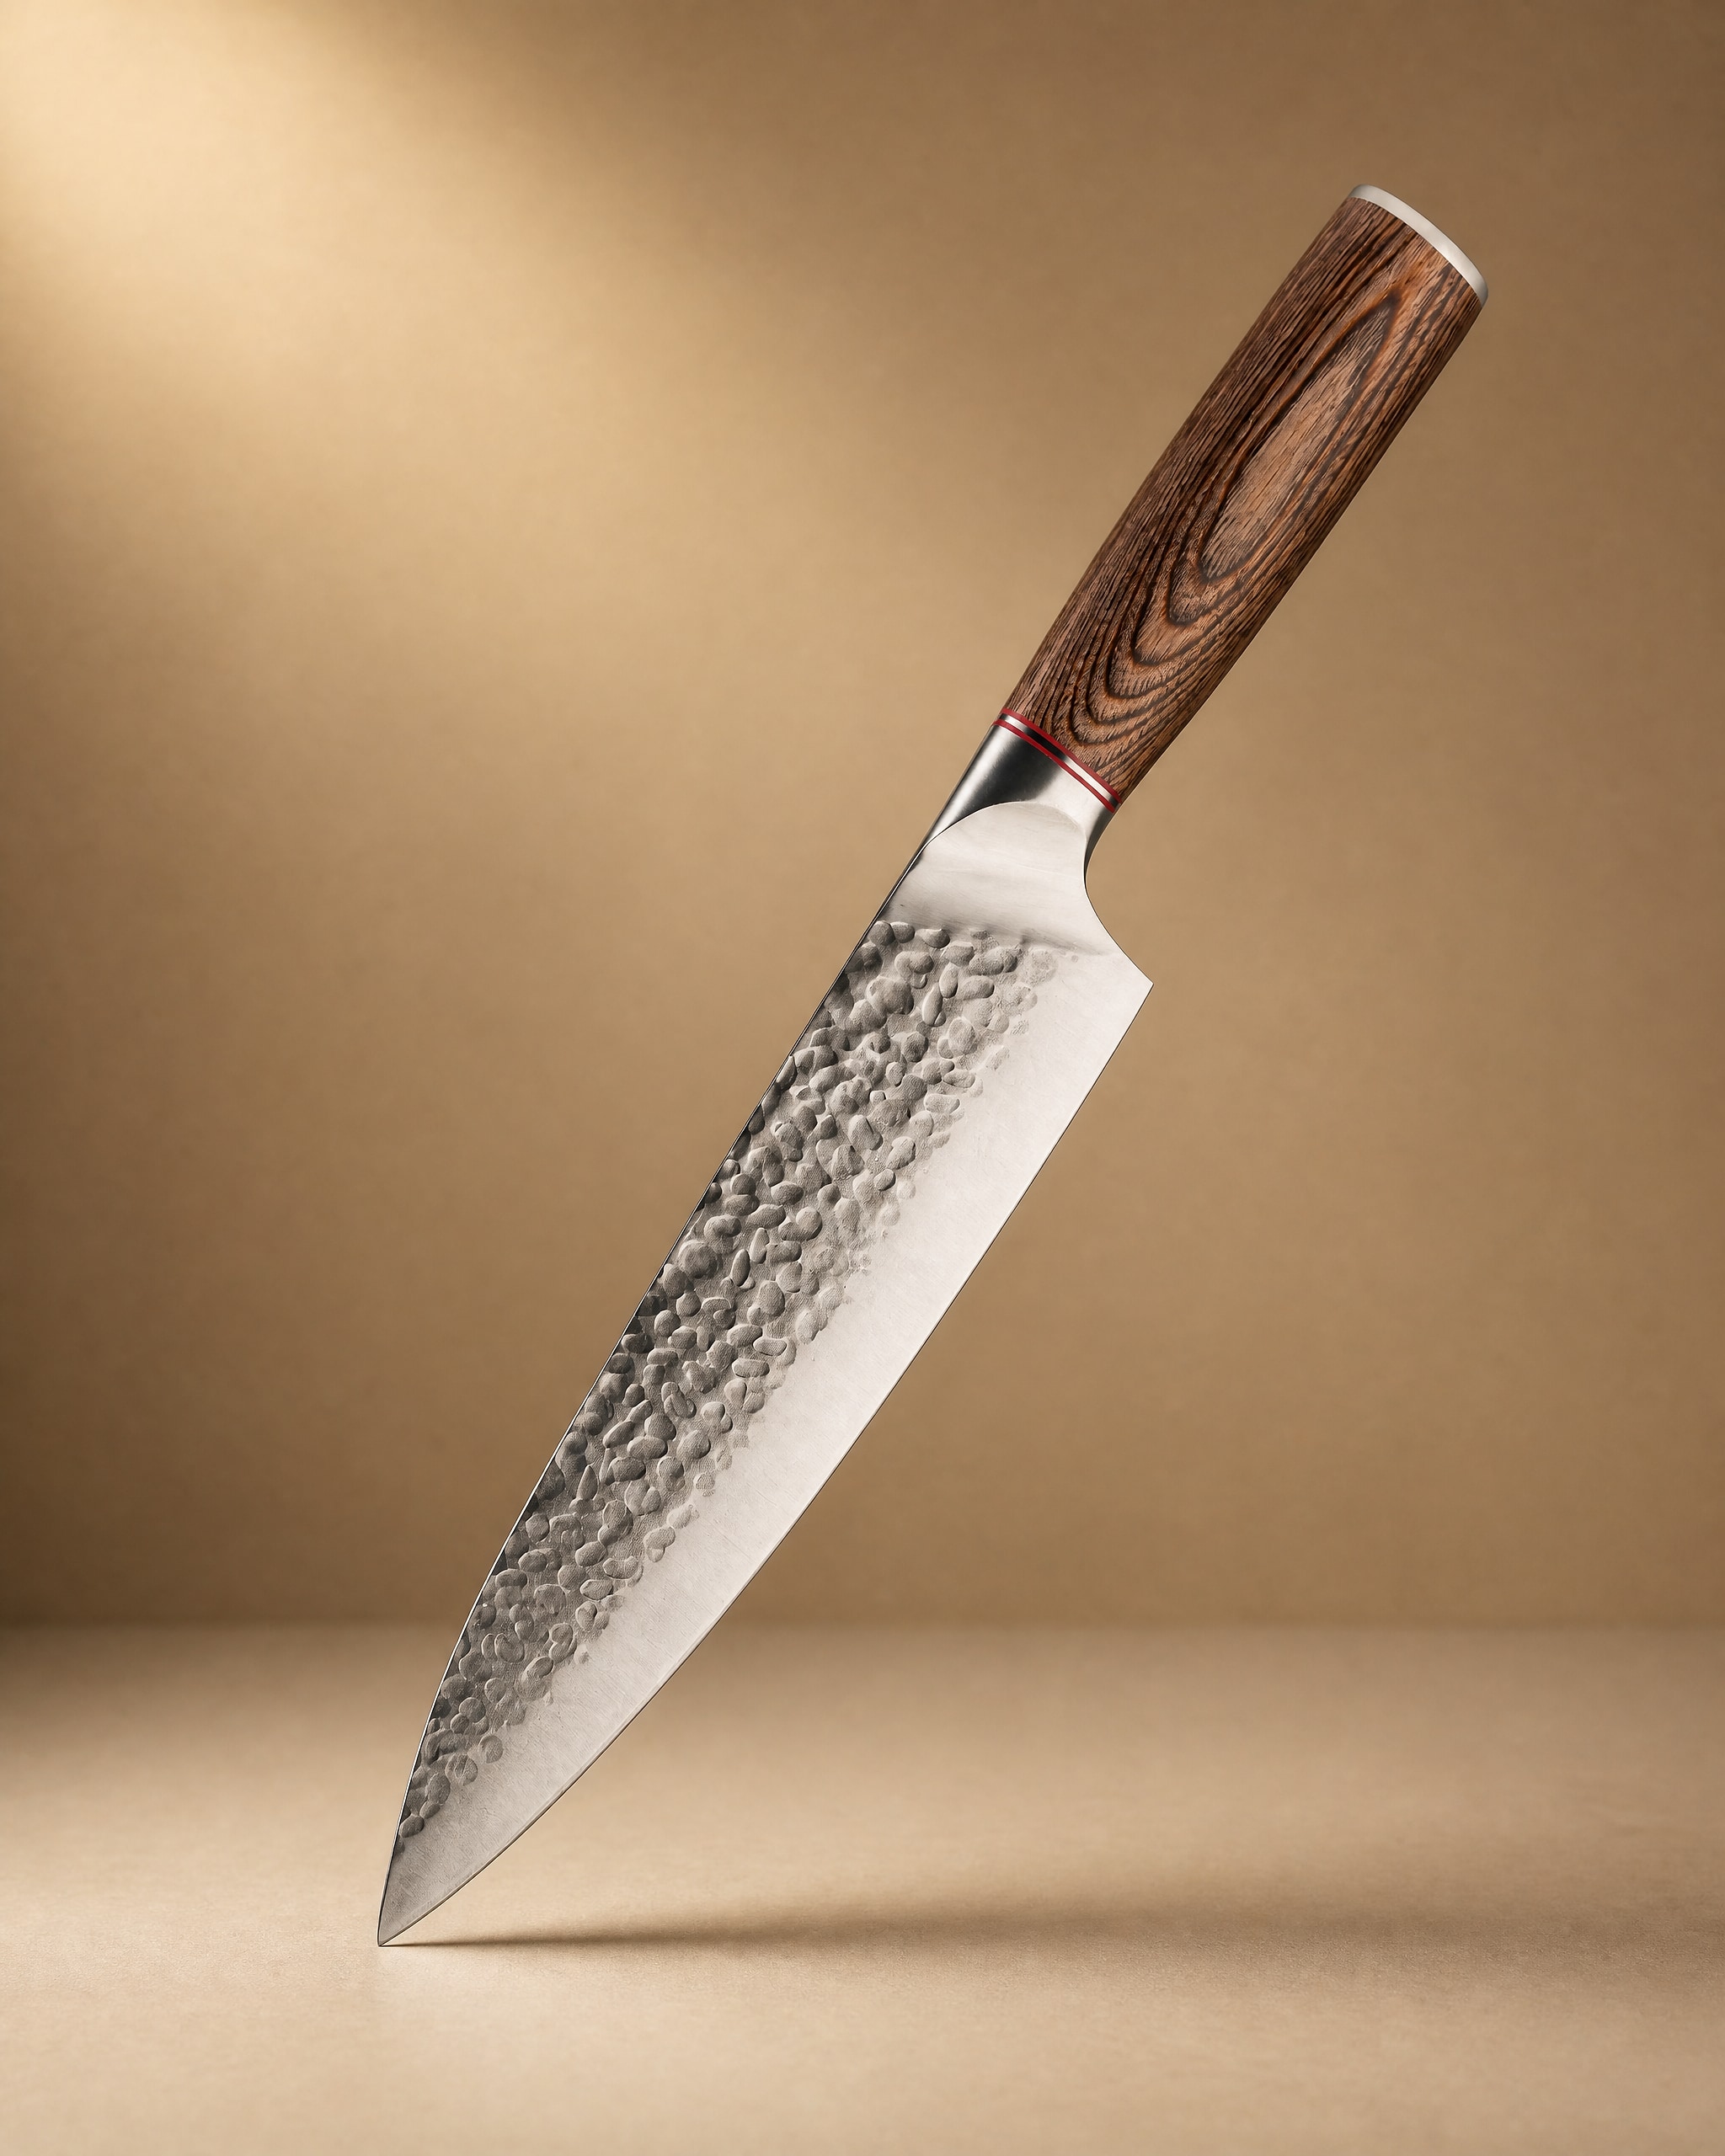 Akan 8'' Gyuto Knife 牛刀$49.99View product → is a good example of a blade that rewards regular light honing and holds up for months between stone sessions. If you prefer a slightly different feel in the hand,
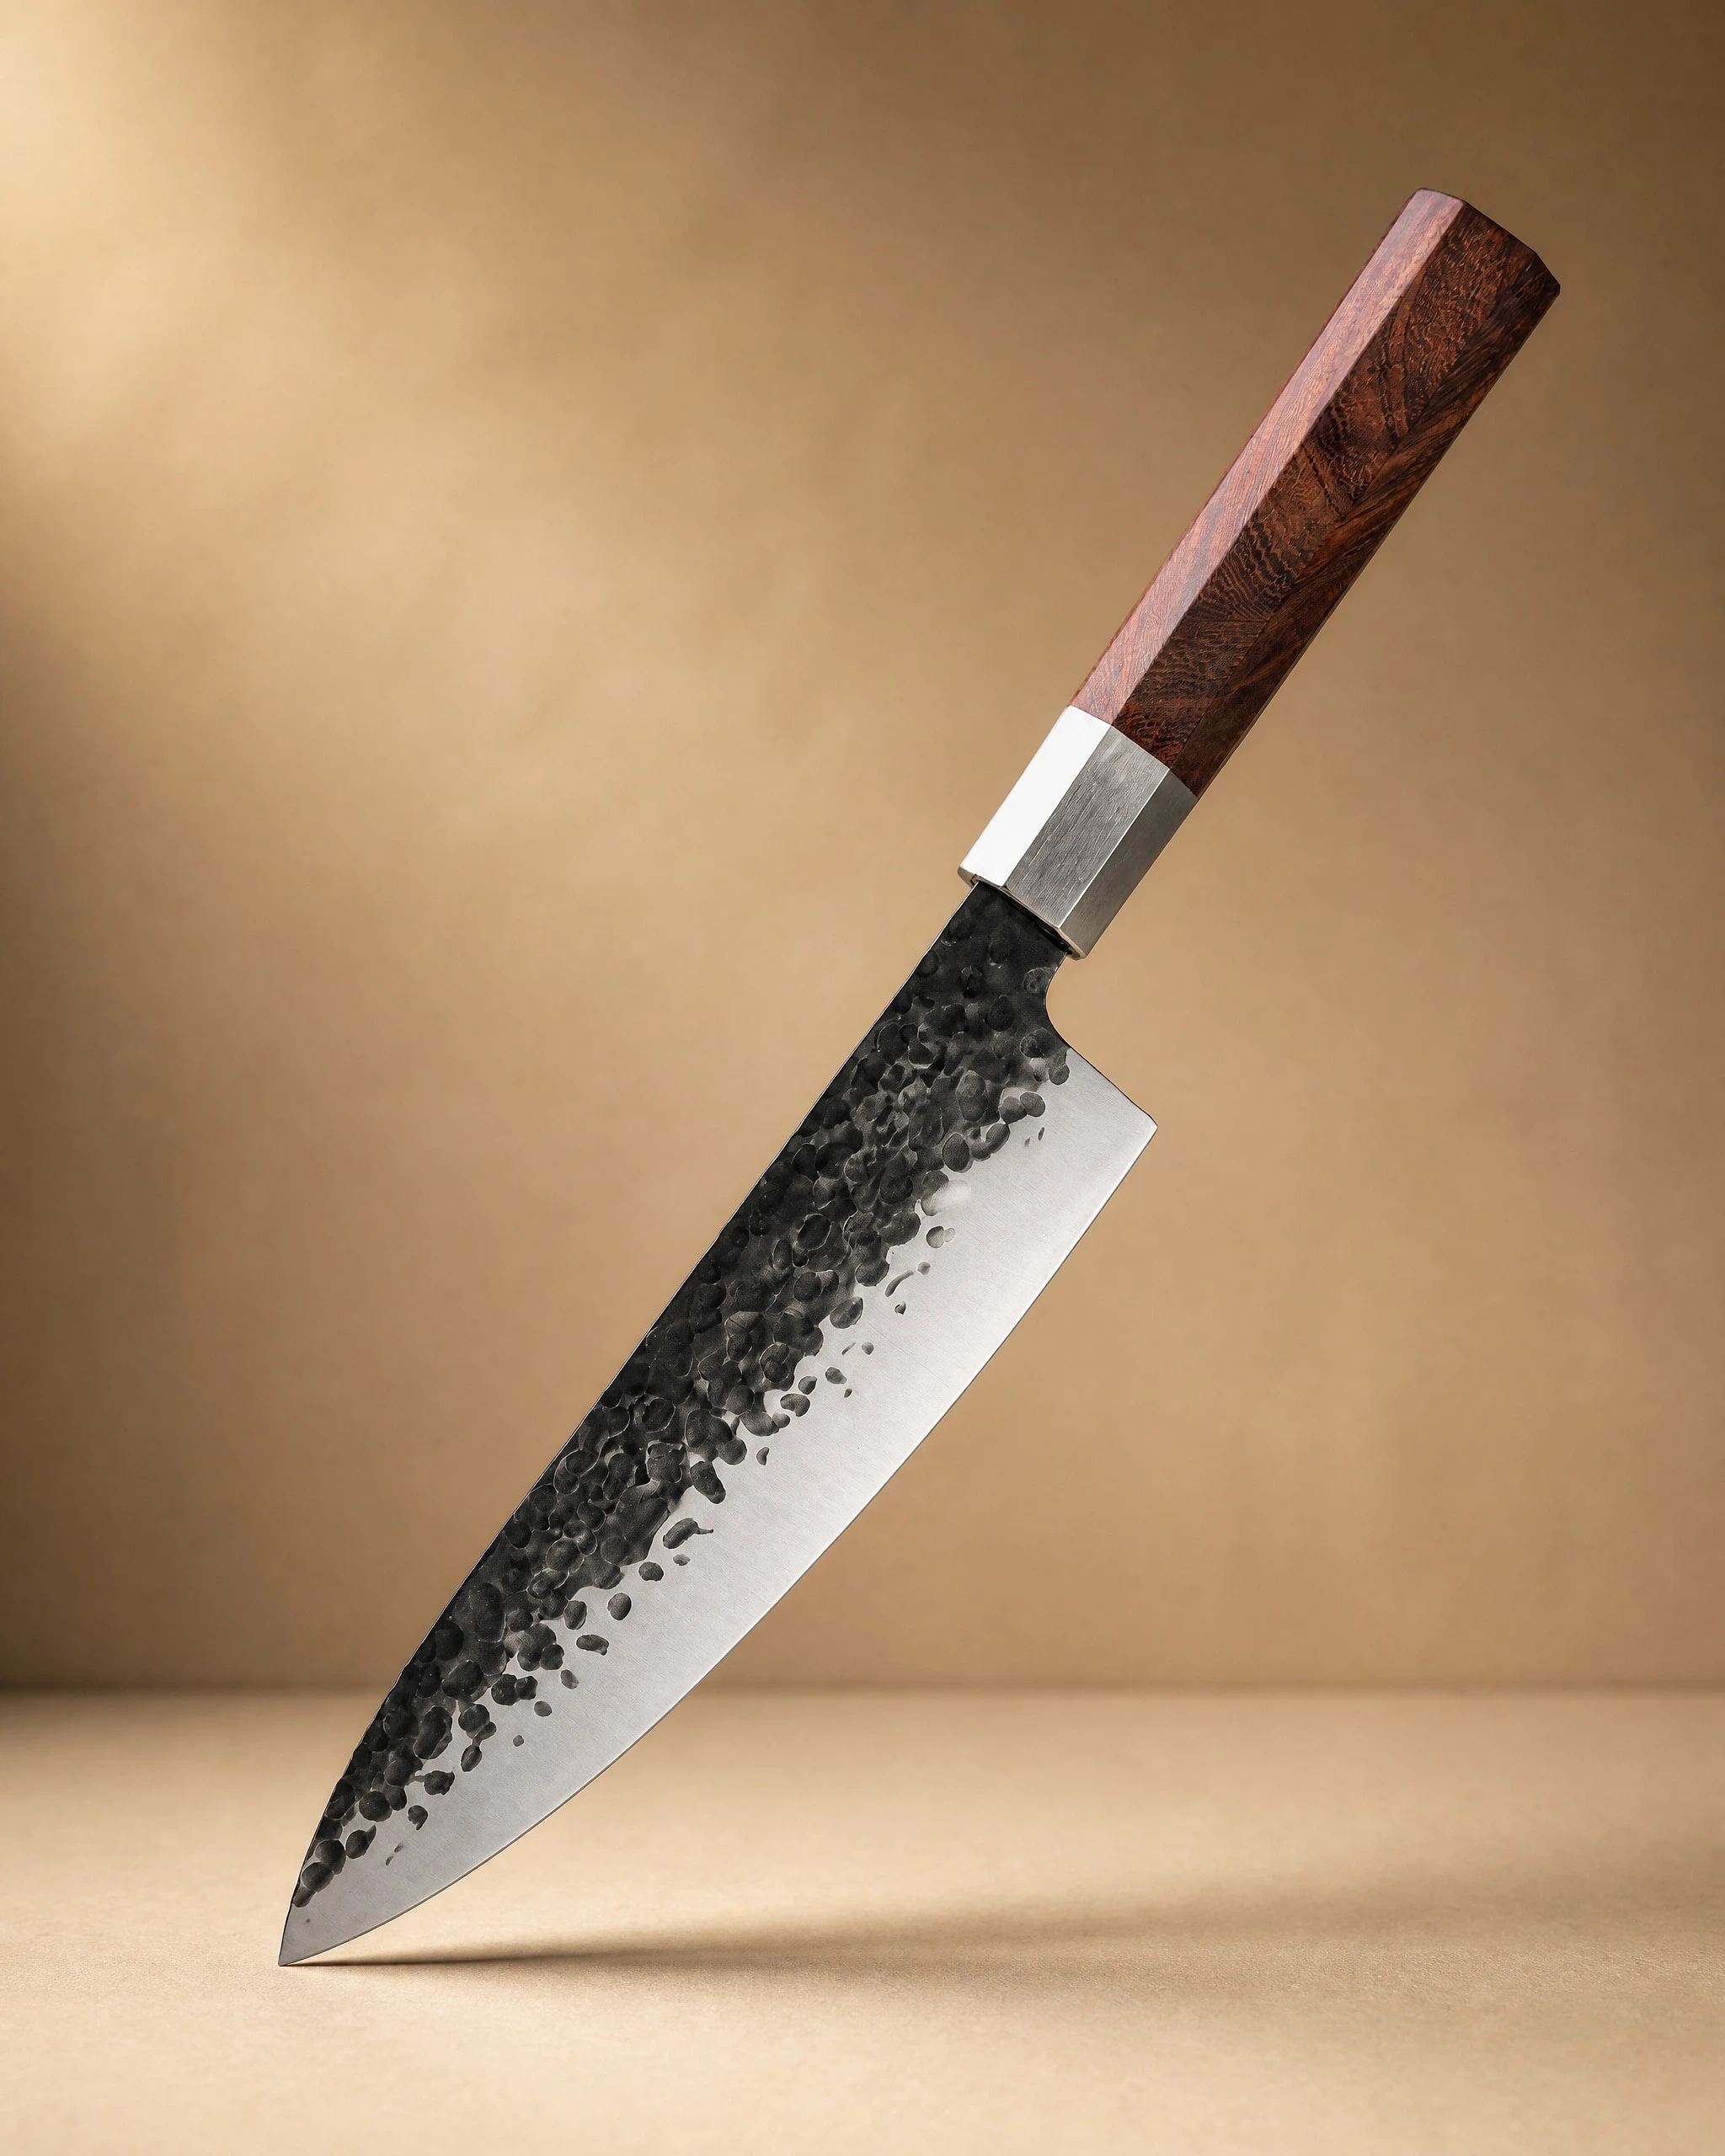 Sendai 8" Steel Gyuto Knife 牛刀$49.99View product → fills the same role and takes the same treatment.
Skip the rod on serrated blades. A bread knife such as 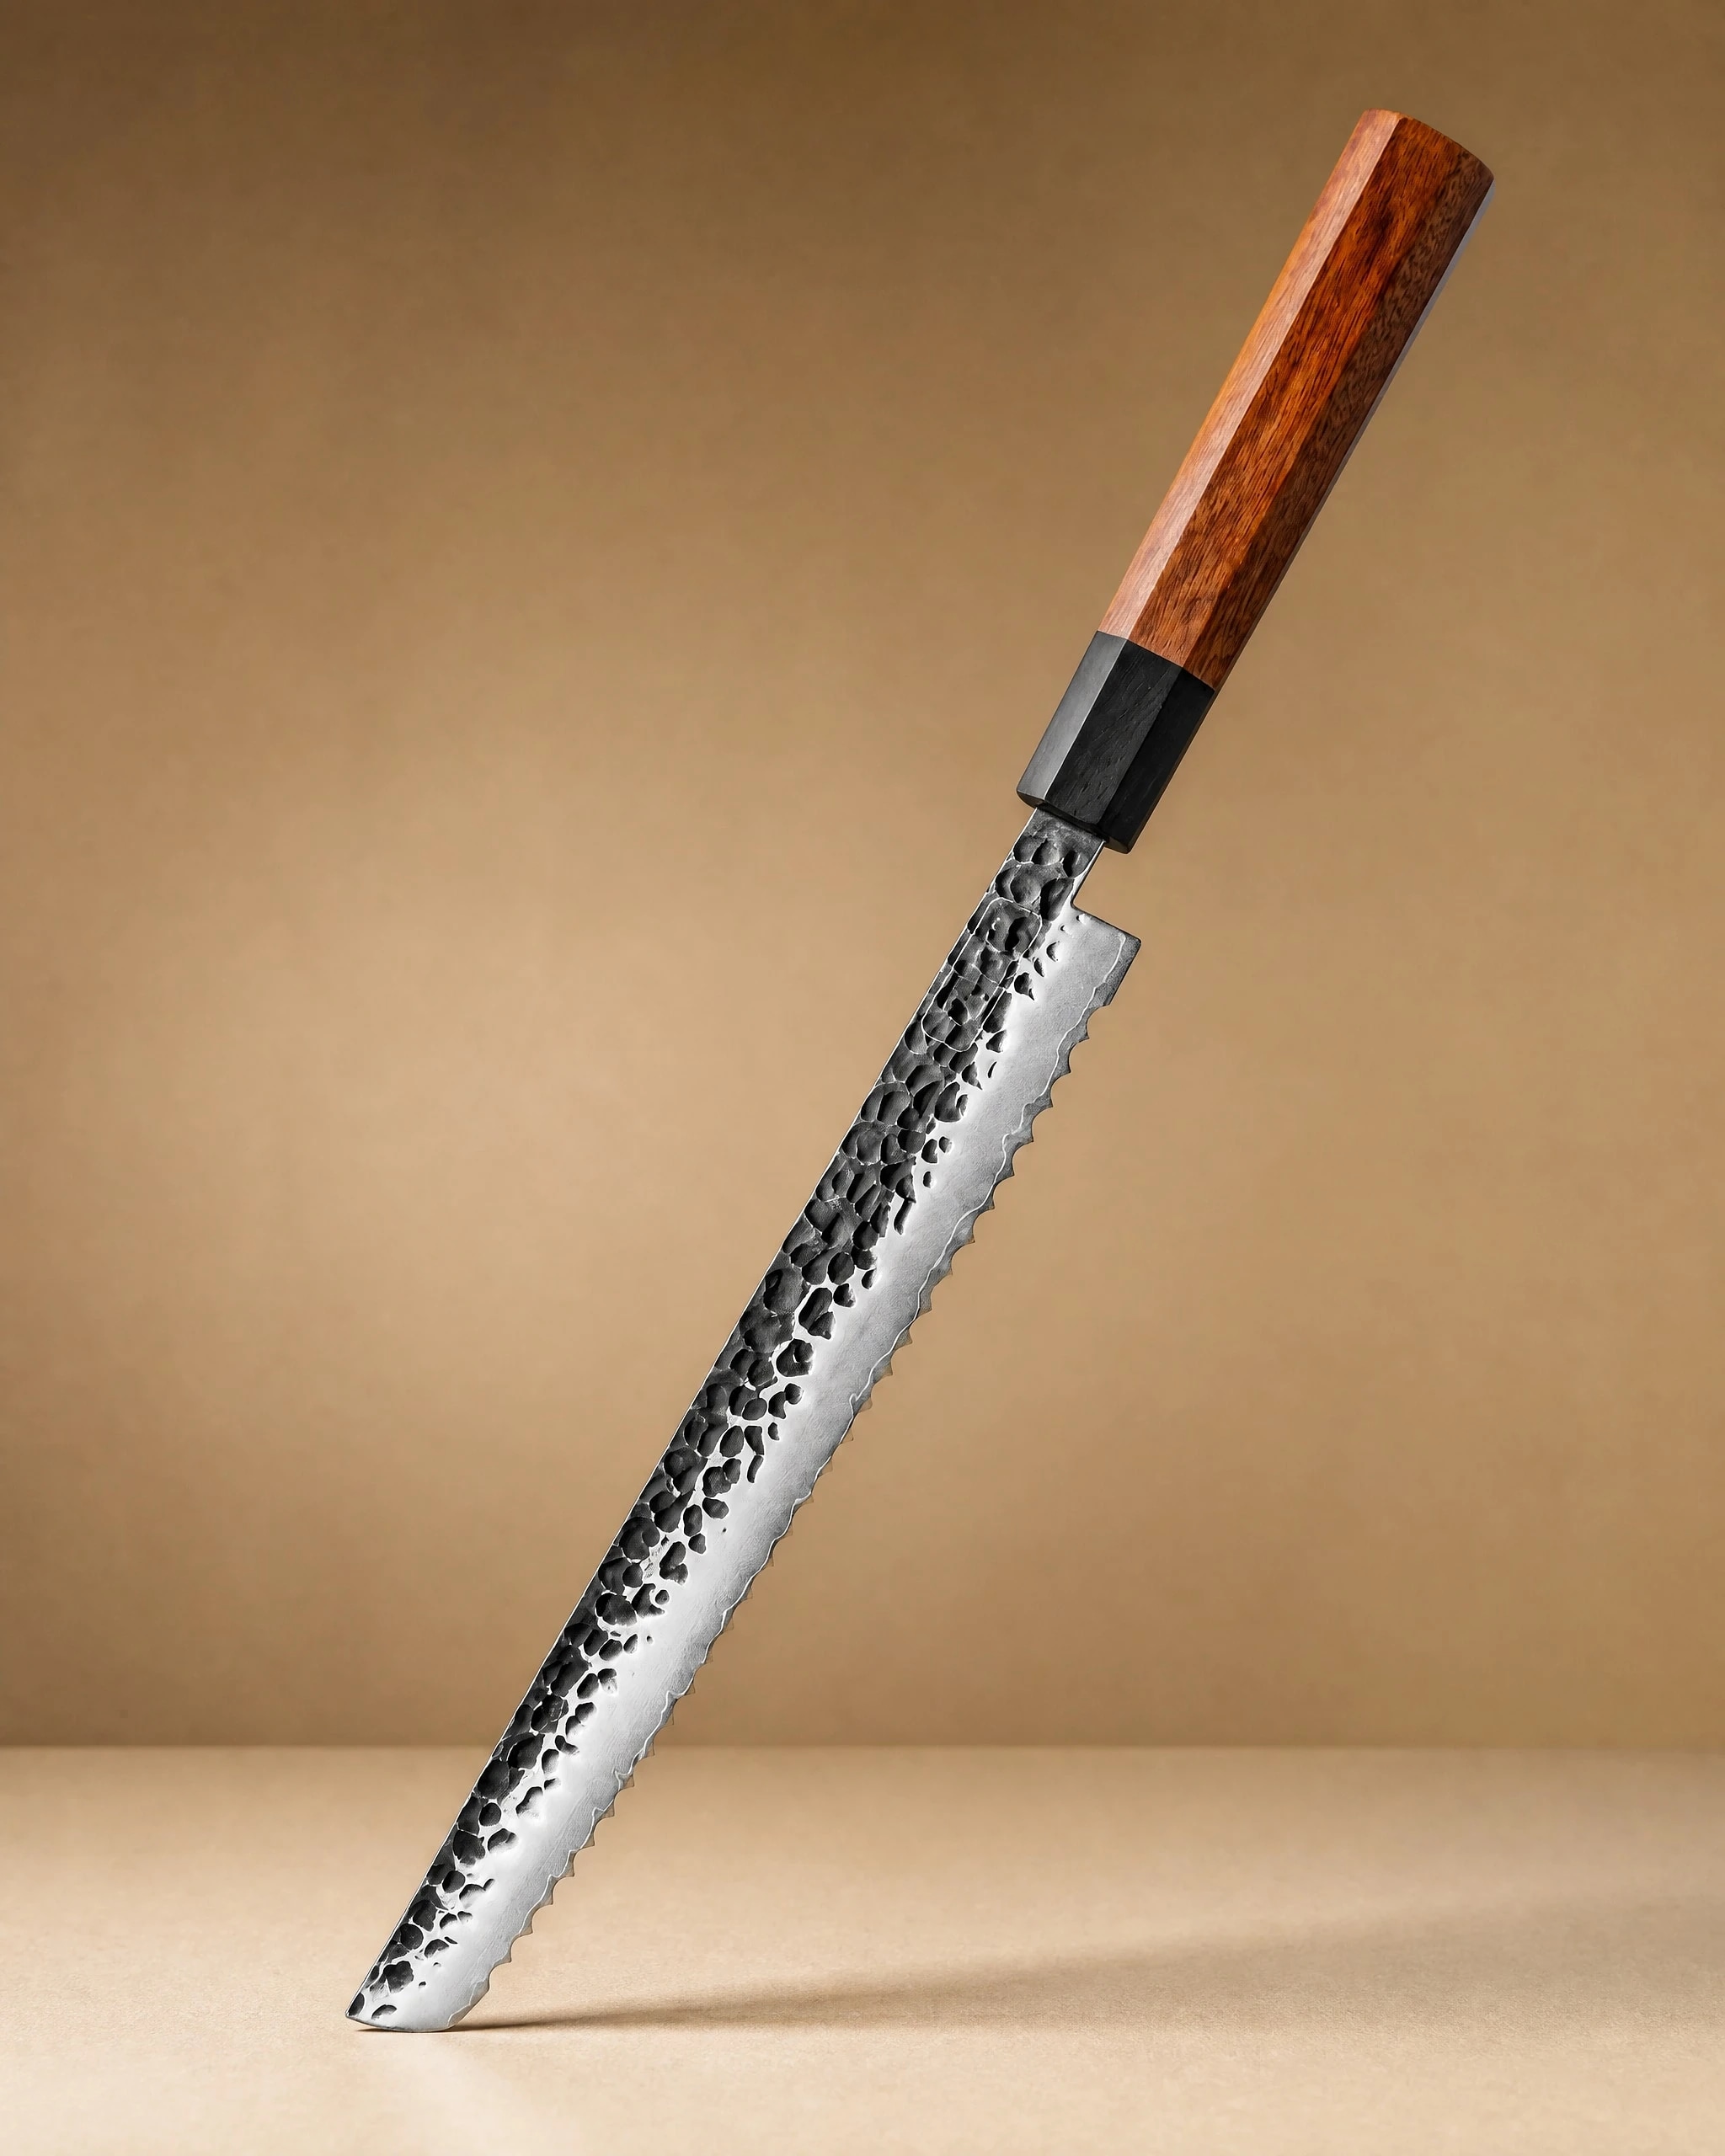 Rumoi 10" Japanese Bread Knife パン切りナイフ$59.99View product → has scallops that a flat rod cannot reach, and dragging it across a steel will flatten the points that do the cutting. Serrated knives need a tapered ceramic rod or professional service, and they need it rarely.
If you are outfitting a kitchen from scratch, decide which knives get honed at all before you buy a rod. Our knife guide walks through shapes and uses, and a set such as 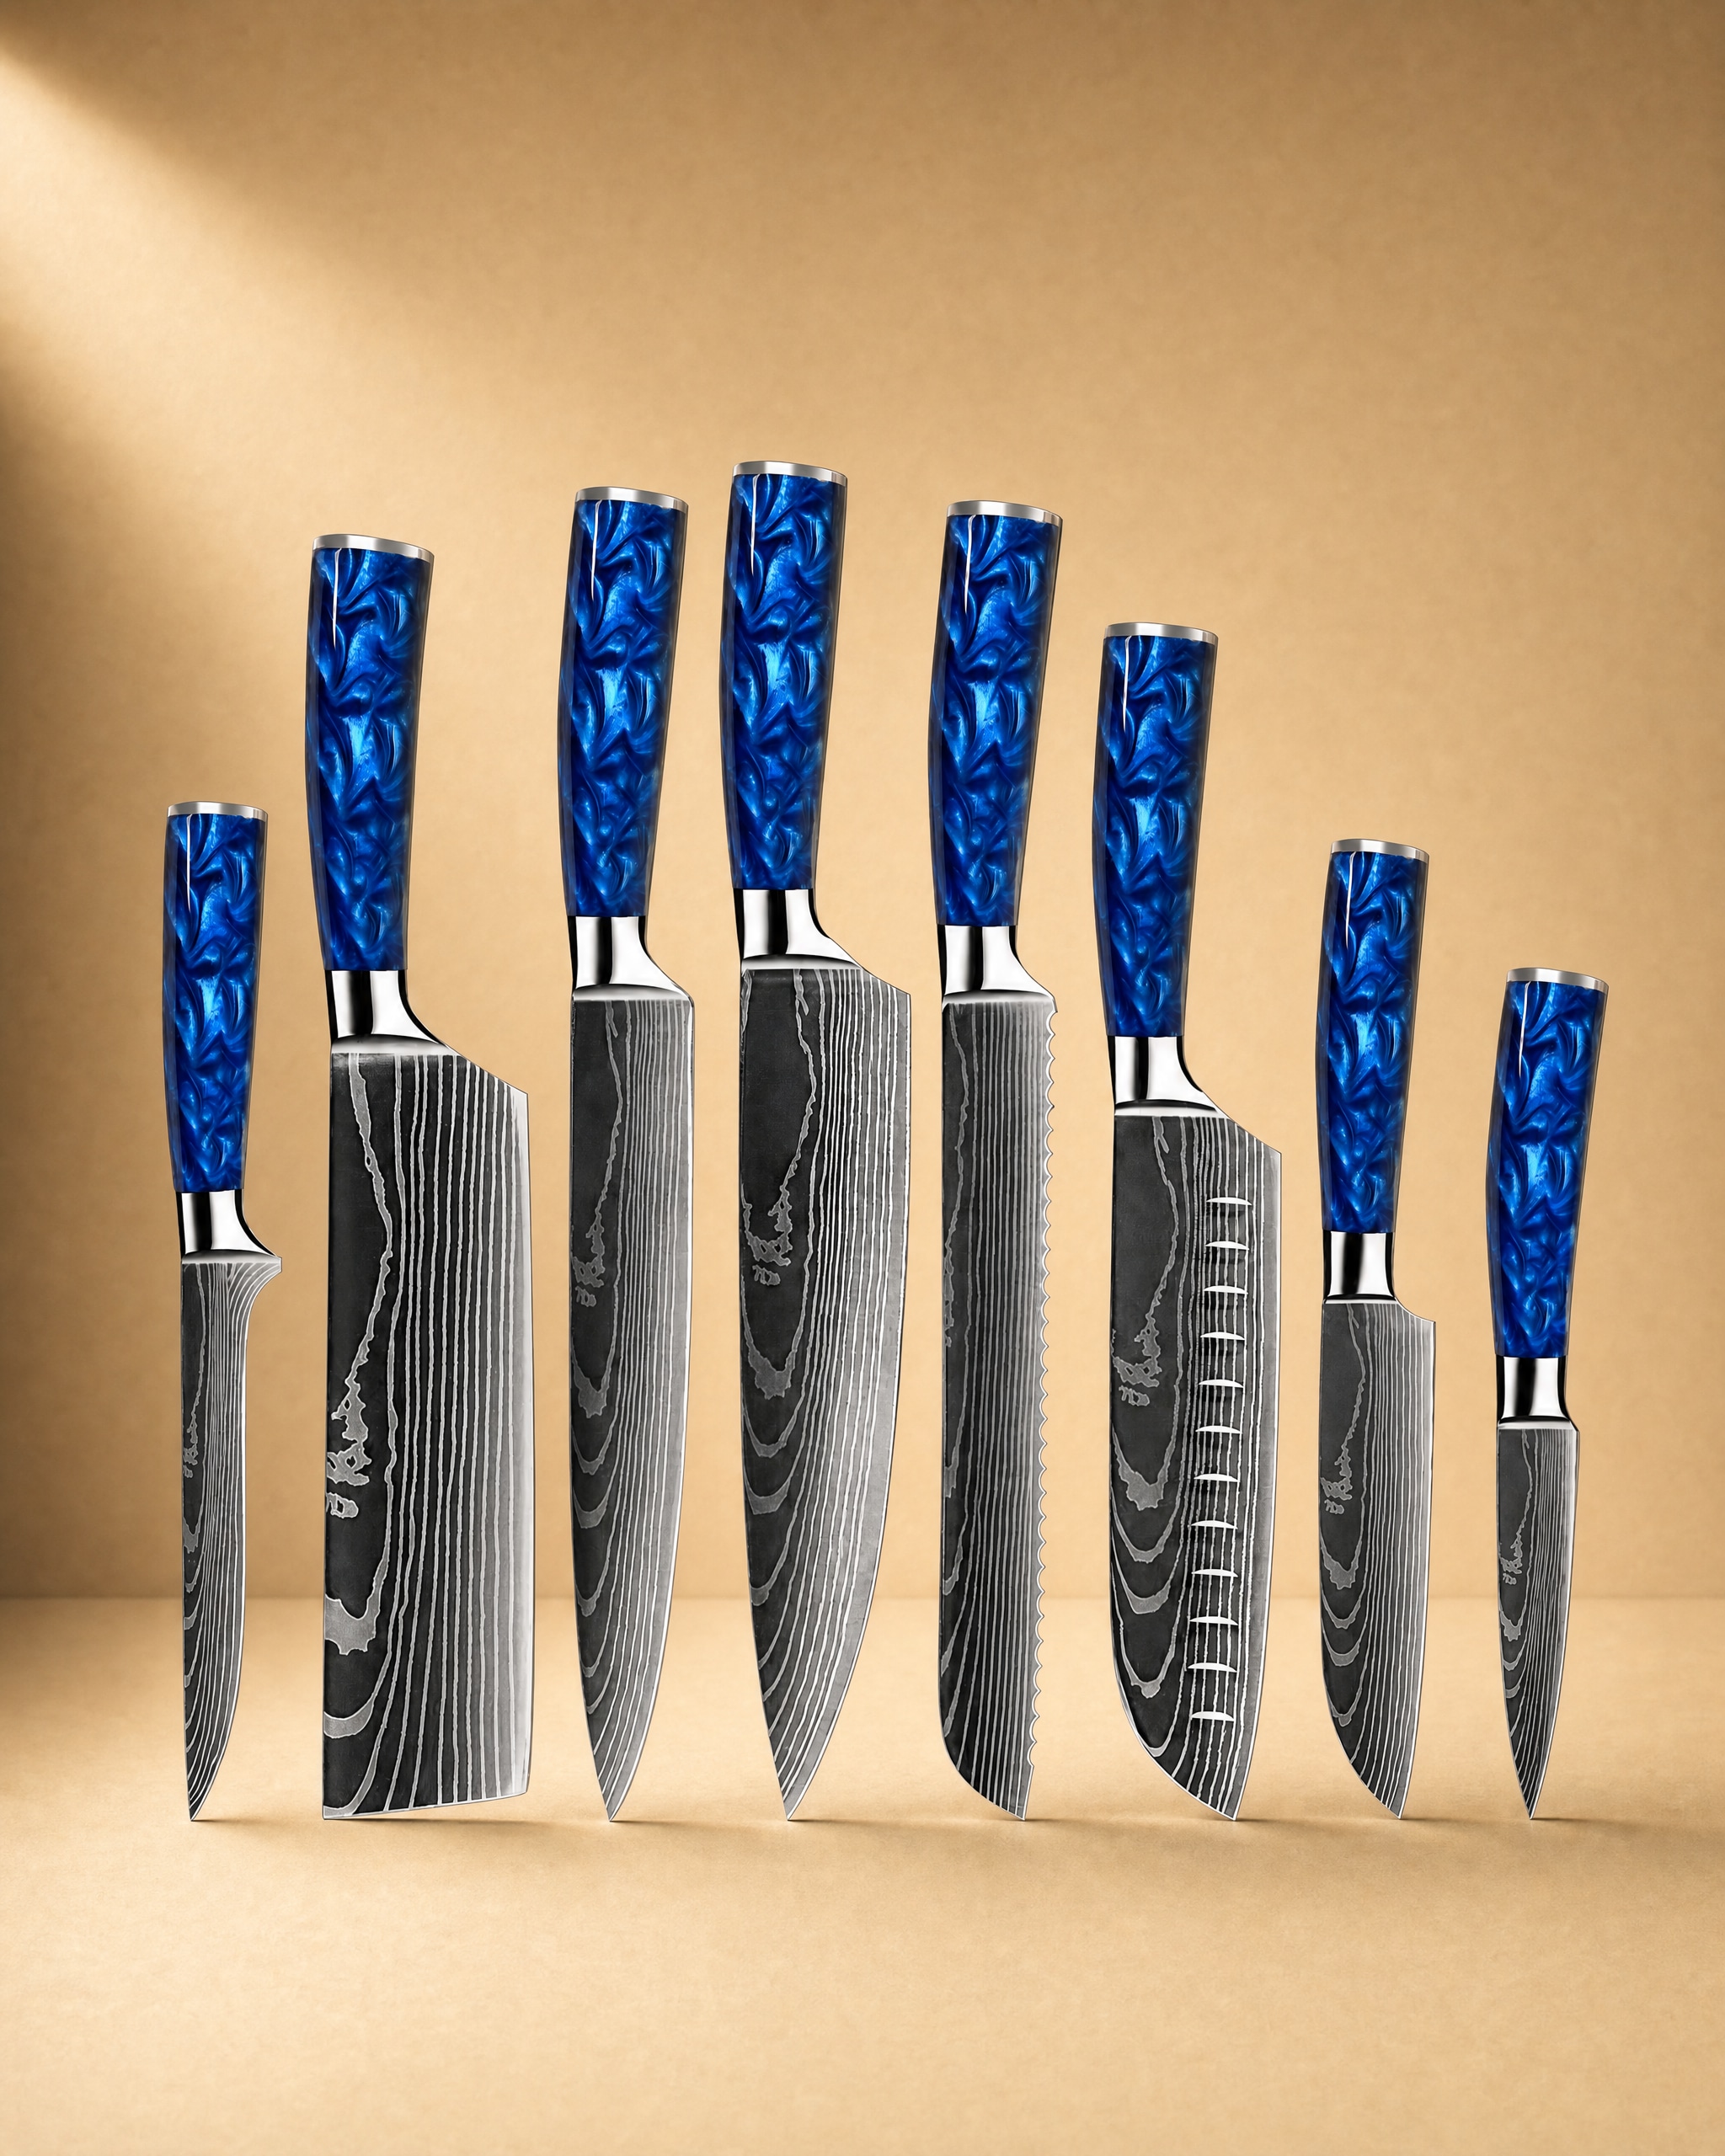 Shinano 信濃川 Damascus Pattern Stainless Steel Kitchen 8 Knife Set$149.99View product → gives you plain-edge knives for daily prep alongside specialist blades you should keep off the steel. You can browse the full range in the shop.
A realistic care rhythm
Hone light, hone often. Five or six passes per side before a big prep session beats twenty passes once a month, because you correct small folds before they become fatigue in the steel. Wipe and dry the blade after every use, and store it so the edge never touches anything harder than wood.
Sharpen on a stone when honing stops working, which for a home cook is usually every two to six months depending on use and cutting surface. Glass and stone boards dull edges quickly, while end-grain wood is kind to them. Our knife care guide covers washing, drying, storage and board choices in more detail.
The honest summary
A honing rod is a maintenance tool. It realigns a sound edge, and on abrasive rods it does a small amount of light sharpening. It cannot rescue a dull knife, and using it that way costs you steel and time.
Learn one consistent angle, use light pressure, work both sides evenly, and hone a little and often. Do that and your knives will cut well for years between stone sessions. Skip it and even a very good blade will feel tired long before it should.
Photography: Richard Iwaki via Unsplash.


