
How to Sharpen Kitchen Knives at Home

A sharp knife is not a luxury. It is a safety tool and a basic cooking skill. A dull edge makes you push, slip, and crush food. A sharp edge lets the blade do the work, so cuts stay clean and safe. Learning how to sharpen kitchen knives at home is simpler than most people expect. You do not need a commercial grinder or a once-a-year trip to a specialist. You need a clear method, a little patience, and the discipline to stop before you remove more steel than necessary.
Start With a Clean, Honest Assessment
Before you touch a stone, look at the edge in good light. A kitchen knife that simply feels tired may only need a few passes on a honing rod or a strop. A knife that slides off a tomato, or reflects light along the whole edge, needs real sharpening. Run a thumb gently across the edge, not along it. A sharp edge feels slightly sticky or grabs the skin. A dull edge feels smooth. You can also slice paper. If the blade tears rather than cuts, the edge is ready for work.
Check for chips, bends, and deep scratches. Small chips near the heel can be worked out on a coarse stone. A bent tip or a large chip is a different job. Be honest about your comfort level. It is better to ask a professional than to turn a small repair into a shorter knife. Our knife care guide covers daily habits that keep an edge out of trouble in the first place.
Know What Your Knife Needs
Not every knife should be sharpened the same way. A Japanese gyuto, such as the 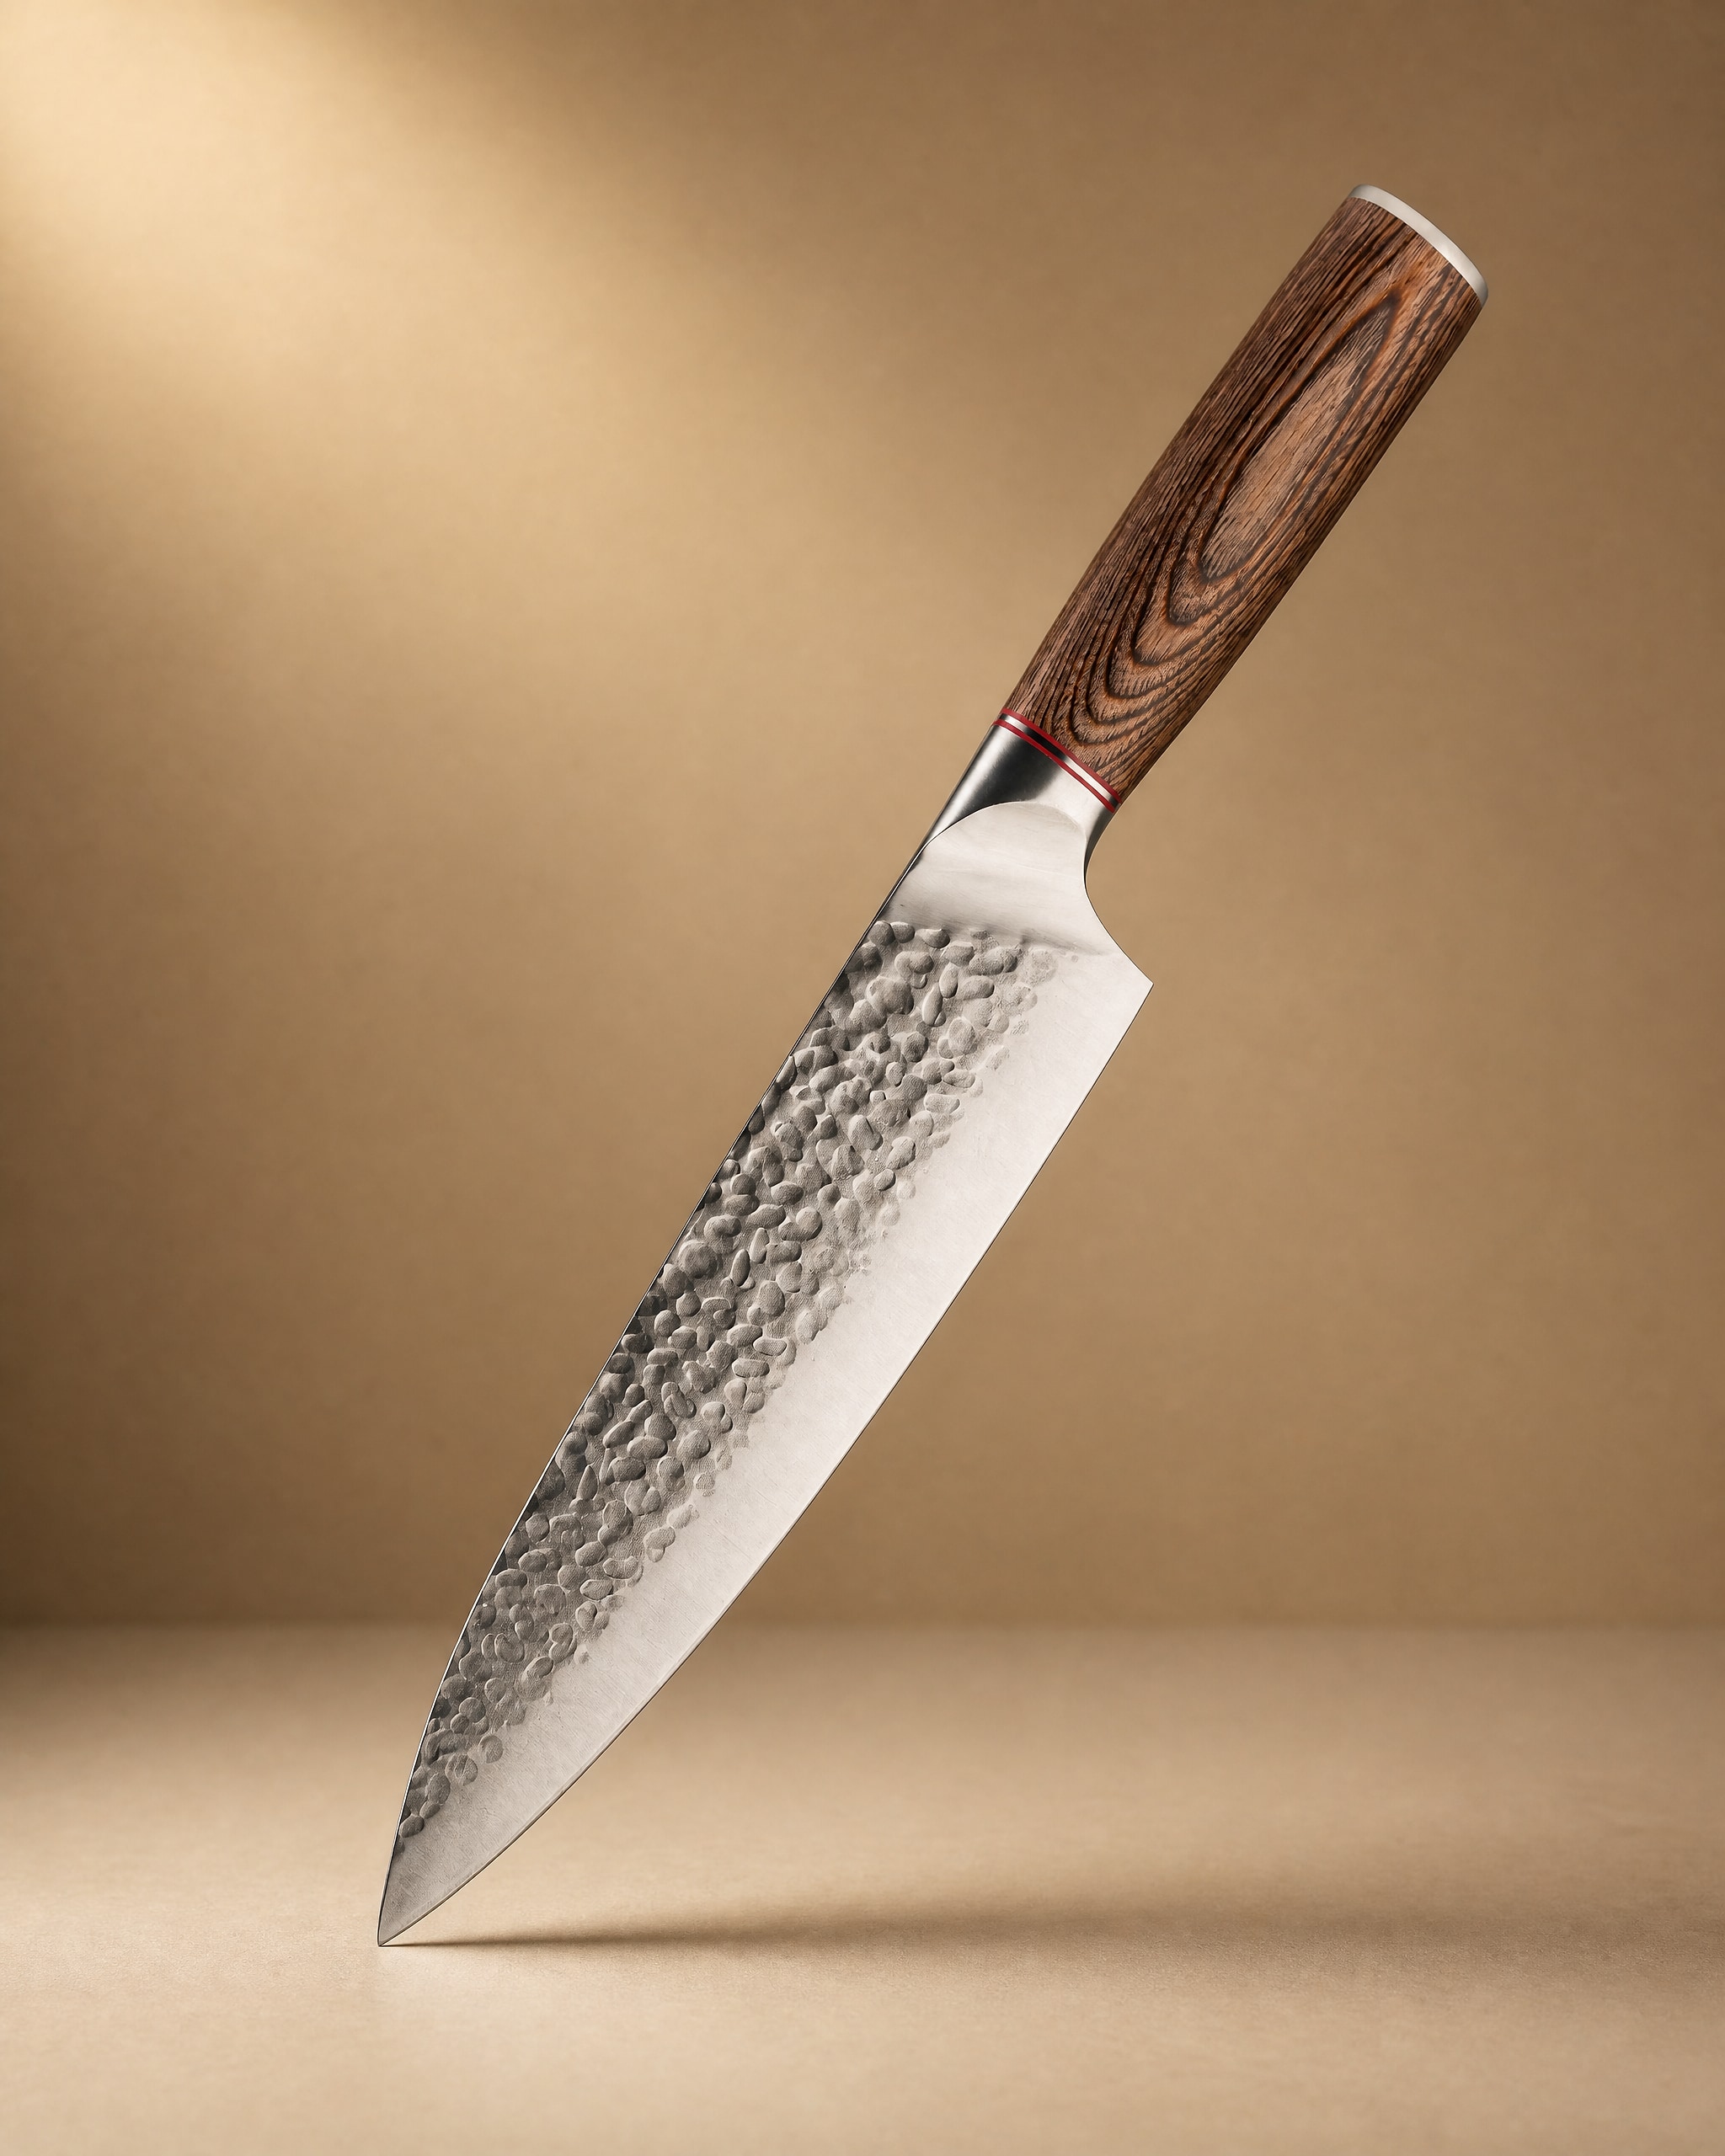 Akan 8'' Gyuto Knife 牛刀$49.99View product →, is built for clean slicing and precise prep. It rewards a light hand and a consistent angle. Another 8-inch gyuto, such as the
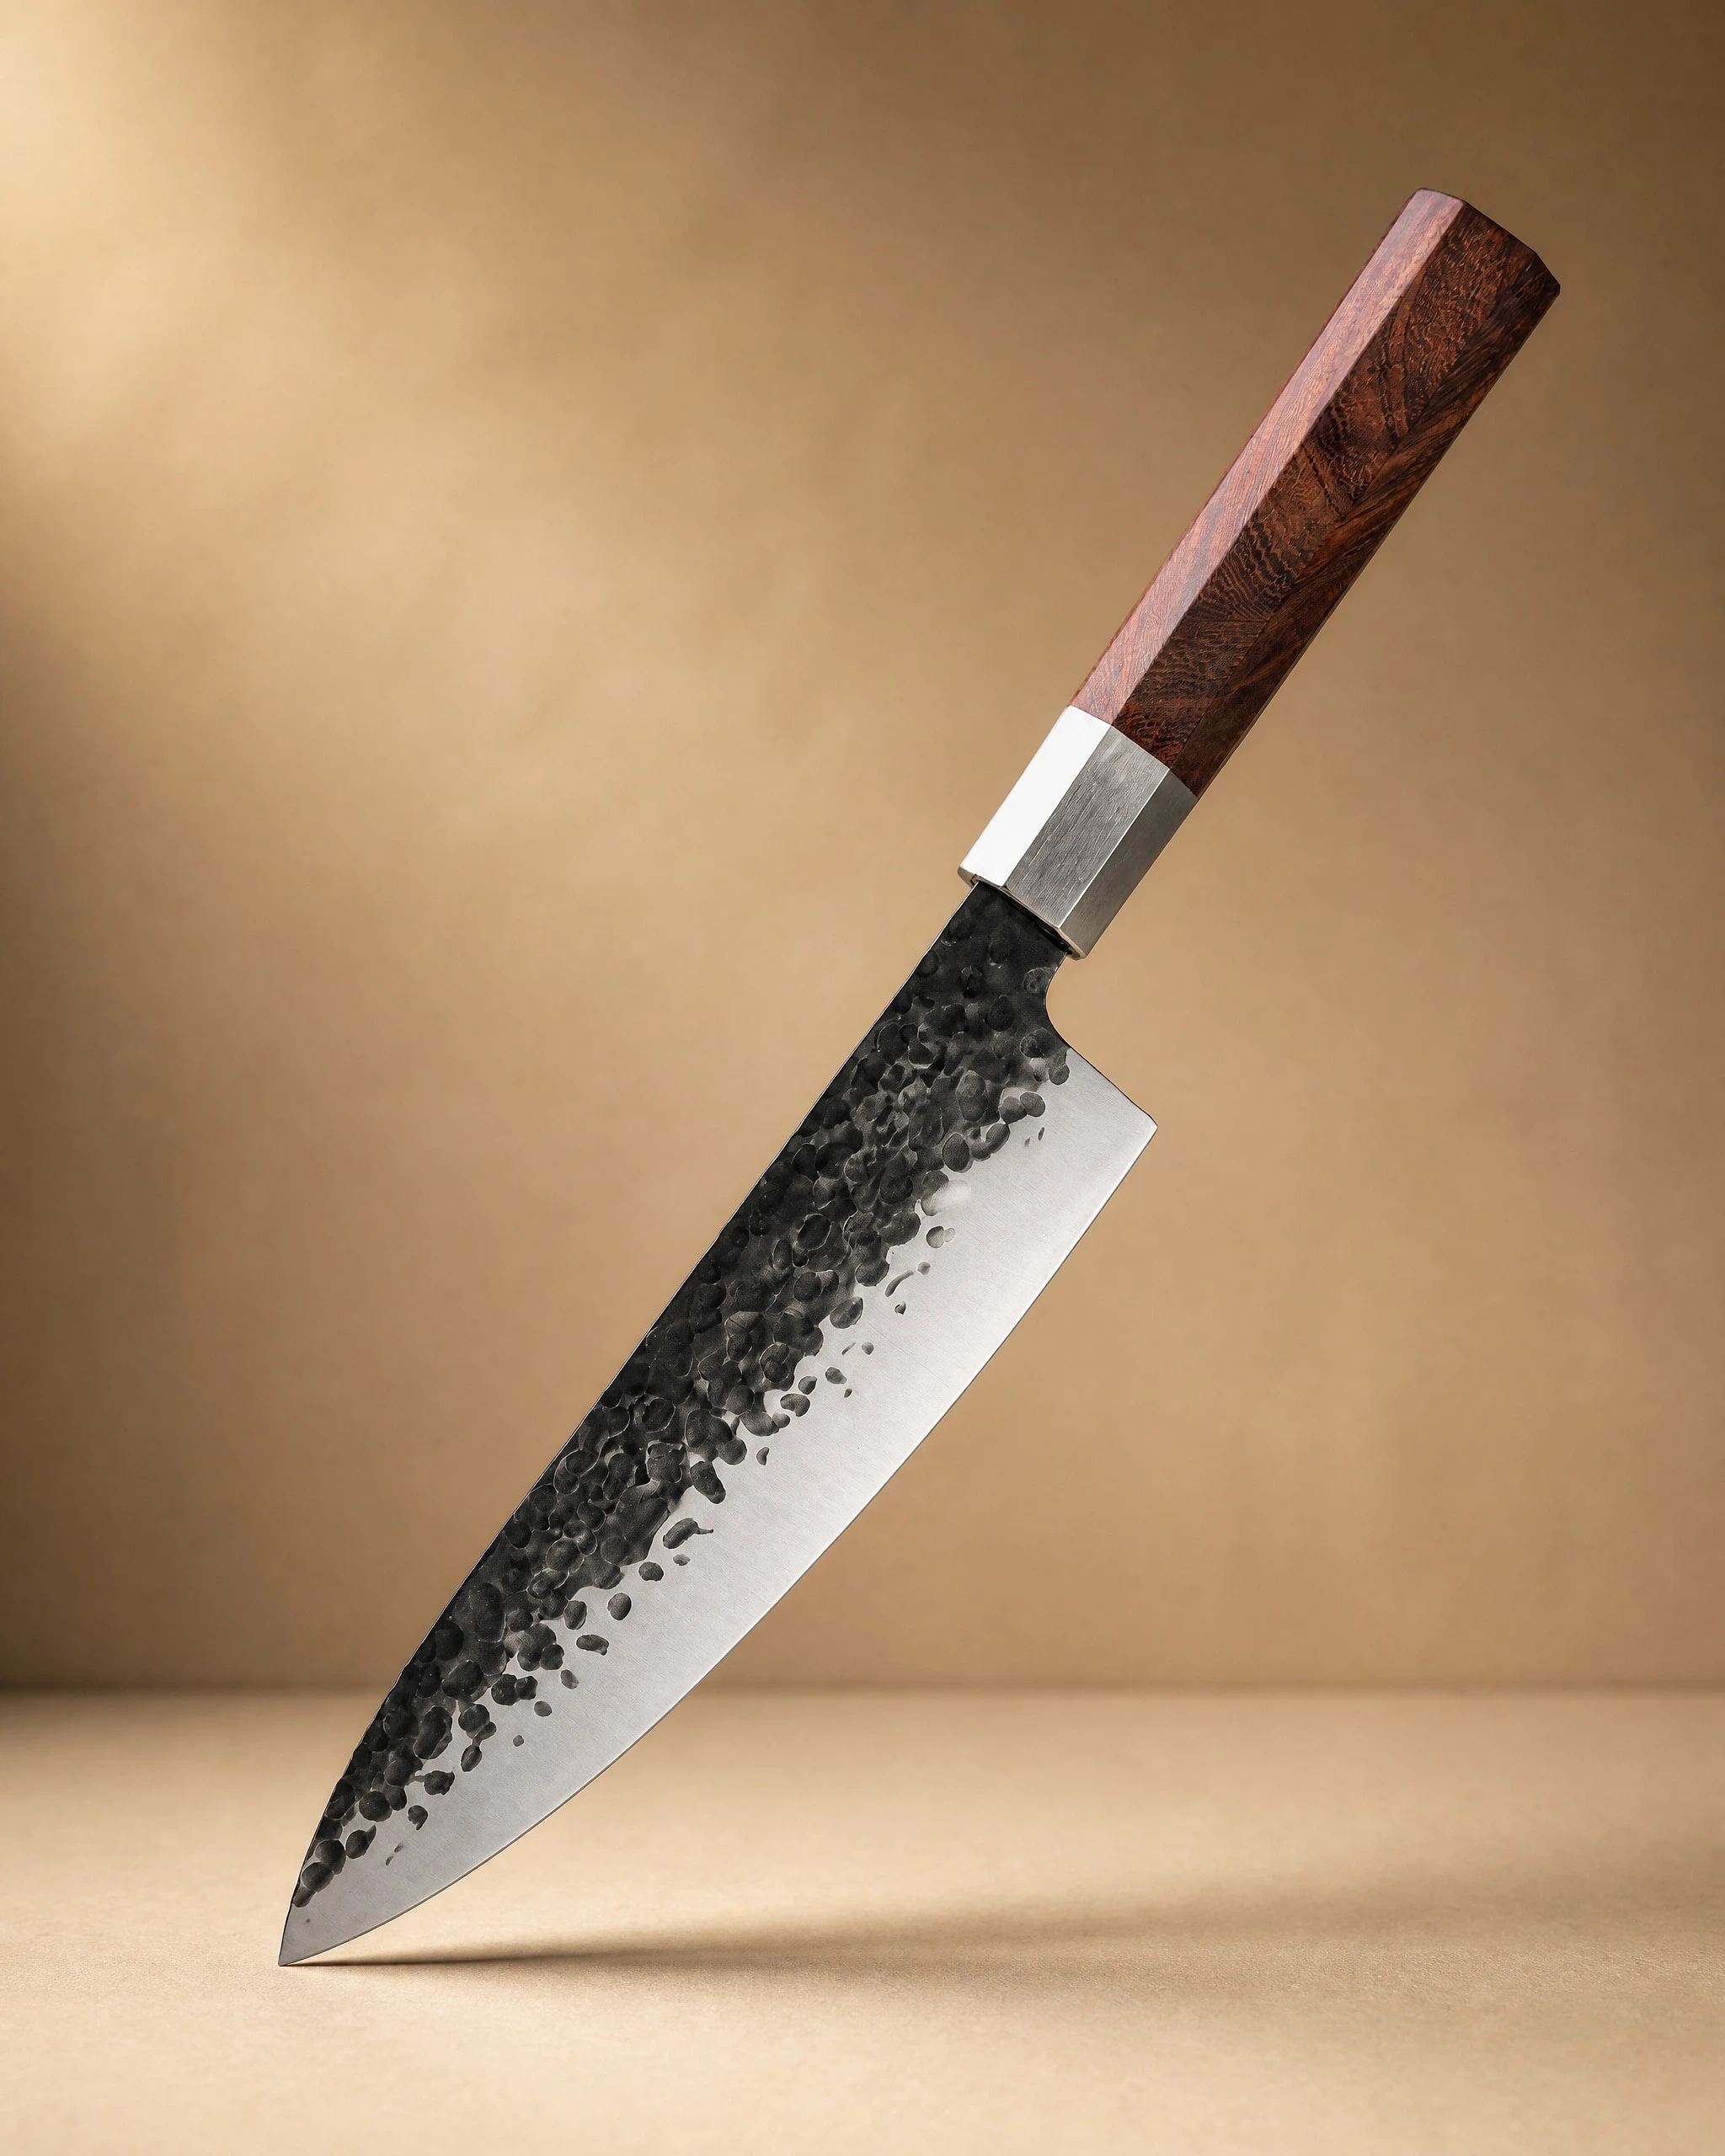 Sendai 8" Steel Gyuto Knife 牛刀$49.99View product →, can handle daily prep, but it still does not need a heavy grind every month. The steel, the heat treatment, and the edge geometry all matter. You do not need to memorize the metallurgy. You do need to respect the blade in front of you.
Ask yourself three questions. Is the knife thin behind the edge? Does it feel hard and brittle, or soft and forgiving? Has it been sharpened before by someone who may have changed the angle? If you are unsure, start on a fine stone and use light pressure. You can always remove a little more steel. You cannot put it back.
Choose a Method That Fits Your Kitchen
There are four common home options: a whetstone, a guided sharpening system, a pull-through sharpener, and an electric sharpener. A whetstone gives you the most control and the cleanest edge. A guided system holds the angle for you and can be a good choice if you struggle to keep a steady hand. A pull-through sharpener is fast, but many models remove a lot of steel and can leave a rough edge. An electric sharpener is useful for inexpensive knives, yet it can be too aggressive for a thin Japanese blade.
If you own a bread knife, do not sharpen it like a chef's knife. The serrations need a narrow rod or a specialist tool. A knife like the 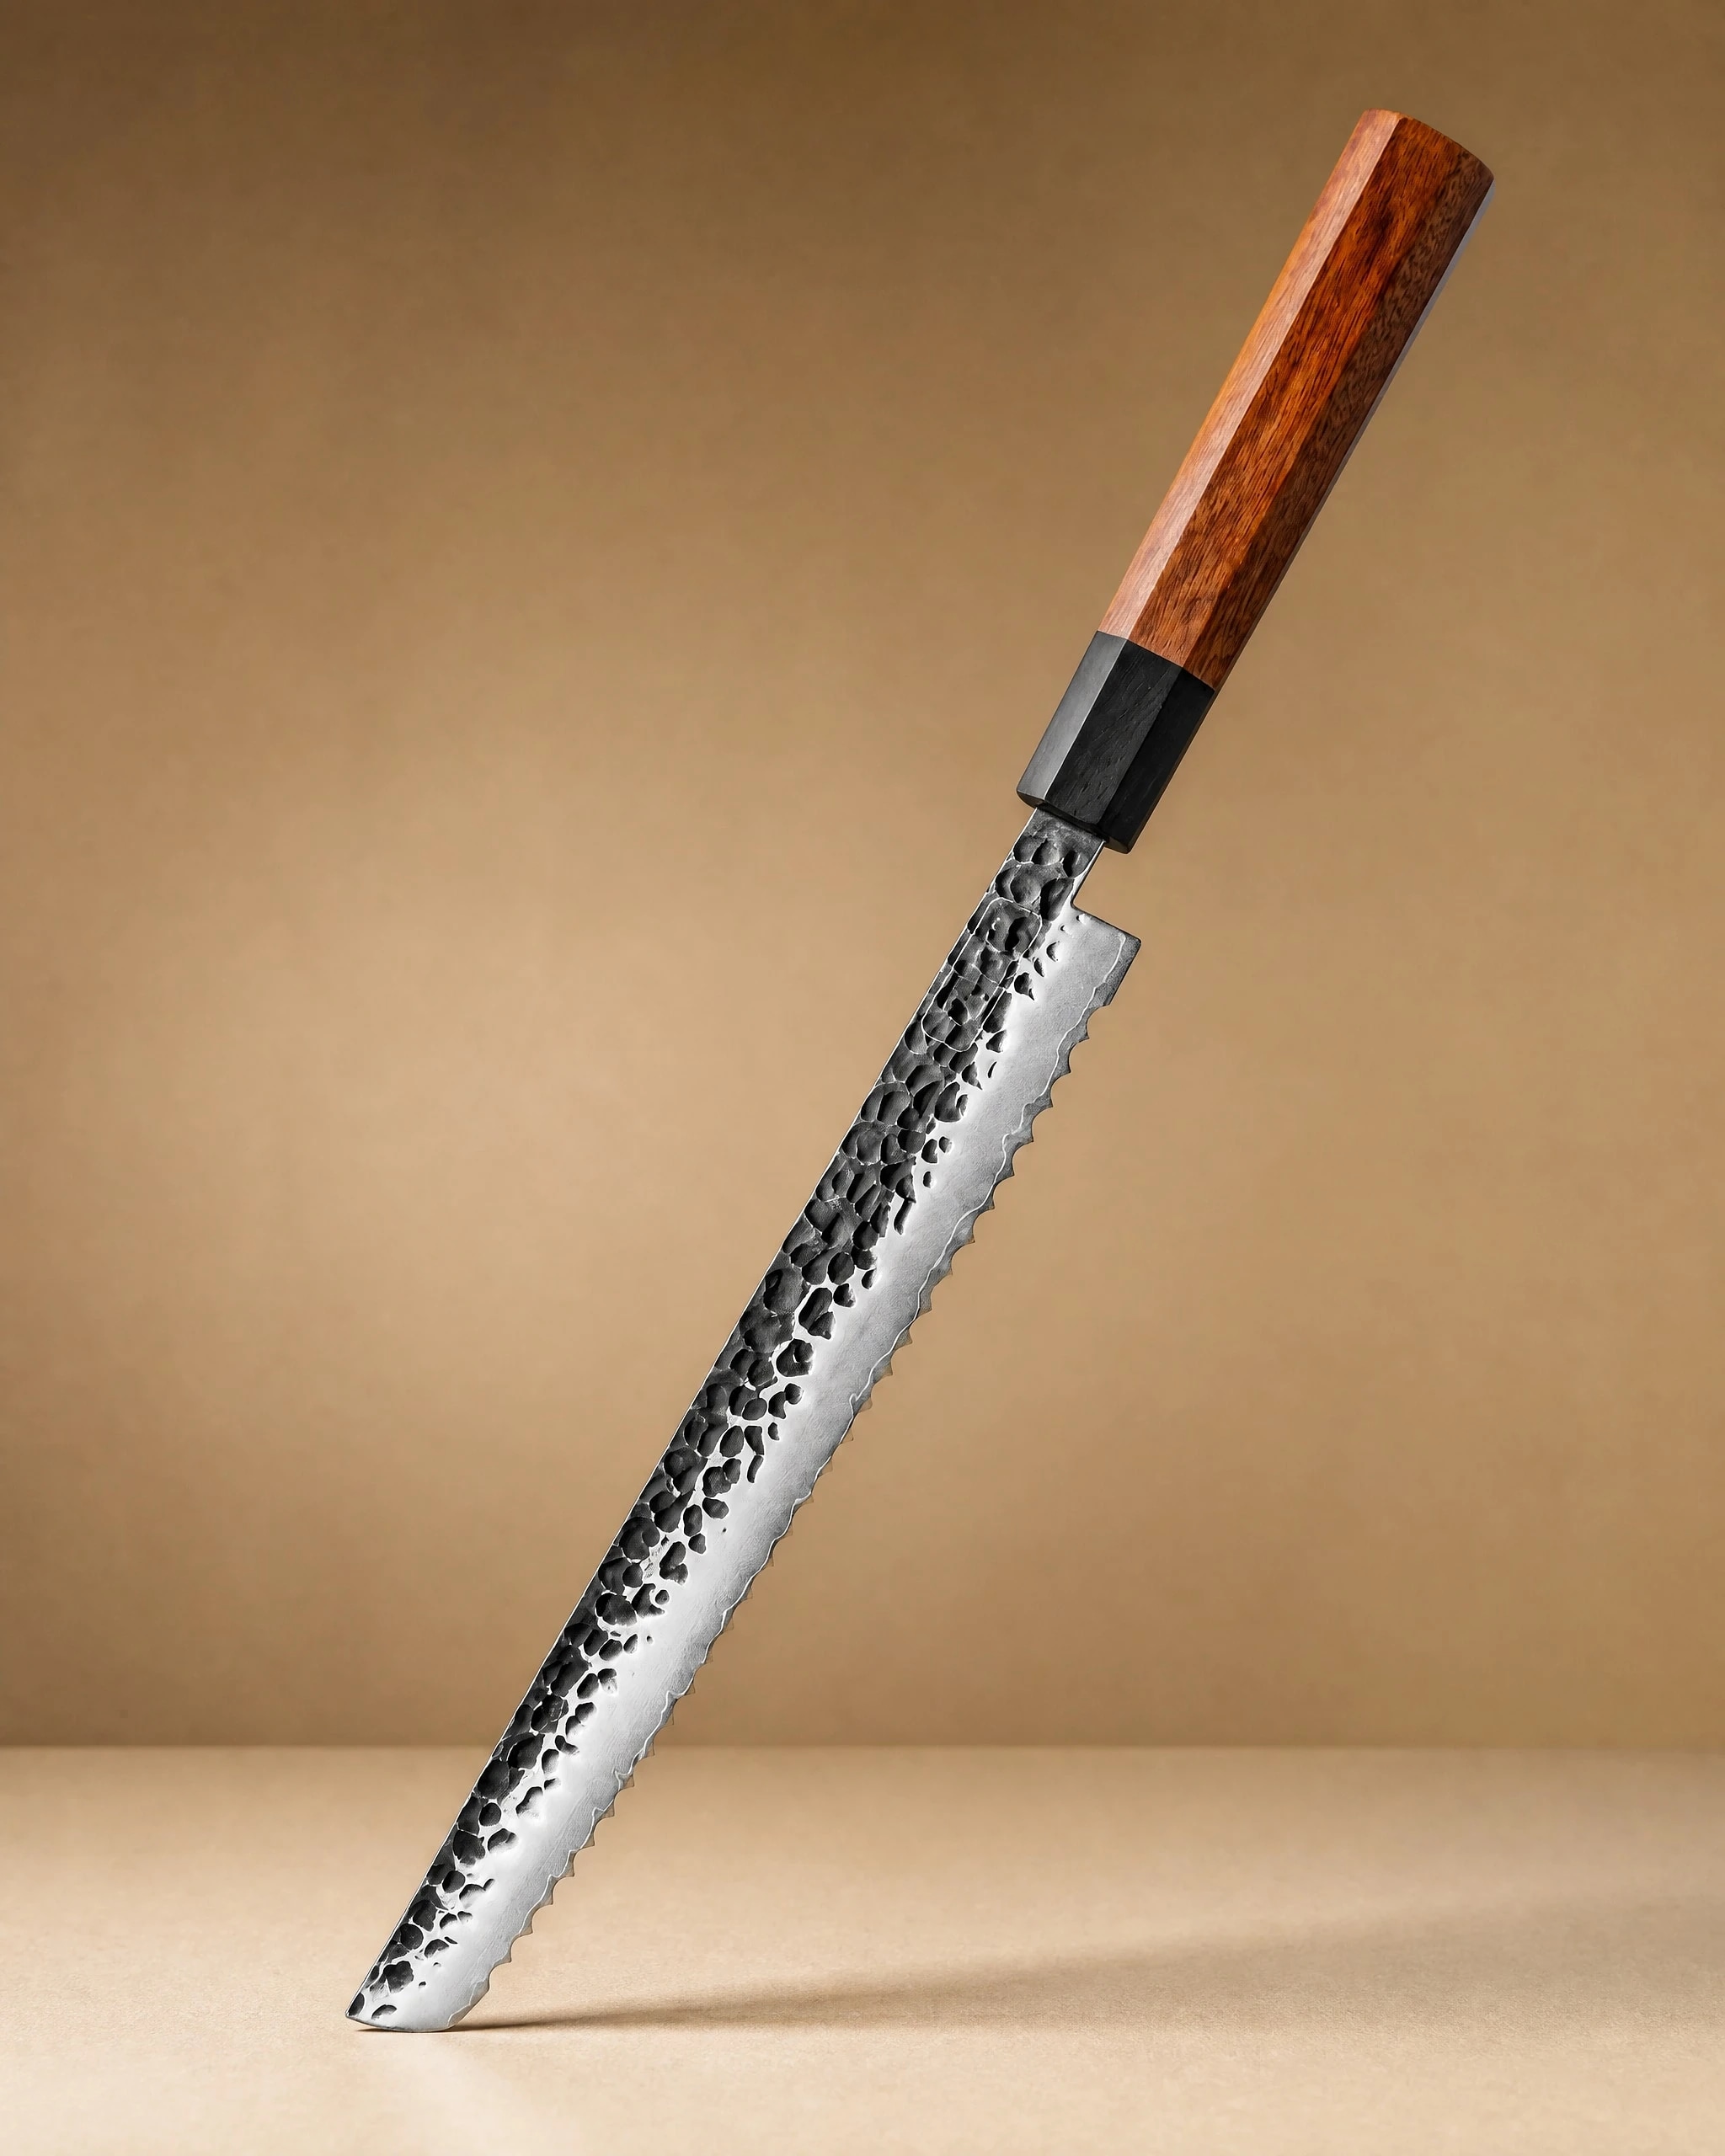 Rumoi 10" Japanese Bread Knife パン切りナイフ$59.99View product → is made for crusty bread and delicate slicing. Maintain its edge with care rather than forcing it flat onto a stone. For everyday cooking knives, a 1000 grit whetstone is a sensible starting point. Add a coarser stone for repairs and a finer stone for polishing once you are comfortable. If you are still building your kit, our knife guide can help you match the tool to the way you cook.
What You Need Before You Start
Set up a stable workspace. A wet stone on a folded towel is safer than a stone on a bare counter. Keep water within reach. Have a clean cloth and a way to dry the blade. You do not need a drawer full of gear.
- A whetstone, usually 1000 grit for maintenance and a coarser stone for repairs.
- A stone holder or a damp towel to stop the stone from sliding.
- Water for soaking and rinsing, plus a dry cloth.
- A marker pen for checking your angle.
- A stable cutting board or countertop setup.
If you are sharpening a full block of knives, work in batches. Start with the knife you use most, usually an 8-inch chef's knife, and finish it before moving on. The 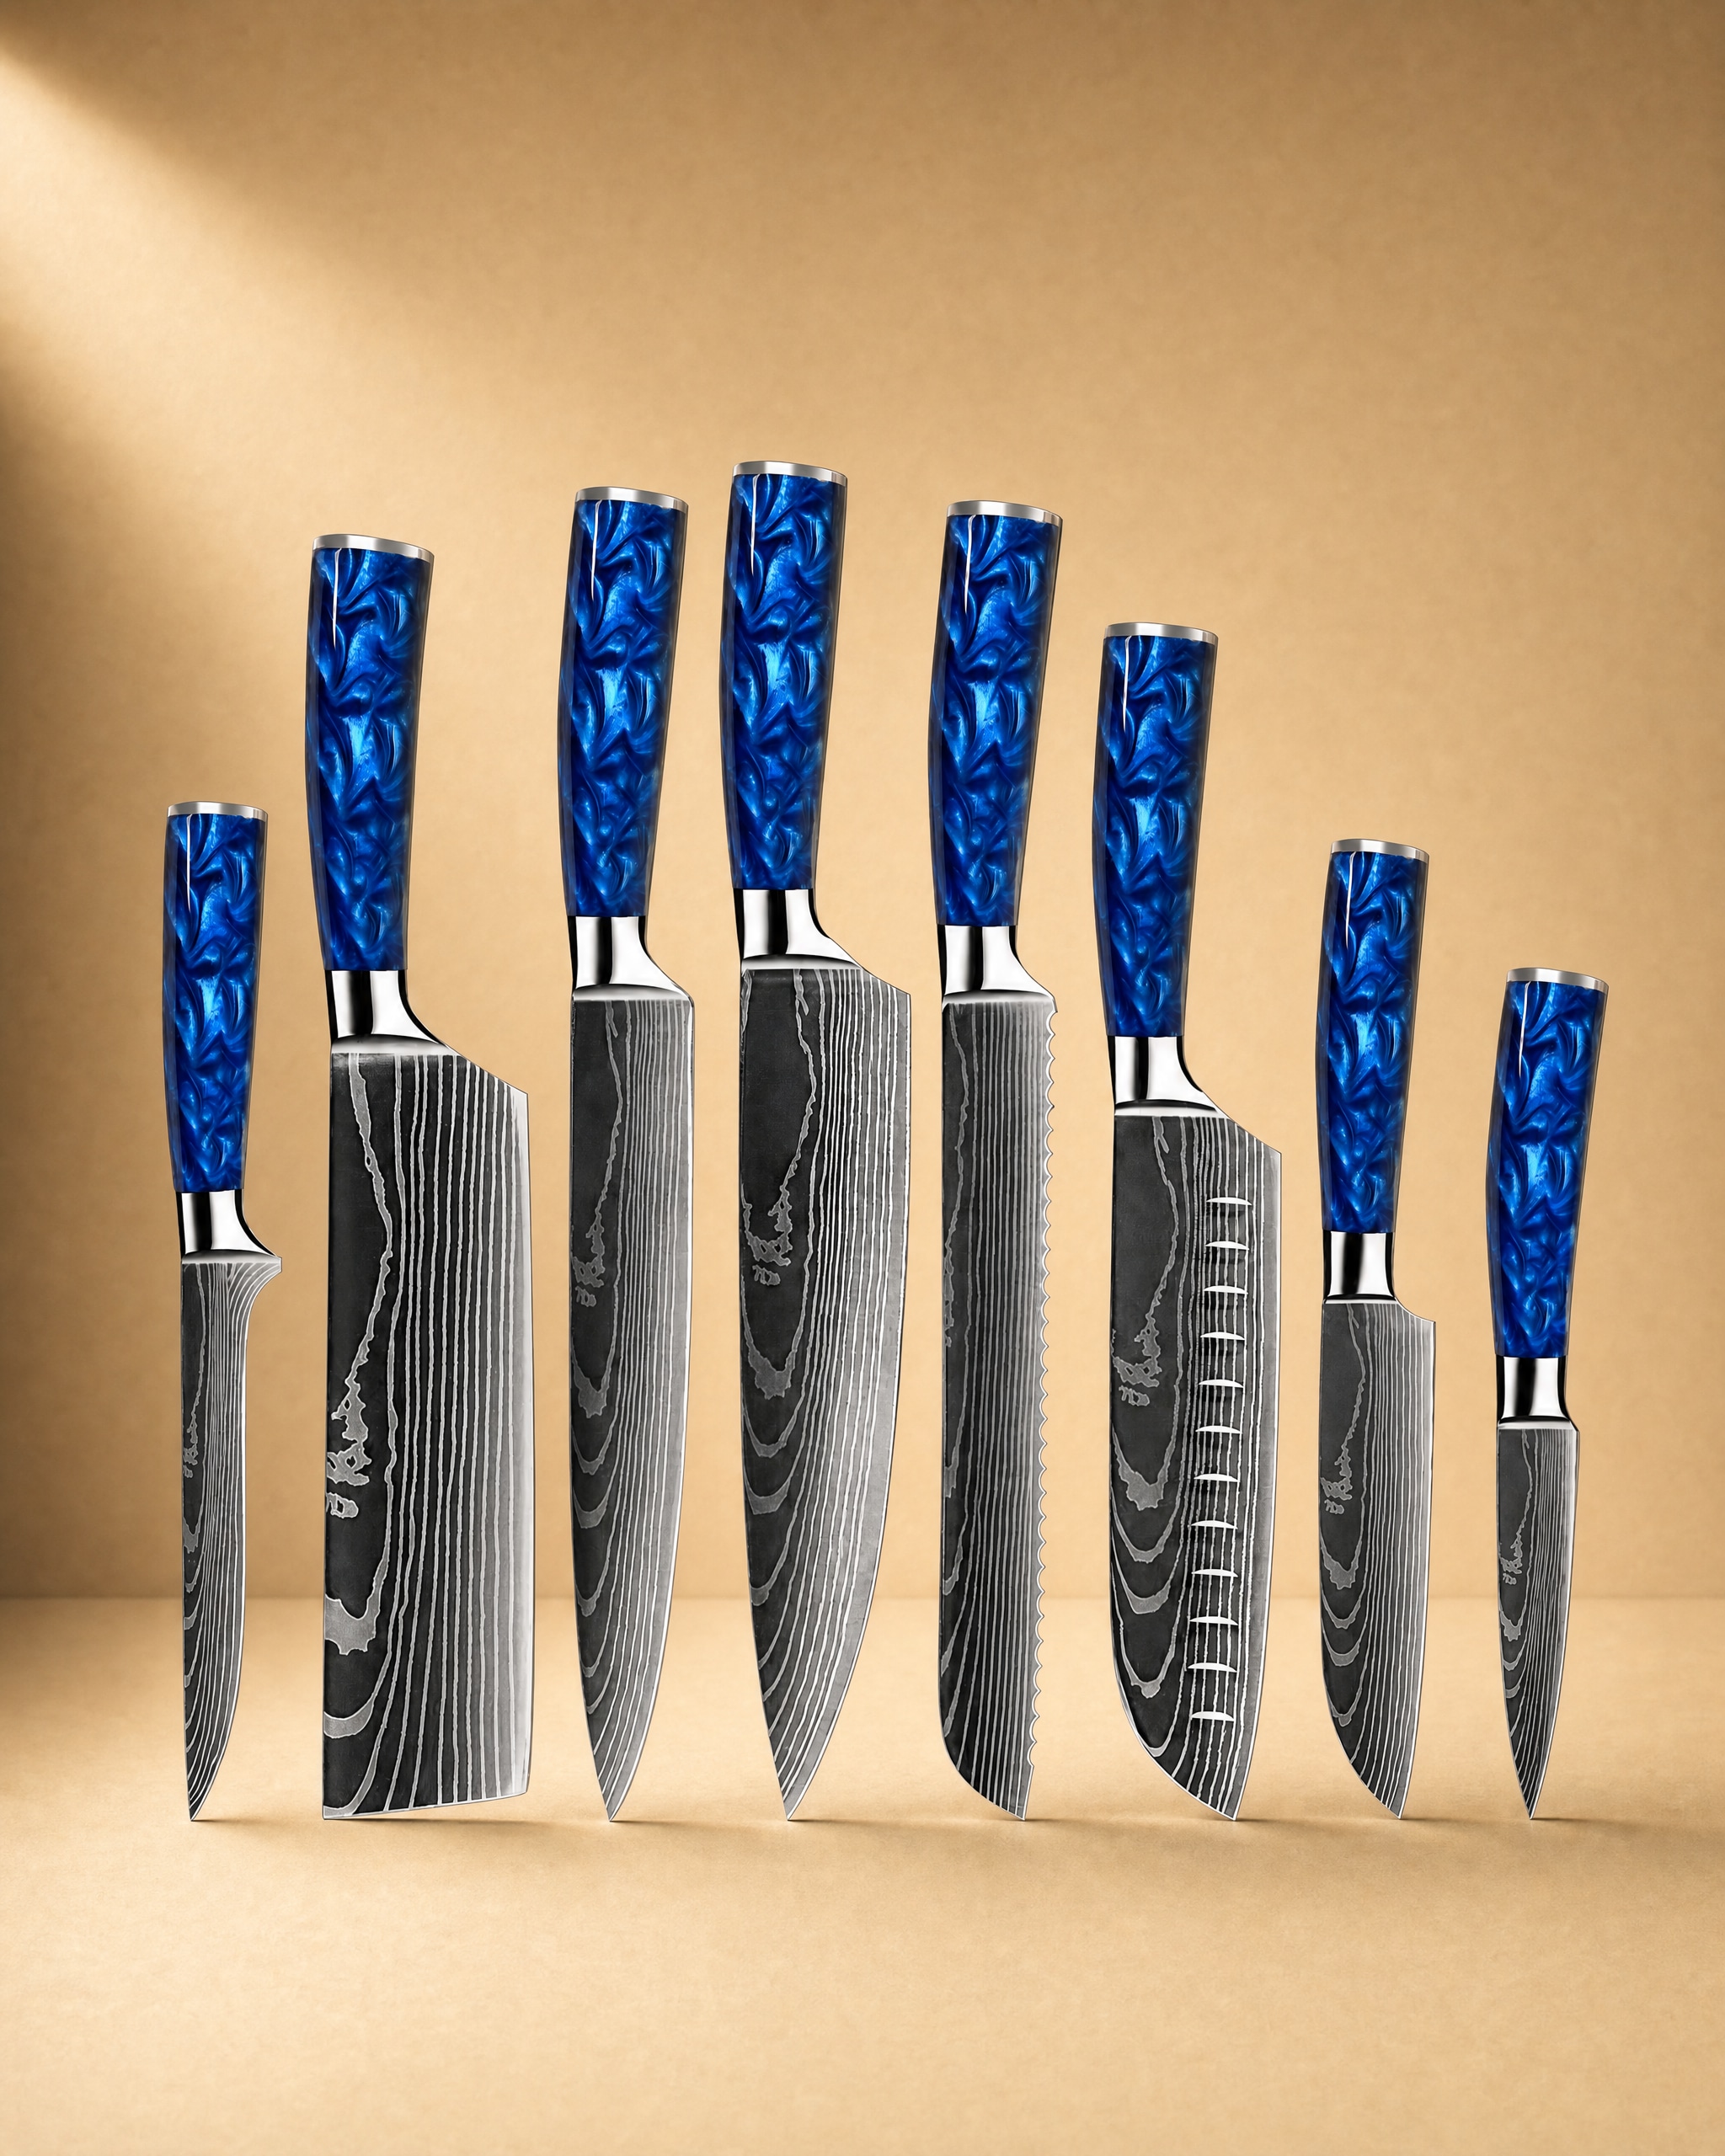 Shinano 信濃川 Damascus Pattern Stainless Steel Kitchen 8 Knife Set$149.99View product → is a useful reference point for a household set, but each blade in a set still deserves individual attention.
Find the Angle and Hold It
Angle is the part that trips up most beginners. A Japanese knife is often sharpened around 15 degrees per side. A Western knife is often sharpened around 20 degrees per side. These are general guides, not laws. The existing edge tells you what the knife wants. Lay the blade flat on the stone, then lift the spine until you reach the estimated angle. Use a marker on the bevel and take a few light passes. If the marker is removed evenly along the edge, your angle is close. If it is removed only at the top or bottom, adjust.
Hold the knife with your dominant hand on the handle and your other hand lightly on the blade. Your fingertips can rest near the spine, away from the edge. Lock your wrists and move from your shoulders. A consistent angle matters more than a perfect angle. Keep the pressure light. Let the stone cut.
Sharpen on a Whetstone, Step by Step
Soak the stone if it is a water stone. Many stones need ten to fifteen minutes, but follow the maker's instructions. Place the stone on a stable surface. Begin on the coarse side only if the knife is dull or damaged. For routine sharpening, start on the 1000 grit stone.
Place the blade on the stone at your chosen angle. Use your other hand to guide the knife and keep the angle steady. Push the edge forward and across the stone with light pressure. Work in sections from heel to tip. Cover the whole edge. After ten to fifteen passes, check for a burr on the opposite side. The burr is a tiny ridge of steel. You can feel it with a gentle fingertip, moving across the edge, never along it.
Once you have a burr along the full length, flip the knife and repeat on the other side. Keep the number of passes similar. Do not chase a burr with heavy pressure. If the knife is very dull, use a coarser stone first, then move to the 1000 grit. Finish with light passes on a finer stone if you have one. Rinse the blade and dry it immediately. A few strokes on a leather strop or a clean piece of cardboard can remove the last weak burr.
Test the edge on paper or a tomato. If it cuts cleanly along the whole length, you are done. If one section still drags, return to the stone with light pressure. Stop before the edge looks polished but feels weak. A good working edge has bite.
Maintain the Edge Between Sharpening Sessions
Most knives do not need a full sharpening every week. They need good habits. Use a wooden or soft plastic board. Avoid glass, stone, and ceramic boards. Do not scrape food off the counter with the edge. Wash and dry the knife by hand. Store it on a magnetic strip, in a guard, or in a block where the edge will not knock against other steel.
A honing rod can realign a slightly rolled edge, but it does not remove enough steel to sharpen a dull knife. Use light strokes at the same angle as the edge. If the rod does not bring the edge back in a few passes, move to the stone. For a quick refresh, a strop with a little compound can help. Keep the routine simple. A sharp knife that is cared for will hold its edge longer than a neglected knife that is sharpened aggressively.
When to Stop and When to Ask for Help
Some jobs are not home jobs. Deep chips, a broken tip, a badly bent blade, or a knife with a failed heat treatment need a professional. So does a knife with sentimental value or a very thin grind that you are not confident handling. It is not a failure to ask for help. It is good judgment. A professional can repair the geometry and return an edge that is better than a rushed home job.
Practice on an inexpensive knife first. Learn the feel of the stone, the sound of the edge, and the point where a burr forms. Once you can raise a burr on both sides and remove it cleanly, you can sharpen most kitchen knives at home with confidence.
Common Sharpening Mistakes to Avoid
Do not use too much pressure. Do not let the angle wander. Do not skip the burr check. Do not sharpen only the middle of the blade. Do not leave a knife wet. Do not use a pull-through sharpener on a thin Japanese knife just because it is fast. And do not expect a razor edge to last forever. A kitchen knife is a working tool. A clean, consistent edge that cuts well is the goal.
If you need a dedicated knife for daily prep, browse the full knife shop and choose a blade that matches your board, your grip, and the food you cook most. Sharpen it well, maintain it simply, and it will serve you for years.
Photography: Danilo Rios via Unsplash.


