
How to Sharpen a Knife on a Whetstone

A dull knife is more dangerous than a sharp one. It slides off onion skin, crushes instead of cuts, and pushes your hand into positions that end badly. If your knife has started to skate across a tomato, honing will not bring it back. It needs to be sharpened on a stone.
Sharpening on a whetstone is not difficult, but it depends on a small number of details that matter. Get those right and you can restore an edge in ten minutes and keep it there for years. This guide covers the stones, the angle, the motion, and the habits that separate a knife that shaves from one that is merely less dull.
What a Whetstone Actually Does
Sharpening is controlled abrasion. A stone is made of hard abrasive grit held in a softer binder. As you drag the blade across it, the grit scratches away steel. Where those scratches meet at the apex of the edge, they form a new, thinner, keener edge. Nothing is heated, nothing is ground on a belt, and nothing is rounded off by a pull through gadget. You are removing metal in a predictable way until two planes meet at a point.
That control is why cooks and professional sharpeners still reach for a whetstone knife sharpener. You feel the steel through your fingertips, you hear the grit, and you can adjust pressure stroke by stroke. The stone tells you what is happening.
Water Stones, Oil Stones, and Diamond Plates
Most stones sold for kitchen knives are water stones. They cut quickly, they work up a muddy slurry that polishes as it goes, and they need to be soaked or splashed before use. A wet stone knife sharpener of this type is soft enough to dish over time, which is the trade off for its speed. A splash and go stone needs only a quick rinse, though most soaking stones will not cut properly until they are fully saturated.
Oil stones cut more slowly and stay flatter longer, but they are messy and awkward with very hard, thin Japanese blades. Diamond knife sharpening stone plates behave differently again. Diamond cuts anything, including the hardest powdered steels, stays flat, and needs no soaking. It is excellent for repairing chips or resetting a bevel, though finer water stones still leave a cleaner edge. Natural whetstone sharpening has a devoted following and leaves a distinctive edge, but natural stones are inconsistent and expensive, and they are not where anyone should start.
What You Need Before You Start
Gather everything first. Once your hands are wet, you do not want to be hunting for anything.
- A combination stone. Something around 1000 grit for the main work, plus a 3000 to 6000 grit side for finishing, covers almost everything.
- Water, and plenty of it.
- A stable base: a sink bridge, a stone holder, or a damp towel folded under the stone.
- A towel for your hands and the counter.
- A marker pen, for checking your angle.
If you are buying your first stone, look at our sharpeners and stones and pick something in the middle. You can spend a great deal on sharpening gear, and none of it helps until the basic motion is in your hands.
Finding the Angle
Japanese kitchen knives are usually sharpened at roughly 15 degrees per side. Most Western knives sit closer to 20. If you do not know how your knife was ground, anything in that range works, and consistency matters far more than the exact number.
To find the angle by feel, lay the blade flat on the stone. Slowly lift the spine until the edge settles onto the surface and the stone seems to grip. To confirm it, color the bevel with a marker, take a few light strokes, and look. If the marker is gone across the full width of the bevel, your angle matches the grind. If only the top is worn, you are too shallow. If only the edge is worn, you are too steep.
The Sharpening Motion, Step by Step
Soak the stone until it stops bubbling, set it on the stable base, and wet the surface. Start with the coarse side.
Hold the knife with your dominant hand on the handle and your other hand resting on the flat of the blade, fingers spread. Place the edge on the far end of the stone with the tip angled slightly away from you, raise the spine to your angle, and lock your wrist. That wrist angle does not change for the rest of the stroke.
Push the edge forward and across the stone, as if slicing a thin layer off the surface. Work in three sections: heel, middle, tip, raising the handle as you move toward the tip so the curve stays in contact. Flip the knife and repeat on the other side, matching the stroke count. Ten passes per side is a reasonable rhythm, with moderate pressure. Let the grit do the work, and add water if the stone looks dry.
Building a Burr
Keep going until you feel a burr. Run a fingertip from the spine toward the edge on the side you have not been working. If the edge catches, a thin curl of steel has formed along the whole length. That tells you the two bevels have finally met and the edge is as thin as it can get at that grit. Do not stop before the burr runs from heel to tip.
Finishing and Deburring
Flip the knife and repeat on the other side until the burr flips over. Move to the fine side and repeat with lighter and lighter pressure. The goal is not to remove more steel but to polish the burr away and refine the scratch pattern.
Finish with a few very light trailing strokes, edge first, alternating sides one for one, with almost no pressure. Then strop the edge on newspaper or leather. This is sharpening using a whetstone in its complete form: coarse to shape, fine to refine, light to finish.
Test on paper. A finished edge slices cleanly from heel to tip with no tearing and no hesitation.
Keeping the Edge Between Sessions
Sharpening a knife with a sharpening steel does not actually sharpen it. A steel realigns an edge that has folded or rolled. Used with light pressure at a slightly steeper angle than the bevel, it will bring a tired edge back for a while, but once the steel has worn away and the edge is genuinely dull, only abrasive sharpening restores it.
Cut on wood or plastic, never glass or stone. Wash and dry knives by hand rather than leaving them in the sink or the dishwasher, and store them so the edges do not knock together. A knife that goes back into a drawer loose will find the nearest piece of metal to grind against. Our knife care guide covers the daily habits that keep a stone sharpened edge lasting.
Which Knives Take Well to Stones
Almost any kitchen knife can be sharpened on a stone, but thin, hard, well ground blades reward the effort most. The 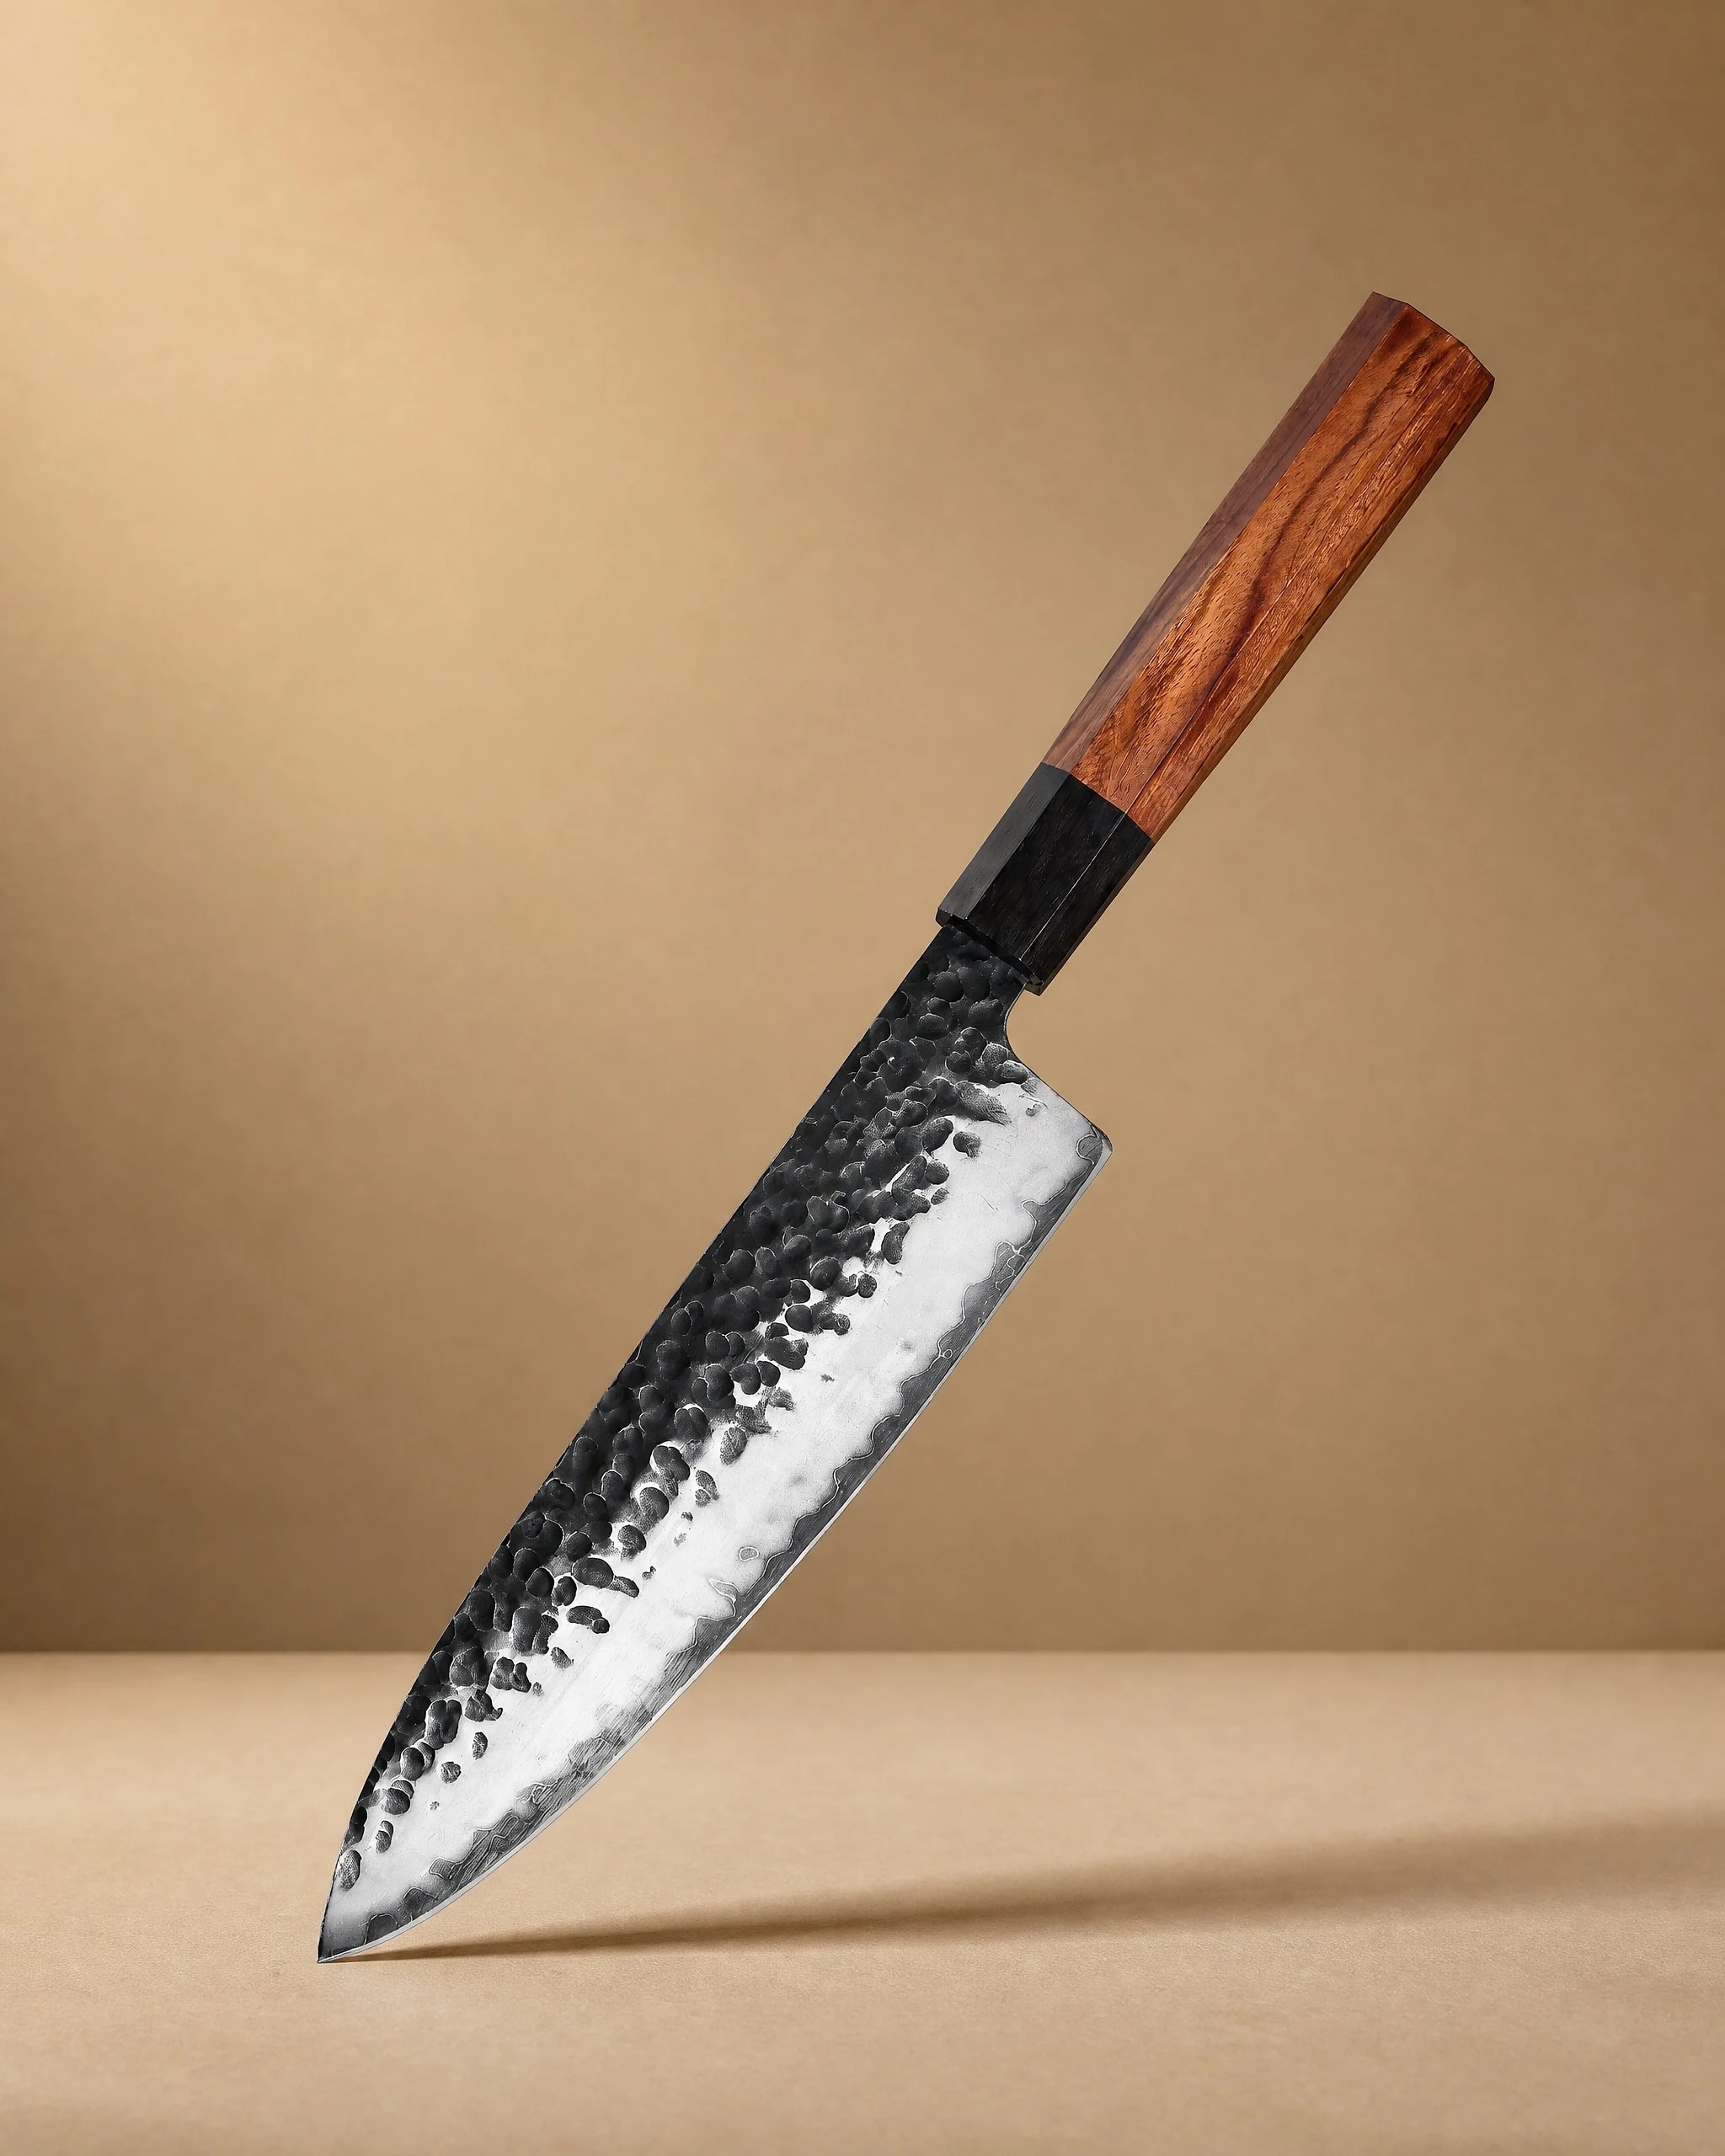 Tenjin 8" Stainless Steel Gyuto Knife 牛刀$69.99View product → is a straightforward everyday gyuto that responds quickly to a 1000 grit stone. If you want a knife that shows you exactly where the bevel is, the
 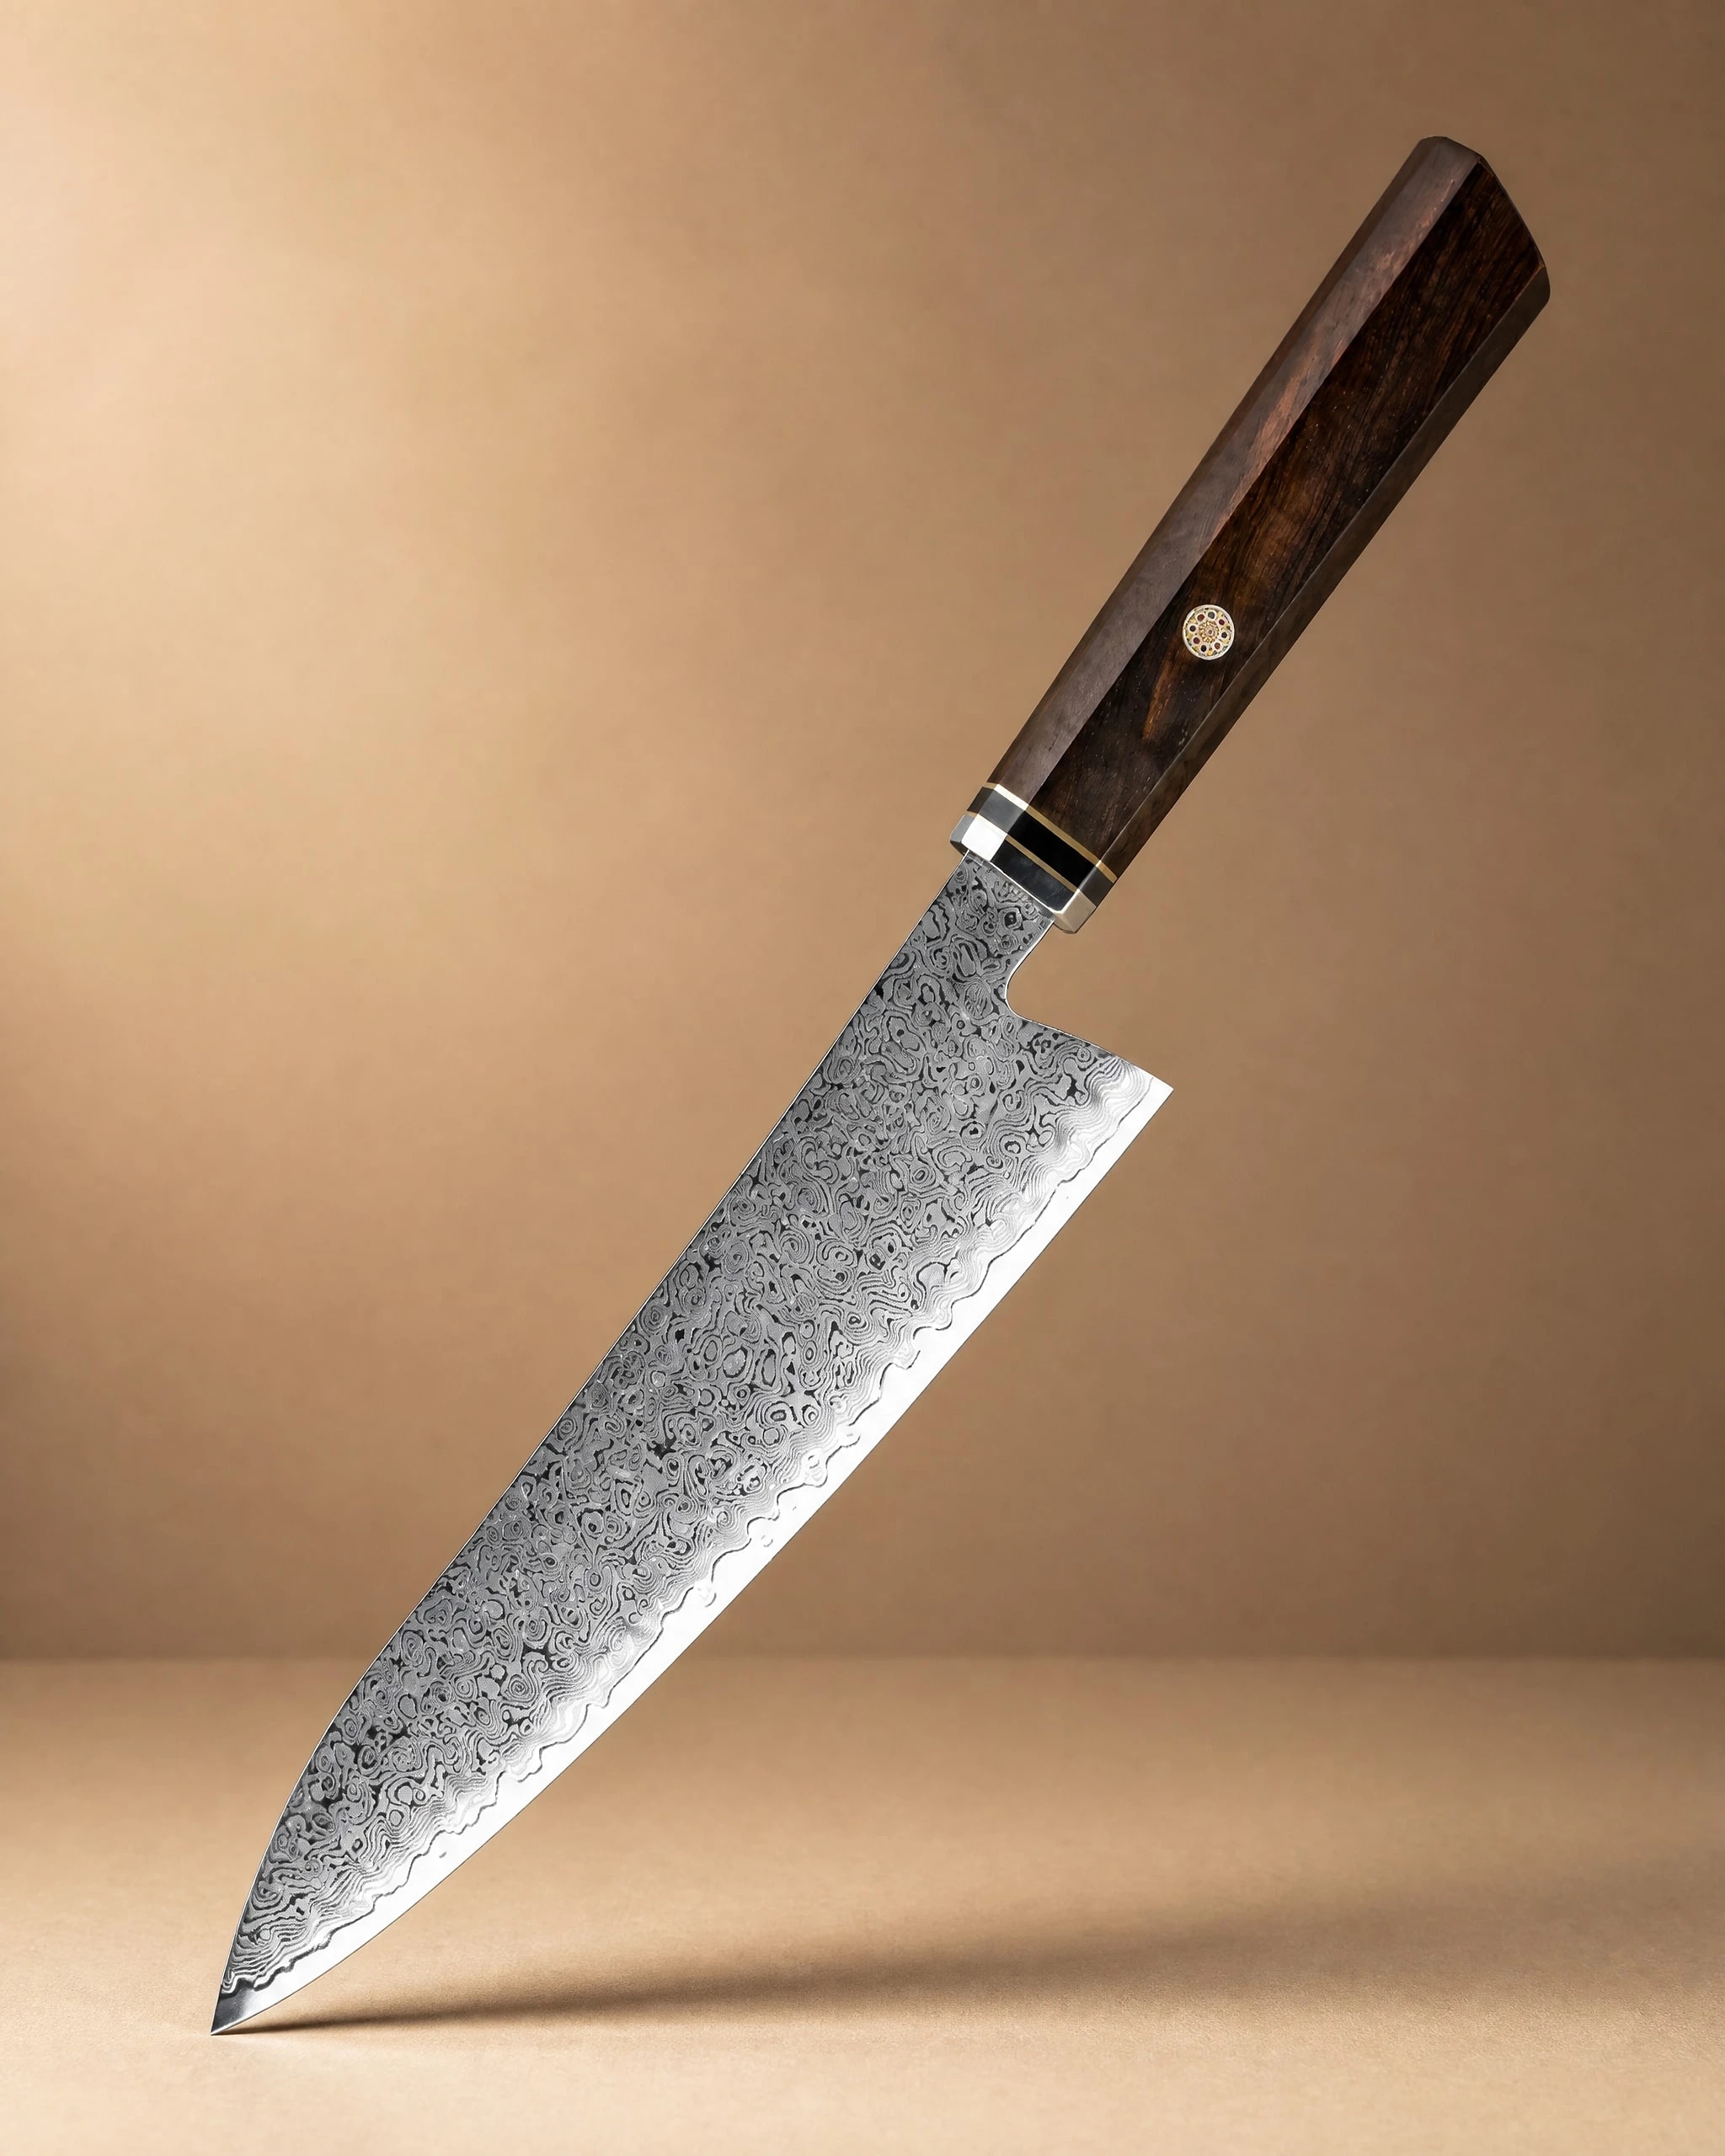 Sakawa 8.5" Damascus Steel Gyuto Knife 牛刀$94.99View product → makes the grind easy to read.
A heavier blade with more steel behind the edge, like the 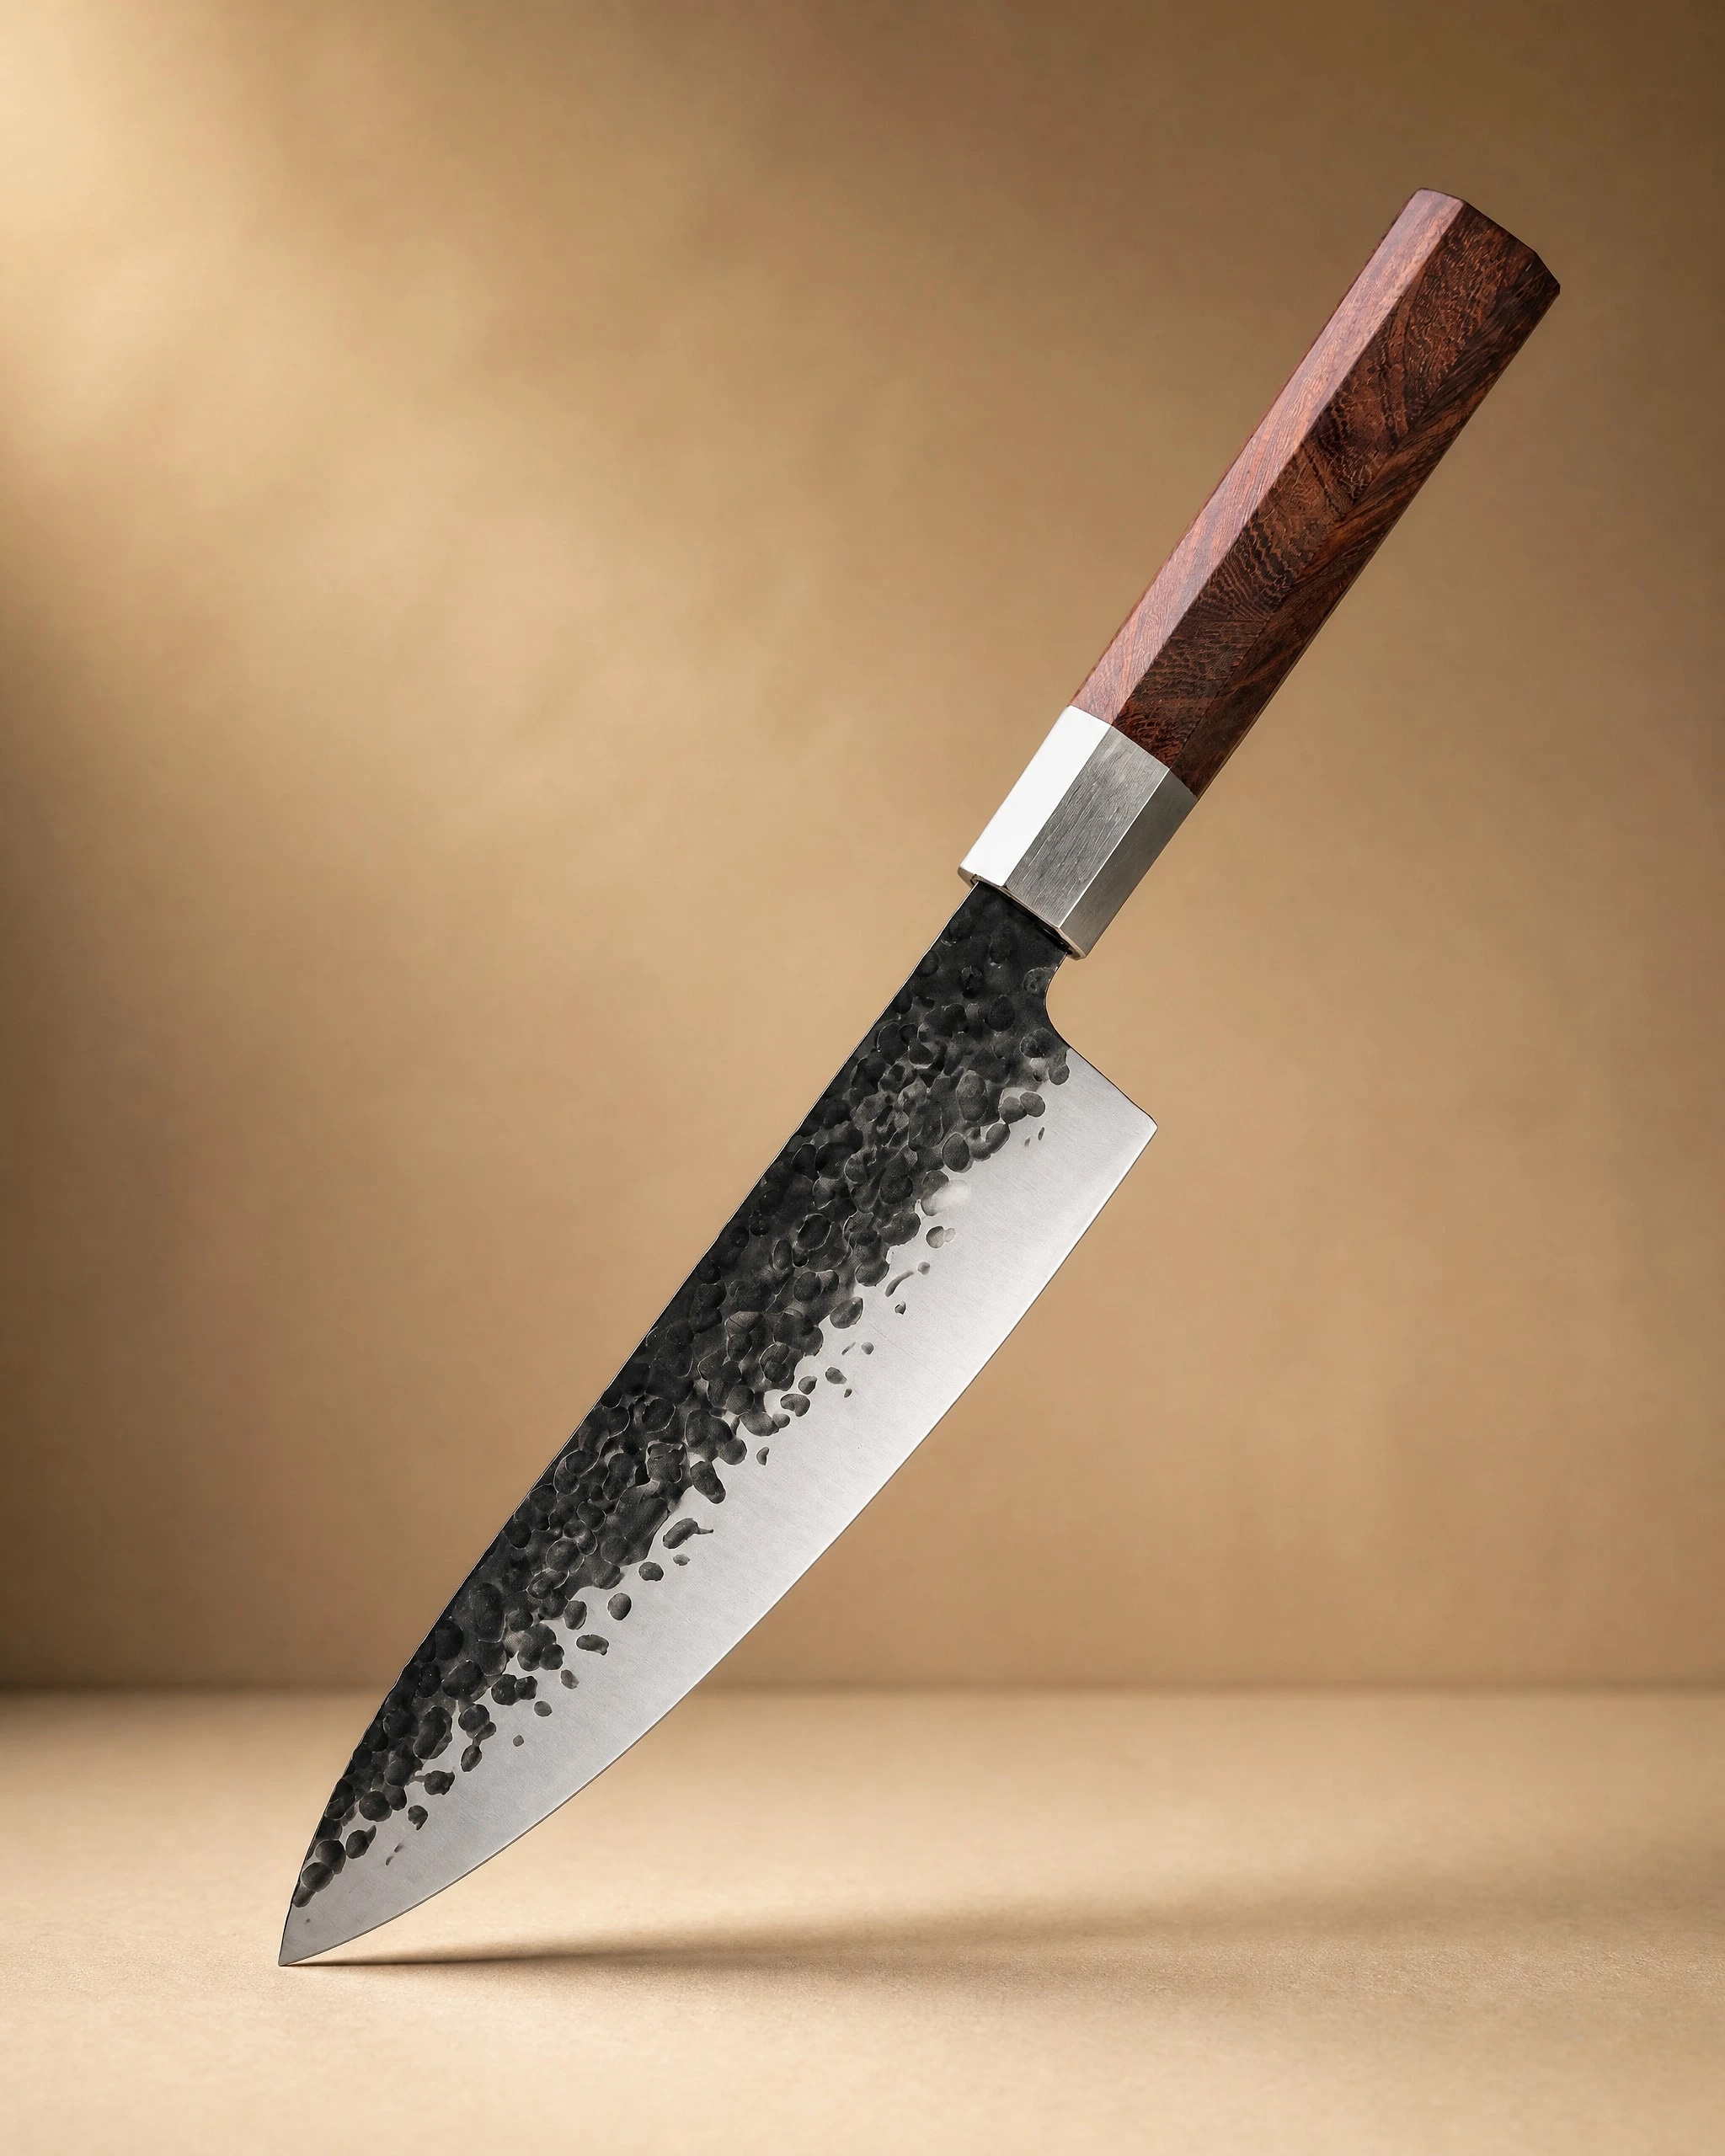 Sendai 8" Steel Gyuto Knife 牛刀$54.99View product →, takes a slightly steeper angle and rewards patience. Smaller knives are the best practice ground, and the
 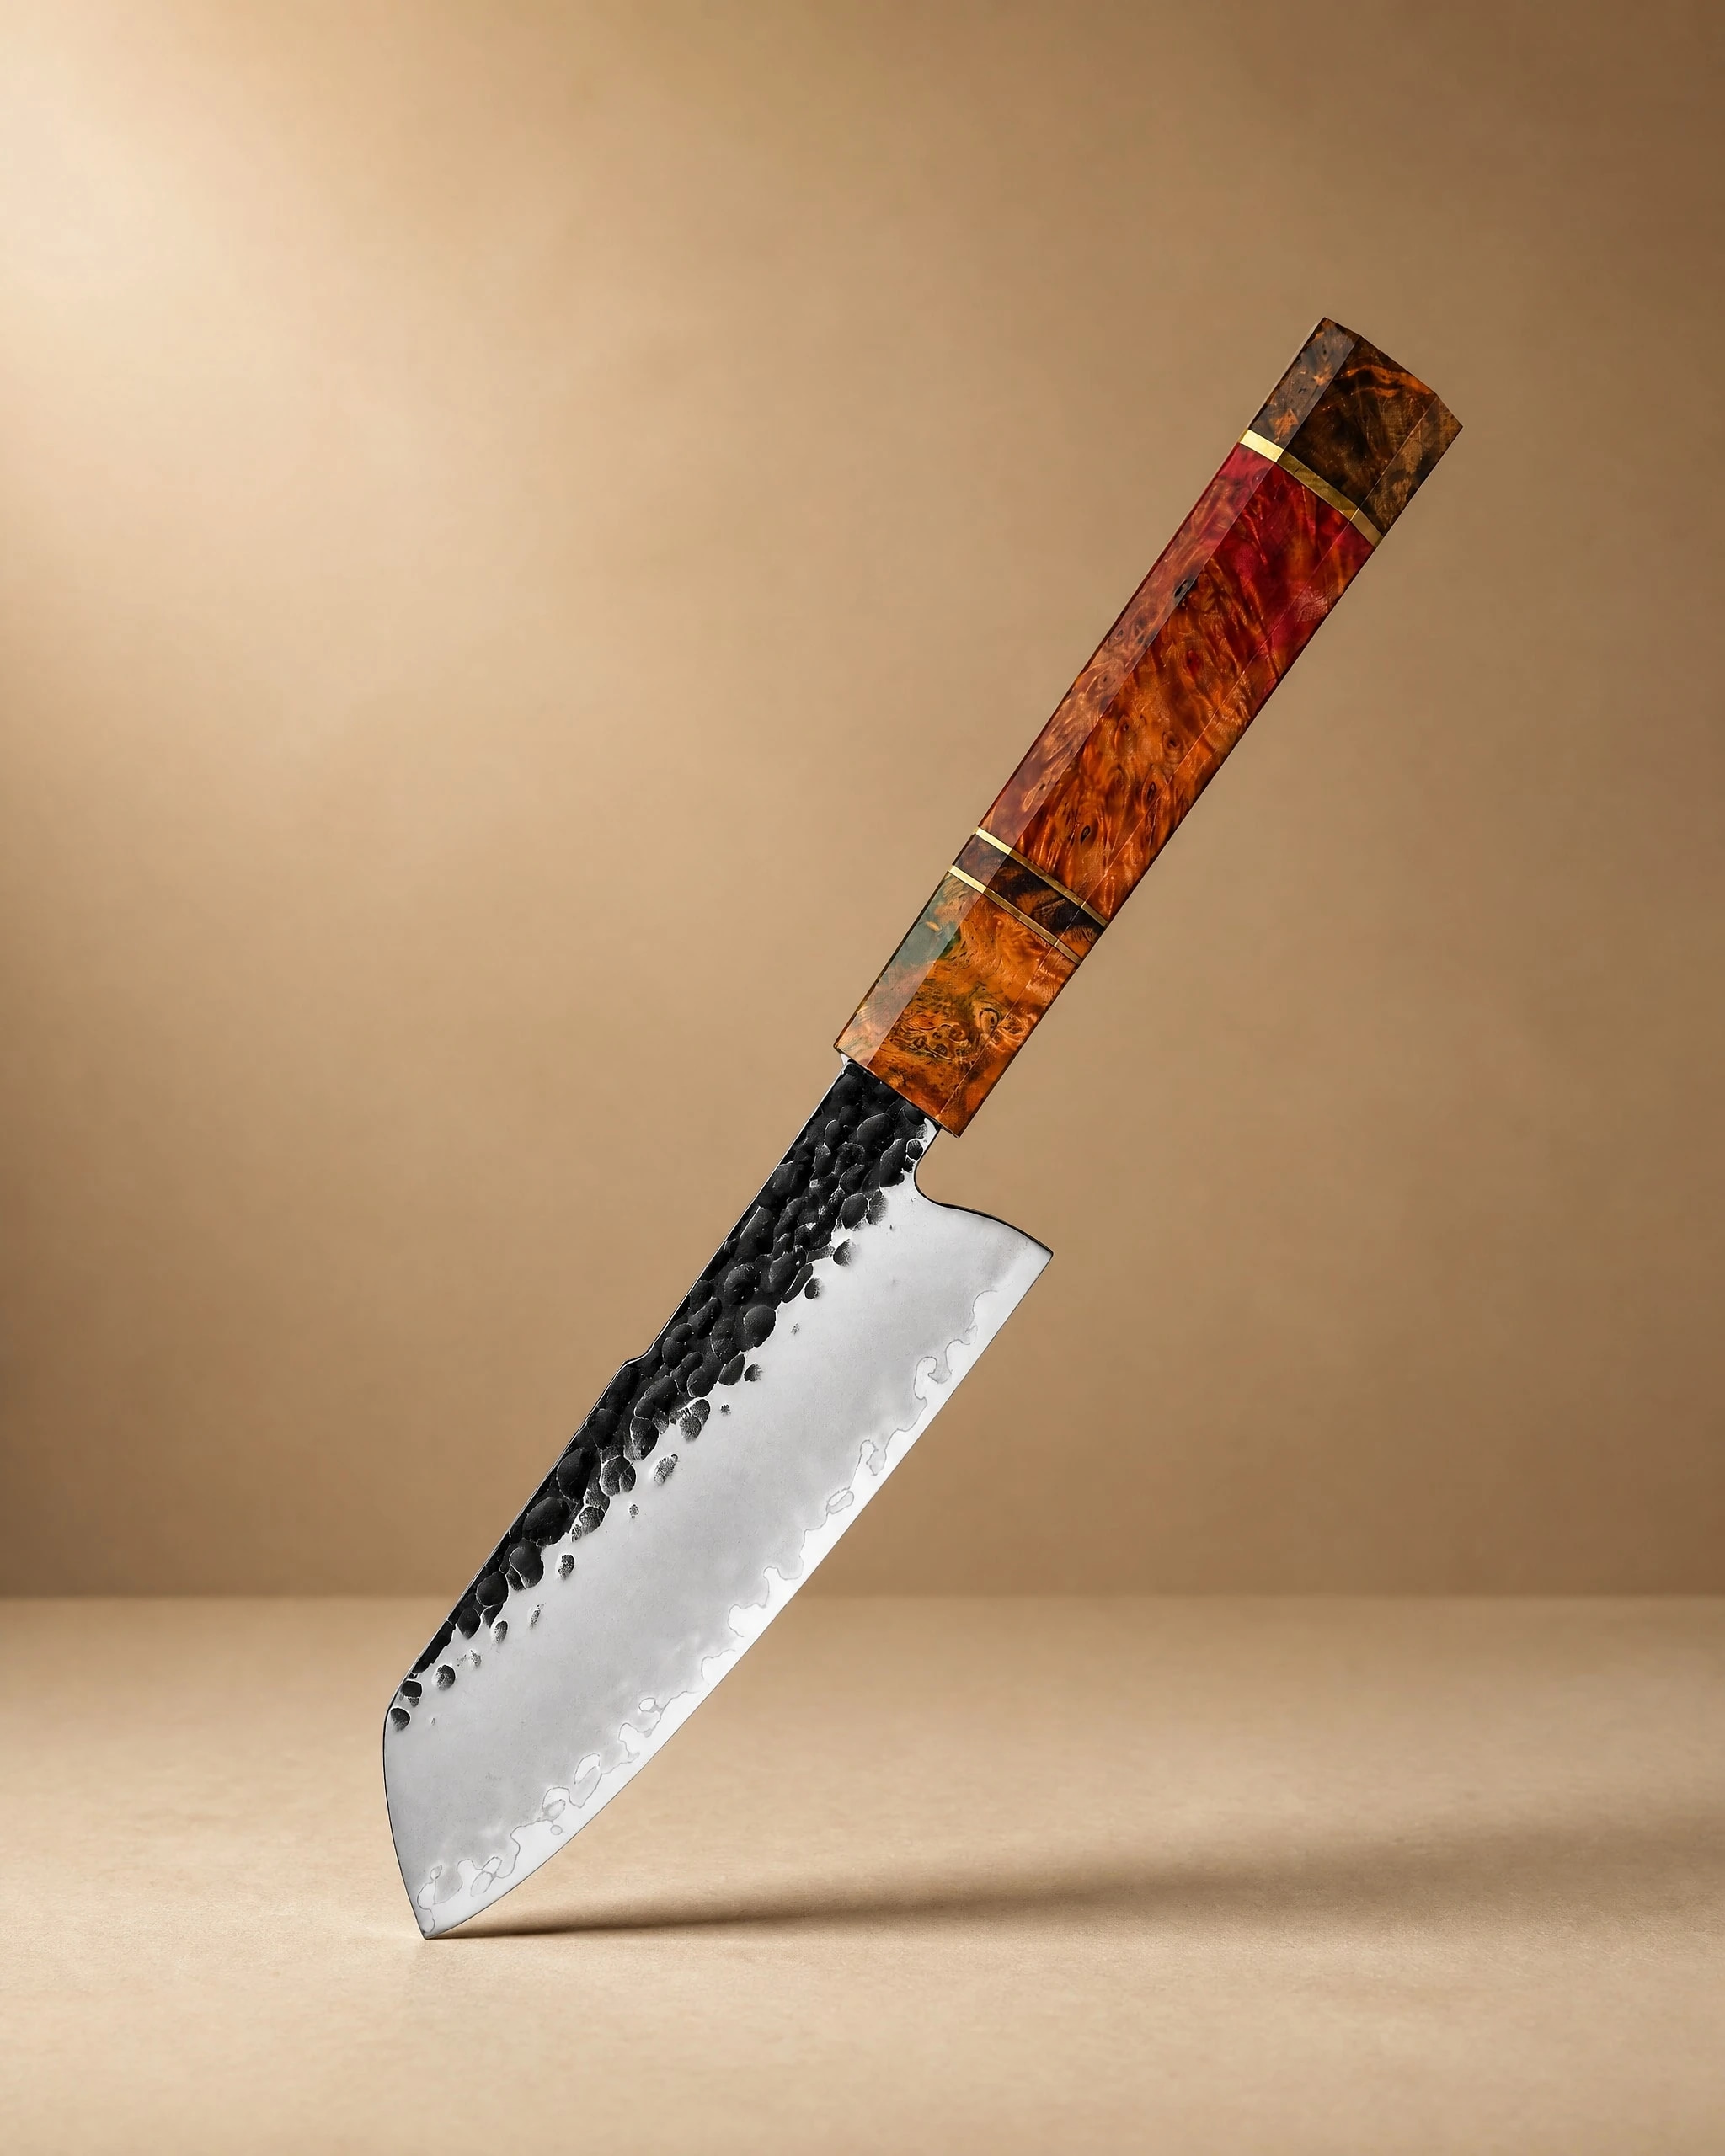 Ishikari 5" Santoku Knife 三徳包丁$79.99View product → is a good one to learn on because the short blade makes it easy to hold the angle steady.
If you are still choosing, the knife guide walks through steel types, profiles, and what each shape is actually for. You can also browse the full range at our shop.
Mistakes That Ruin an Edge
Rolling the wrist at the end of a stroke rounds the tip. Heavy pressure on a fine stone creates a burr you then have to remove. Skipping the burr check means moving to the fine stone before the bevels have met, and polishing a dull edge. Letting a stone dry out glazes the surface and stops it cutting. Dragging a blade back and forth on a thin stone with no base is another one: the stone rocks, the angle wanders, and the edge ends up convex. And waiting until a knife is truly dull means every session takes twice as long as it should.
When to Sharpen, When to Stop
Sharpen when the knife tears rather than slices, when it slips on tomato skin, or when a honing rod no longer brings it back. Stop sharpening when the blade has lost so much steel that the bevel has gone wide and the knife no longer cuts well even when sharp. At that point the geometry is gone, and grinding more will not bring it back.
A few minutes on a stone every few months, plus a light touch up in between, keeps a good knife working for decades. That is the argument for learning the skill: it is quiet, it is inexpensive after the first stone, and it puts you in control of the tool you use more than any other.
Photography: wu yi via Unsplash.


